Stuart Reynolds, Head of Product and Marketing at AKW, discusses how to overcome common wetroom installation challenges.
Opting for a wetroom continues to be a big trend for consumers. As well as being driven by the move towards luxury hotel-style bathrooms at home, more and more older consumers are looking for well designed, accessible bathrooms so they can remain independent for longer. There are many advantages to having a wetroom, however installation can be challenging.
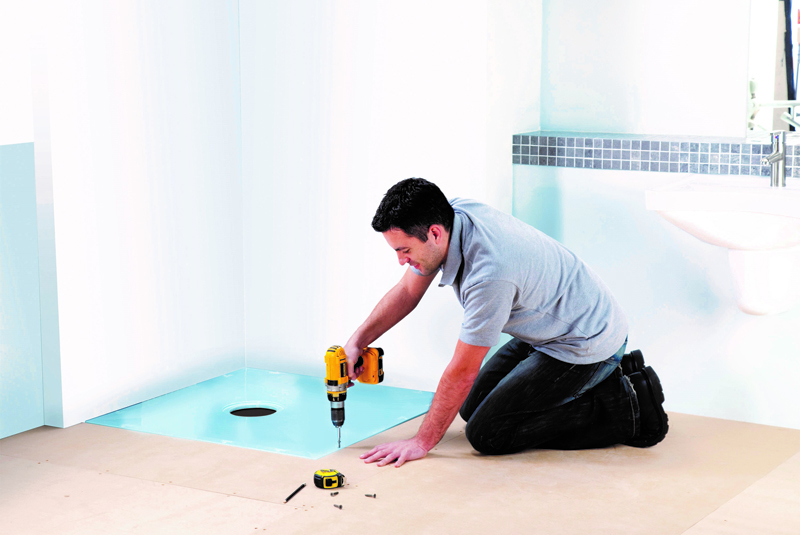
Getting the gradient
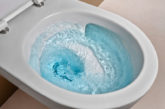
A key issue that can arise with poorly designed or incorrectly installed wetrooms is pooling around the waste area which can occur on both tiled and safety finish floors. However, correct installation for waste water drainage depends on the kind of flooring already in the installation.
If the property is a new build, a gradient may have already been built into the concrete floor at the time it was laid. If this isn’t the case, or installation is happening on timber flooring, then a retrofit solution will be needed that involves a plywood subfloor and suitable shower former. AKW’s new Tuff Form8 former has an integral gradient, which delivers the required fall to the waste area and eliminates the risk of pooling around the waste.
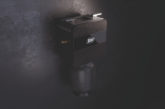
If there is insufficient gravity for the waste, then a pumped waste and wireless pump are essential. In addition, the latest wireless pumps connect wirelessly with smart electric showers.
It sounds obvious, but the shower must not point towards the door if the installation is not going to include screens, to minimise flooding issues.
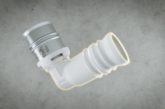
Overcoming obstacles
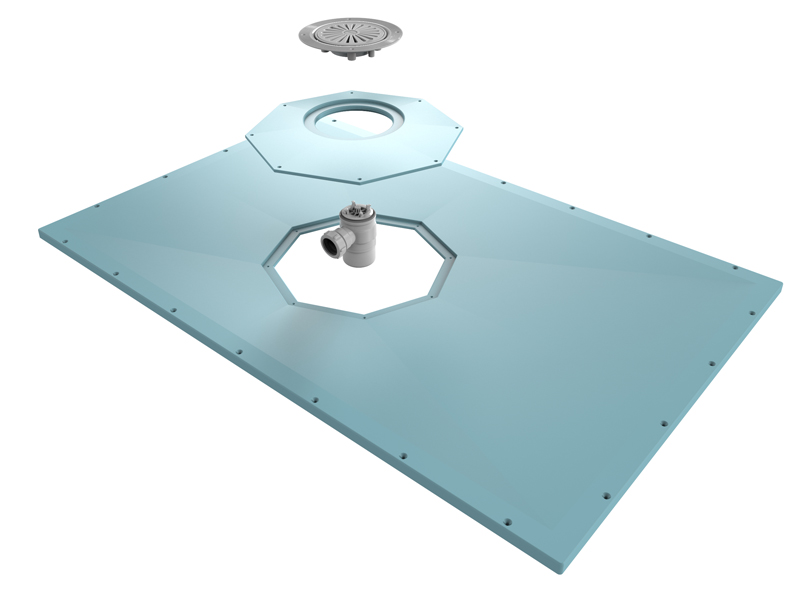
One of the most common problems that installers come across when installing on joists is sub-floor obstructions that block the waste area. To overcome this, many formers are available that incorporate an offset waste, allowing the installer to turn the former around to avoid the obstruction. However, there are still times when a joist blocks the waste area. This is where AKW’s Tuff Form8 comes into its own, as it is designed with a rotating octagonal plate that provides 15 different waste positions, helping installers to avoid all obstructing joists during installation.
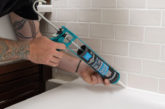
Waterproofing – slow and steady
The sealing, or tanking, of the wetroom using a waterproof membrane is a key stage in the installation process and the instructions need to be followed religiously. Tanking takes time, but it is time well spent, as doing each stage of the process correctly avoids expensive repair issues later on. Areas that need special attention when tanking are the corners and the seal between the floor and waste, with a particular focus on:
*Ensuring a good seal on the banding tape at the inside and outside corners (use preformed corners for ease here), pipe and waste seals, any joints and former edges (if one is being used).
*Ensuring that the surface of the former and the slope of the waste are well coated with a suitable waterproofing membrane.
*Being patient with waterproofing drying times. After two to three hours when the first coat of 1mm deep waterproofing is touch dry and can be walked on, apply a second coat across the first, ending with an overall coating of around 2mm. This second coat needs to dry completely for at least six hours.
*It is worth ensuring that if the installer is finishing the wetroom with safety flooring, the end result will be uneven if plywood is not used on the rest of the room up to the side of the former.
Underfloor heating
Underfloor heating is the icing on the cake when it comes to creating luxury in a wetroom. However, to avoid difficulties during and post-installation:
*Use the correct size mat for the wetroom’s floor area and avoid positioning it under bathroom furniture or the shower screen.
*Remember that the open copper ends of the 3m long cold tail cable is the only section of the heater cable that can be trimmed down to create a shorter length cold tail. The floor heat sensor cable can be trimmed if needed, but only from the open sensor end.
*Check the mat with a multimeter before fitting and don’t use it if the values differ from those stated on the quality certificate.
Wetroom installation is avoided by some installers as it is seen as potentially complicated. However, there is no reason why the installation cannot go smoothly if the above tips are followed.
www.akw-ltd.co.uk/wet-room-installer-guide
COMPETITION TIME!
To see how easy wetroom installation can be, AKW is offering one installer the chance to win the key components that go into creating an accessible wetroom.These include: AKW’s new easy to install Tuff Form8 wetroom former; an AKW waste unit; an AKW Level Best Deflector Screen (this includes 6mm thick toughened glass tested to EN 12150); AKW’s new Onyx shower seat in black or white; and an AKW Arka Thermostatic Mixer Shower Kit.
In total, the package is worth over £500. To be in with a chance of winning, simply enter your details below before December 31st 2019: