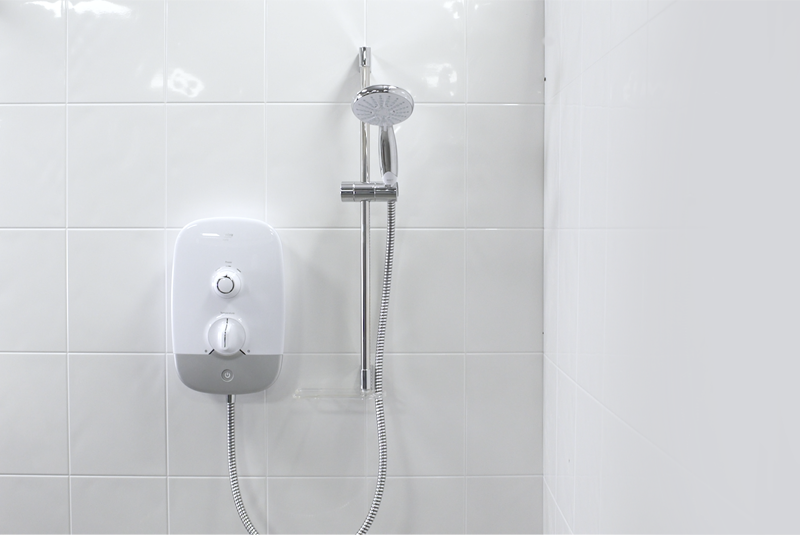
Mira Showers details the guidelines installers should follow when fitting its latest electric shower.
Mira Showers believes its latest electric shower, the Mira Meta, provides a functional and stylish option for installers to offer their customers.
There are a host of features in the new unit, including separate temperature and flow controls, push buttons for ease of use, a choice of three settings, flexible fittings for easy installation and adjustment and a 110mm three spray handset with rub-clean nozzles.
For best practice installation, follow the step-by-step guide outlined below.
Shower unit
- Start by ensuring that the electrical supply is off at the mains.
- Decide on a suitable position for the shower unit and fittings, leaving adequate space for maintenance, which means a minimum clear distance of 200mm from the ceiling to allow for cover removal and refitting.
- Remove the three cover screws at the top and bottom of the unit and remove the cover, service tunnel and bungs
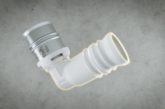
- Determine the direction and route of the incoming water supply. Add an elbow to the supply pipe and connect it as a rising or falling supply. Complete any soldering required away from the appliance.
- Now flush through the pipework to wash-out any debris before connection.
- Use the installation template provided along with a spirit level to mark the required fixing holes. Check that the wall behind the fixing holes is clear of wires or pipework using a stud detector. Then drill the required fixing holes and insert the wall plugs supplied. Present the appliance to the wall and affix with the supplied screws and wall plugs.
- Check the inlet filter is in position then connect the supply pipe. Turn the water supply on and check the shower unit for leaks.
- Strip back the outer cable insulation and insert the wires into the terminal block. Tighten the screws in the terminal block, making sure the wires are secure and tight.
- Refit the pipe and cable blanking plates and the service tunnel.

Installing the fittings
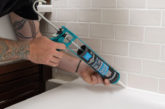
- Hold the slide rail assembly against the wall in the desired position, checking it is vertical with a spirit level, and use the slide rail brackets as a template to mark the positions of the top and bottom fixing holes.
- Drill the fixing holes and insert the wall plugs provided. Secure the mounting brackets onto the wall using the wall screws, check for vertical alignment then fully tighten.
- Push the clamp bracket down onto the slide rail and push the slide bar supports onto the bar. Fit the supports over the mounting brackets and adjust the slide bar vertically, ensuring an equal length of the bar protrudes from the top and bottom bracket.
- Carefully remove the slide bar assembly, preventing any further movement between the bar and supports.
- Tighten the two slide bar clamping screws no more than half a turn to secure the slide bar supports to the slide bar.
- Install the slide bar assembly onto the mounting brackets and tighten the bolts using the hex key. Install the end cap at the top and the soap dish at the bottom of the slide bar.
- To fit the hose and shower handset, first insert a hose seal into the conical nut of the hose and screw the hose onto the outlet of the shower.
- Feed the hose through the soap dish and insert the other seal into the other conical nut of the hose and screw onto the shower handset. Place the shower handset into the clamp bracket assembly.
- Finally, make sure that the control dials are aligned with the spindles and replace the cover, and tighten the three cover screws.