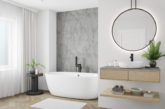
Bathroom panels are a popular alternative to tiles and other surfacing solutions and boost features such as easy installation, durability and low-maintenance. Mermaid’s Keely Greenhalgh shares how installers can refresh a tired-looking bathroom or add a luxury statement look to a new project.
Preparation
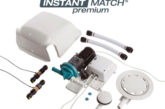
Like with many installations, the preparation of the materials and your tools is one of the most crucial parts of the process. The first step is to thoroughly inspect your panels prior to carrying out any work. Next, prepare the tools for the job: you will require protective goggles and gloves, spirit level and tape measure, Mermaid Complete adhesive and colour matched sealant, 2mm and 5mm spacers, suction lifters, a drill, circular saw, and a jig saw if cutting circular shapes.
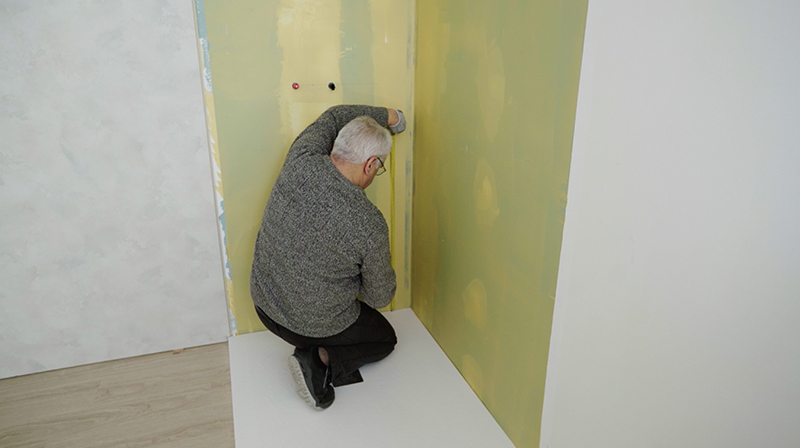
Next, ensure the surface is suitably prepared for affixing the panels. Mermaid’s Elite panels can be installed directly onto plasterboard or newly plastered walls, or any sound flat wall surface including existing tiled walls. Walls should be dry, clean and damp-free and level, plumb and true.
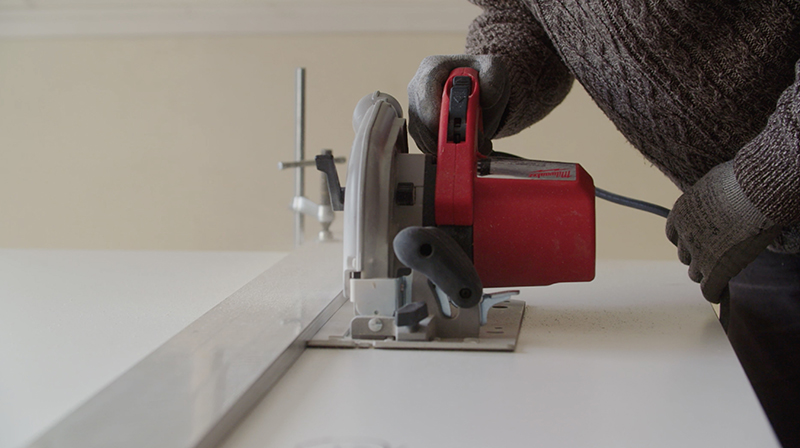
Cutting and drilling
Position the panel face up or down depending on the blade type and start all cuts into the factory-finished postformed edge. As a general rule of thumb, it is always recommended to start the installation from an inside corner with the tongue removed. Jig saws should only be used if scribing curved shapes into the panel. Spade type bits should also be avoided – standard high-speed drill bits or circular hole saw cutters are the best tools for the job. If working on cutting concealed edges, we recommend a circular saw with a sharp blade to achieve the best finish. When cutting the panels, ensure a 3mm clearance around all cut outs and holes which will be back filled with Mermaid Complete colour matched sealant.
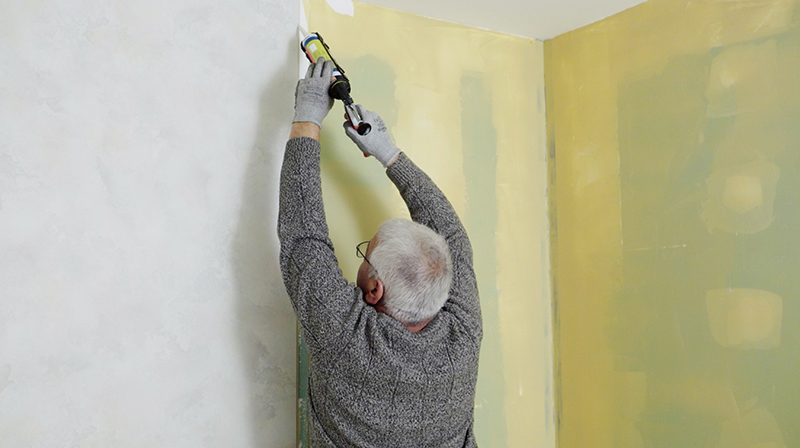
Affixing the panels
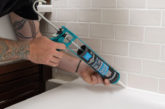
Installation of the panels is quick and easy. Simply dry measure and cut the panels to the size required, removing the tongue from the panel that will be placed in the corner if working with tongue and groove panels. Allow 5mm spacing between the shower tray and or bath, and 2mm between the panel and surrounding wall surface. Apply Mermaid’s Complete adhesive to the back of the panels – you will need one 290ml cartridge for each 2420 by 1200mm panel. Complete colour matched sealant cartridges will be used for sealing, seaming and jointing.
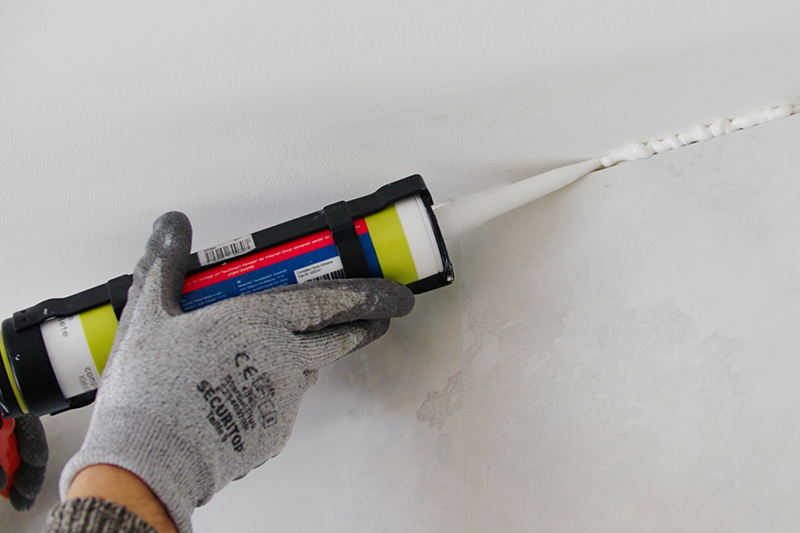
Apply the panels to the wall on the correct spacers, applying the inner corner first for tongue and groove panels, and press firmly to affix to the wall. Simply apply Complete colour matched sealant to the open groove before repeating the process with the next panel, also ensuring you apply sealant to the open tongue.
Use suction lifters to slide each panel into place, squeezing out any excess sealant between the tongue and groove. Then, you will need to apply sealant between panels and again, wipe off any excess immediately with a white spirit.
Repeat the above steps before filling all areas where panels meet with Mermaid Complete colour matched sealant.
With that, the installation is complete and the panels should have a rest period of 24 hours to bond before any accessories are fitted.
Aftercare
After completing the job, be sure to talk your customer through the correct aftercare procedures. Fortunately, with laminate panels, maintenance is minimal. Simply wipe panels down with a non- abrasive cloth and warm water to clean, ensuring no bleach or chemical products are used. Clean regularly to maintain a great finish.
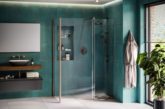
The Elite range
Mermaid Panels has a diverse range of bathroom panels including its most advanced solution yet, its Elite range – with 28 new designs coming to the range this Autumn. The company’s patented technology enables installers to create completely seamless designs within shower enclosures and even wall-to-wall applications that require no trims or grouting and offer a sophisticated post-formed edge finish.