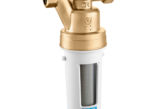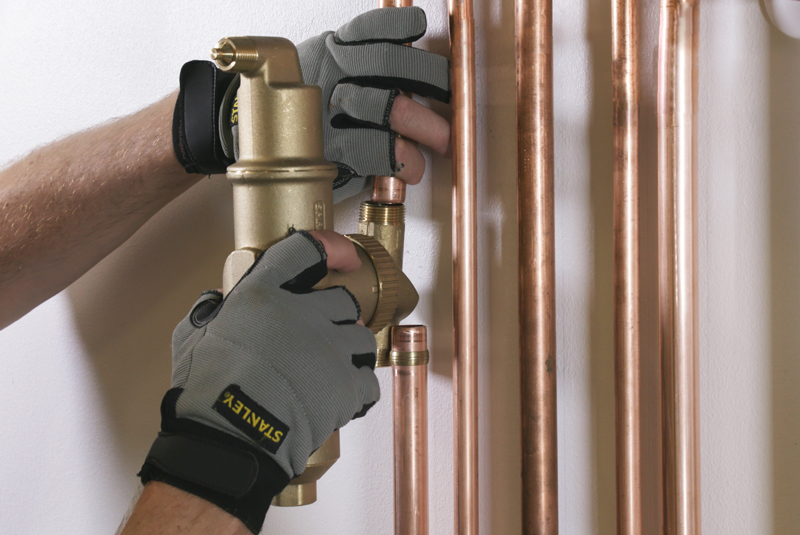
Spirotech’s new SpiroCombi MB3 brings together dirt and air removal in one high performance, brass unit. This step-by-step guide shows you when and how to adopt a combined approach to system protection.
For many forward-thinking installers, it’s no longer a question of whether to fit a deaerator at all, but more about which type of unit to install. The benefits of deaeration are now widely recognised; improved heat output, maintained efficiencies, reduced system noise and perhaps most significantly, corrosion reduction.
Choosing which deaeration unit to fit will be determined by the system’s age, design, condition and the engineer’s preferred approach. In many cases, the installation of a separate dirt separator and deaerator will offer optimum system protection. However, for brand new systems and existing systems with only a degree of contamination, a combined unit offering both functions in one can be a good choice.
On a new system, a combined dirt and air separator should be installed on the flow, where the temperature is highest, to remove any microbubbles present within the system water, before they have chance to circulate and facilitate magnetite formation. This will protect the system from both air and dirt from the very first time it is fired.
On an existing system, dirt removal should take precedence, so the unit should be fitted on the return, where it can capture the magnetite and debris that has developed, while the system was running unprotected. The unit will remove a percentage of the liberated gas that flows through it, which on the return will be reduced, so will have a lower effect on future corrosion.
For some installations, a combined unit offers the best of both worlds and the end goal of optimising system health can be achieved, by treating both the cause of system inefficiency (air) and the symptoms (dirt).
Installation guide
To fit the SpiroCombi MB3, follow these simple steps:
Step one
To begin, drain the system and check that the pipework is suitable for the SpiroCombi MB3 to be installed. Locate the arrow on the unit, which shows the direction the water needs to flow.
Step two
To fit the SpiroCombi MB3, you will need a 70mm gap. There’s a measure provided in pack, should you need it.
Step three
Before sliding the unit on to the pipe, check again that the arrow matches the flow direction. Tighten the connections. Make sure the body is hanging vertically down, before tightening the swivel ring nut.
Step four
Wrap PTFE tape on the thread of the drain valve and fit to the bottom of the unit housing.
Step five
Next, slide on the external magnet and listen out for the click to make sure it’s firmly in place. Do this before you turn the boiler on.
Job done!
The boiler is now protected against the damaging effects of both air and dirt, and the SpiroCombi MB3 is quickly and easily serviced as part of annual maintenance visits.
For more information, visit www.spirotech.co.uk.


