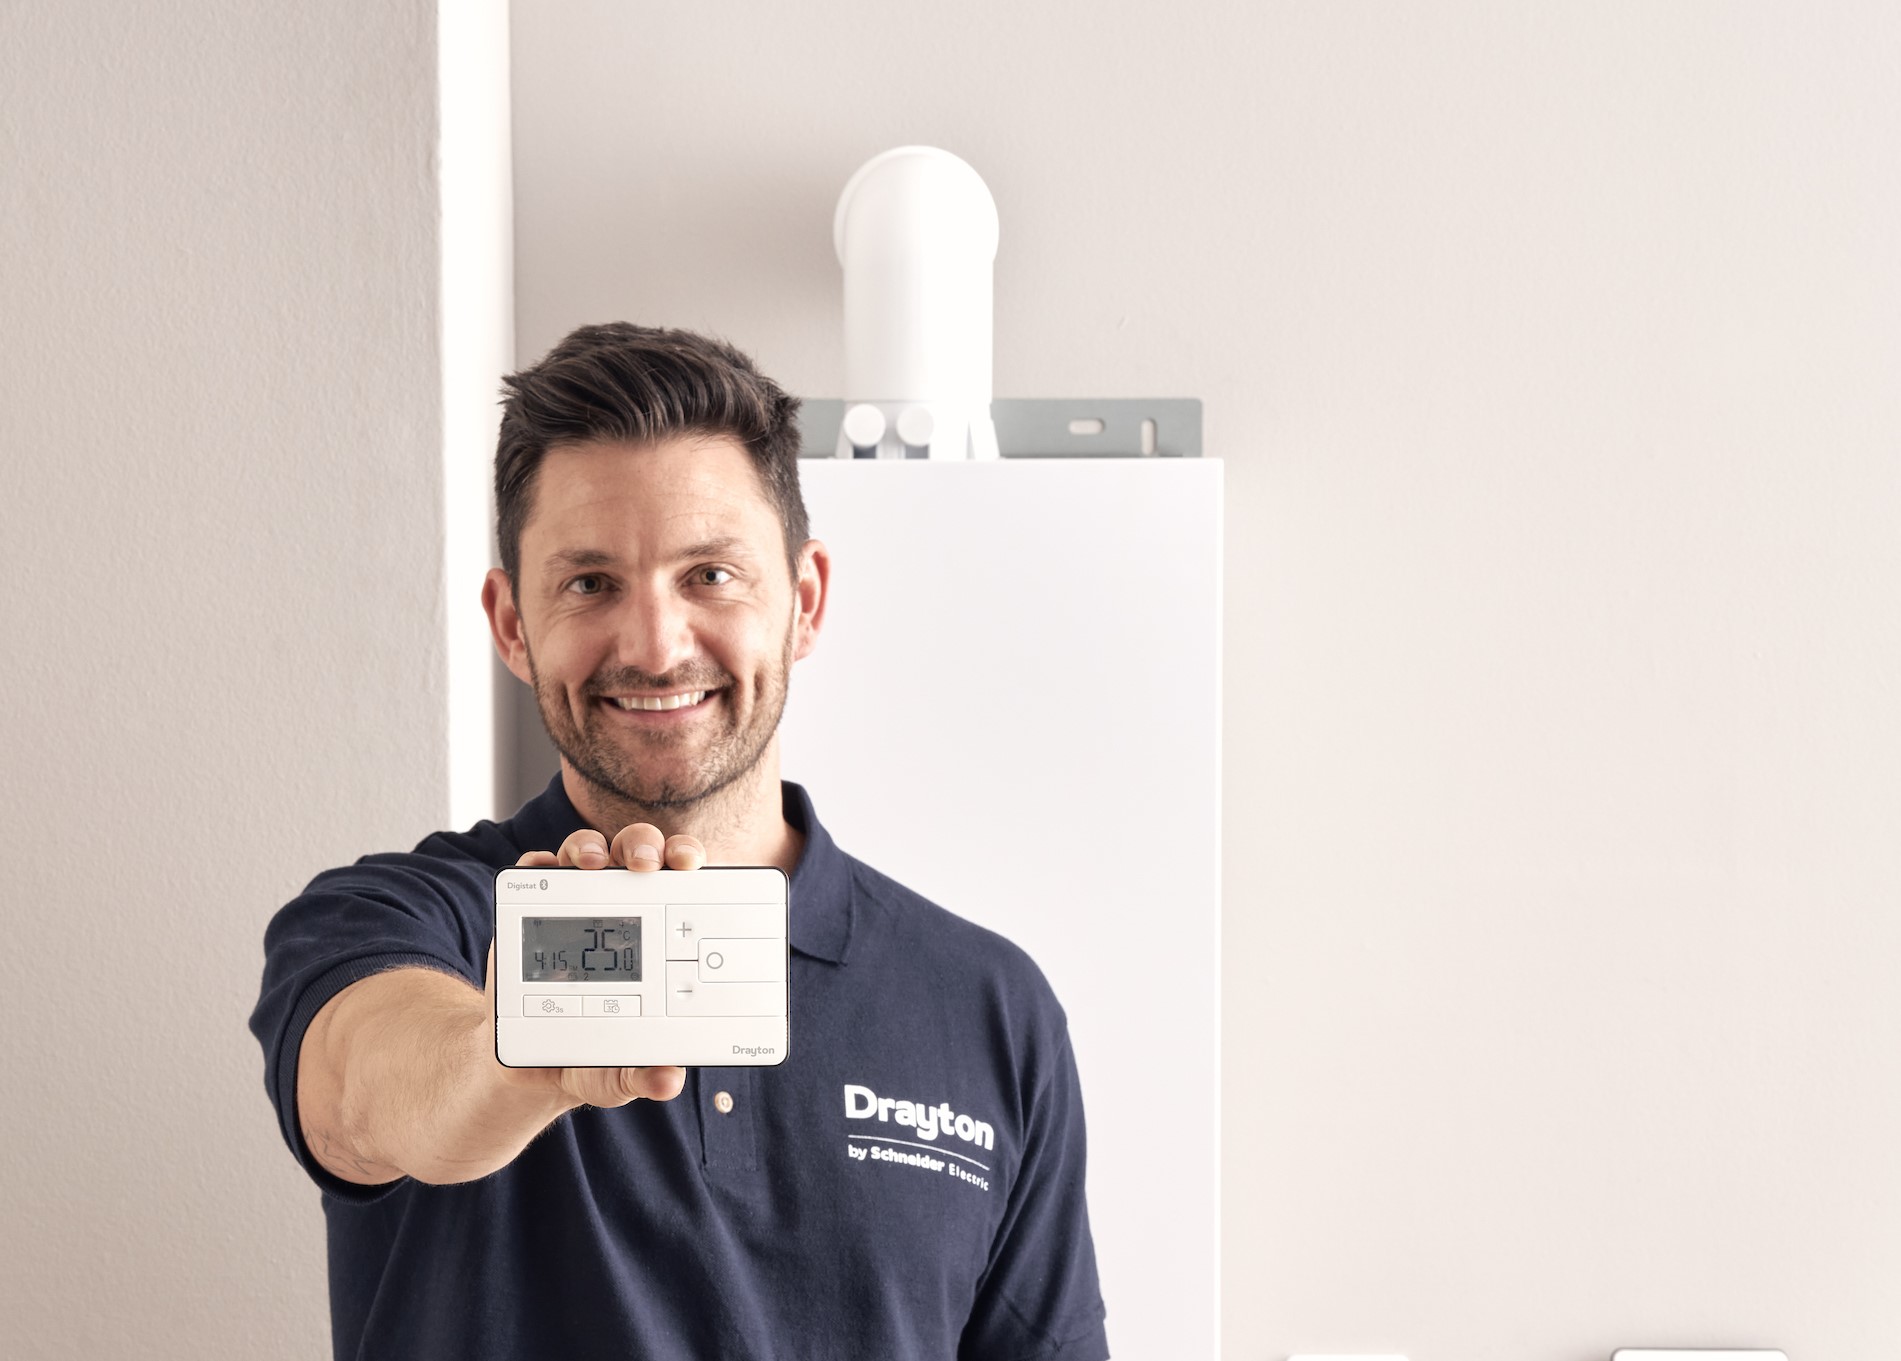
Drayton provides guidance on how installers can fit the company’s new Digistat.
The new Digistat from Drayton combines installers’ favourite features with a contemporary new look and Bluetooth connectivity, offering customers in-home control of heating via the Wiser Home app. Here, we look at how to install the single-channel RF901 model.
1. Firstly, if replacing an existing control, remove the existing receiver or controller. Don’t inset any batteries into the new Digistat just yet.
2. On the new Digistat receiver, which will fit onto an existing SCR backplate, remove the existing receiver or controller to find the volt-free wiring of switching contacts.
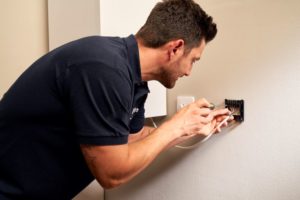
3. The supplied backplate has five terminals across the top; neutral, live, common (terminal 1), normally closed (terminal 2) and normally open (terminal 3). This backplate also has a provision for OpenTherm in the bottom left corner.
4. When wiring to a combi boiler for relay control, firstly take a 3amp fused supply into the boiler, then utilise the other terminals in the boiler to give the backplate a mains supply.
5. If OpenTherm control is desired, connect the OT1 and OT2 terminals in the boiler to the additional OpenTherm terminal block located on the bottom of the backplate. If replacing an existing backplate, the two switch wires should be placed into a separate terminal block to keep them safe and not in an active terminal.
6. If you are not connecting with OpenTherm, you will instead connect the two switch wires – live in and live out – to terminals 1 and 3 on the backplate.
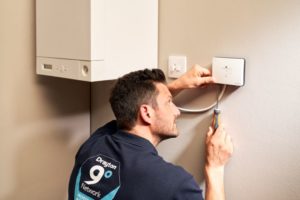
7. The single channel receiver can then be clipped onto the backplate, with the two screws tightened on the bottom, after which the power can be turned back on.
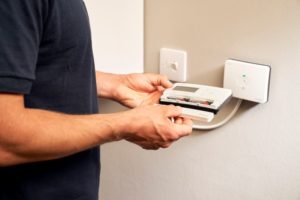
8. On the wireless room thermostat, insert 2 x AA batteries into the compartment on the front of the unit.
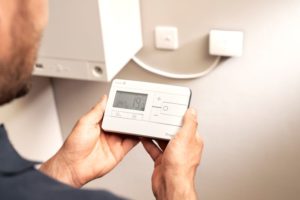
9. When powered up, the receiver will automatically connect with the wireless room thermostat, where you can adjust the schedule settings to meet your customer’s needs.
10. Depending on how the customer wants to place the unit, finally either mount the wall clip onto the wall and fit the wireless room thermostat onto it, or connect the supplied desk stand.
For further installation and commissioning support, visit the 9º Know How online training academy.