Chris Penney, Grohe’s UK Training Manager, highlights some of the most important measures that installers need to ensure are carried out when working with the company’s products.
Shower calibration
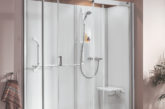
All Grohe shower thermostats go through a temperature regulation process at one of our production plants prior to distribution. This regulates the temperature to 38 degrees, which is deemed the optimum temperature for a comfortable and enjoyable showering experience.
However, with every Grohe shower and thermostat installation you carry out, the temperature must be re-calibrated to adjust to the water pressure that is available in the building. This can be easily done by removing the end cap of the shower to reveal the turbo stat cartridge. Turn on the water supply and place a thermometer into the water. Adjust the turbo stat valve accordingly until the thermometer reaches the desired temperature – in this case, 38 degrees Celsius.
Without re-calibrating the thermostat prior to completion, end users could experience unpleasant fluctuations in temperature and the integrated safety features could be overridden.
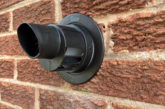
Ample ventilation
The Grohe Blue Home is one of our most popular products in the kitchen, offering filtered and chilled still and sparkling water. However, with such an advanced product, correct installation and knowledge of the product is crucial. Currently, incorrect installation is one of the biggest causes of fault in this area of the market and very often leaves the customer with a void warranty.
When fitting the Blue Home chiller component which is situated under the sink, ensure there is sufficient ventilation to allow the escape of warm air. Simply use the template in the instruction manual to guide you when cutting the hole to ensure it is the right size and in the correct place. A ventilation grill fitted at the front of the kick plate is also strongly recommended. If this process is not carried out as part of the installation, the chiller unit is likely to overheat, and your customer will be left with an unusable, faulty product.
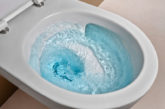
Don’t forget the expansion vessel
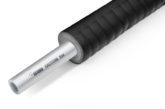
Many of our products have WRAS accreditation, deeming them suitable for new build home contracts. In the case of the Grohe Red, we have achieved this through our expansion vessel.
As an included component in the installation kit, we have found that many installers are unfamiliar with the purpose of the vessel and how to install it. Used for water expansion during the heat up cycle process, the expansion vessel stops the unnecessary wastage of drinking water during the normal heating process. It must be installed above the Grohe Red boiler and the bottom of the vessel can be identified as the part with the pipe connections fitted. The safety device pipework must be fitted to the main drain; this is to allow the escape of water from the system should a fault develop. Without the installation of this key part, the product does not meet the WRAS criteria.
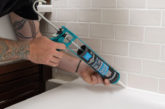
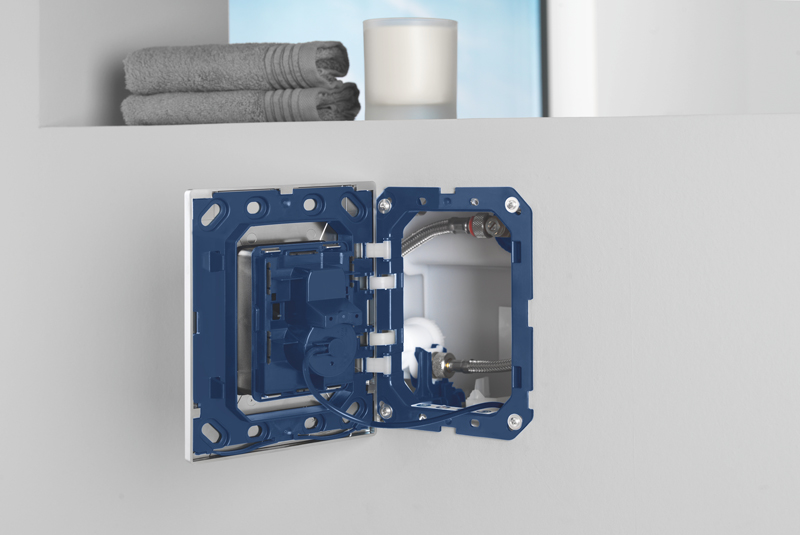
Finishing touches
Many of our installer customers know that when installing our Skate Cosmo plate, the plate can be installed horizontally and vertically. However, what many don’t realise is that the inner section of the plate, where the logo is located, can be taken out and turned to suit the orientation of installation. Simply by unclipping the two black clips on the underside of the plate, which can be done by pulling the clips towards you, you can remove the part and re-insert it the correct way.
Installer training
If you are interested or currently work with Grohe products and wanted to enhance your knowledge of some of the most advanced products, you can join the manufacturer at one of its hands-on installer training sessions at its Heathrow HQ:
*Friday 28th June 2019 – Sensia Arena Install
*Friday 27th September 2019 – Grohe Blue Home/Professional Install
*Friday 25th October 2019 – Grohe Red Install
*Friday 29th November 2019 – Rapido Smart Box Trim Sets