Roger Bisby completes his Grohe Smart Box installation.
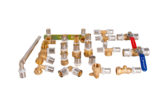
In the first part of my Grohe shower installation, I started by installing the Rapido Smart Box into the masonry wall. The box forms the carcass for a number of shower controls and outlets, including a bath filler. The box is designed to fit within a 100mm stud wall or a masonry wall. It can be piped up and pressure tested without having to fit the thermostatic mixer and head. Not only does this reduce the risk of damage, it also lowers the risk of theft.
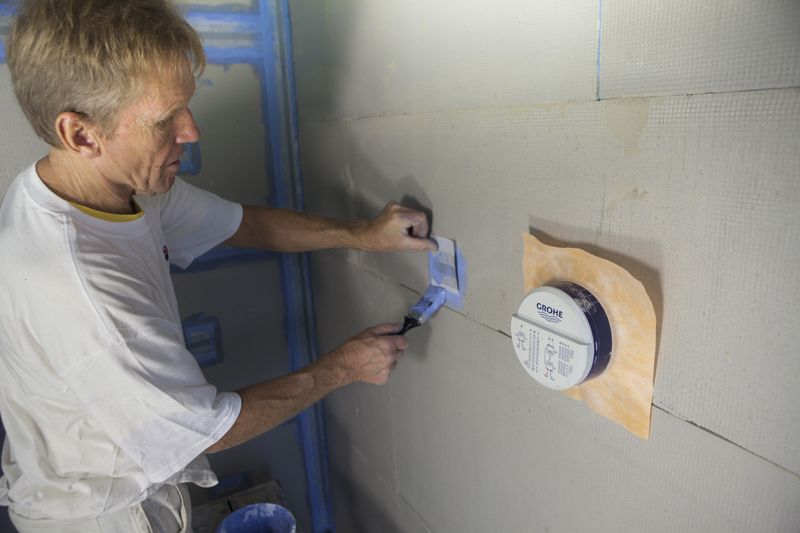
As I was doing the tiling myself, I had no need to brief the tiler – but it is worth bearing in mind that the tiling tolerances around the Smart Box are tight. Using the square plate you have less than 5mm at the top bottom and sides. This is not a particular problem for a good tiler but they need to have the cover plate to hand and that is something I would rather not have lying around.
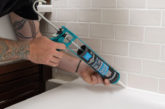
A sealing gasket is supplied for the mixer and the head and these need to be bedded in a sealant such as Proseal. Once the tiling is completed you need to trim the Smart box back flush with the tiles. Grohe shows this being done with a craft knife but I found a multi tool better. You just need to place masking tape on the tiles first.
The fitting of the valve is covered in the pictogram instructions but I would urge you to watch the animation from Grohe which is available on YouTube. I am going to be honest with you and say that I watched it five times because, confusingly, the colours of the components in the animation are not the same as the bright orange bit on the shower mixer. I also have some difficulty working out whether the push button rods should be in or out when you press them. It turns out that the little orange rings keep them in the right position for cutting but nobody tells you that.
Despite these tribulations I got there in the end and I know that fitting my next one will be a piece of cake unless they change something in the design.
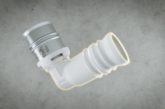
The good thing about this shower for me is that it doesn’t protrude more if the box is installed in a shallow wall. Provided you have the 75mm minimum depth, you will be fine. The min/max depth is clearly marked on the Smart Box.
So much for the fitting, what about the shower? Or should I say shower experience, as marketing people like to describe it. The controls can be configured to suit the head. My customer wanted a hand spray and a dual pattern overhead spray with a full force in the middle and a rain shower on outer area of the larger head. The hand set is configurable to the left or right even though the instructions show it on the right. Basically, so long as you pipe up the hot and cold the lower ports you can nominate the others to suit. The centre outlet gives a slightly higher flow rate than the other two.
I believe that this is a great shower and the customer is delighted with it, but from a first time installer’s point of view the instruction manual could be better.
You will notice that the shower mixer is not under the head. I always favour this because with a walk in shower you can set it up before you get under the head, and it also means the chrome stays cleaner for longer – particularly if you are cursed with hard water. Speaking of which, the head has a nice wipe clean spray. You can rub the limescale deposits off with your thumb. It deserves a thumbs up for that feature alone.
Read the first part of this product test here