With TRVs once again in the spotlight, Pegler provides a guide to installing one.
The squeeze on UK household income has increased exponentially, fueled by the cost of energy rising by more than 50% which is predicted to escalate even more this autumn. The gas boiler is predominantly the biggest energy using appliance in UK homes, in fact according to BEAMA it is responsible for around 80% of total energy used in the home.
So, with homeowners looking at ways in which they can help to mitigate some of the energy cost increases, along with new Part L Building Regulations that came into force in June this year – which state that when upgrading or replacing a boiler, TRVs should also be installed – the importance of TRVs is once again in the spotlight.
And, with many consumers still believing that a TRV is just a valve to turn on or off the radiator, it is down to installers to ensure their customers fully understand the true benefits of them. In fact, BEAMA also states that by reducing wasted heat from overheating rooms could provide an energy saving of 18%!
To help, the team behind the Pegler Terrier TRV range has provided a best practice guide to installing TRVs…
1 Drain down existing system, connecting a hosepipe to the lowest drain off point available.
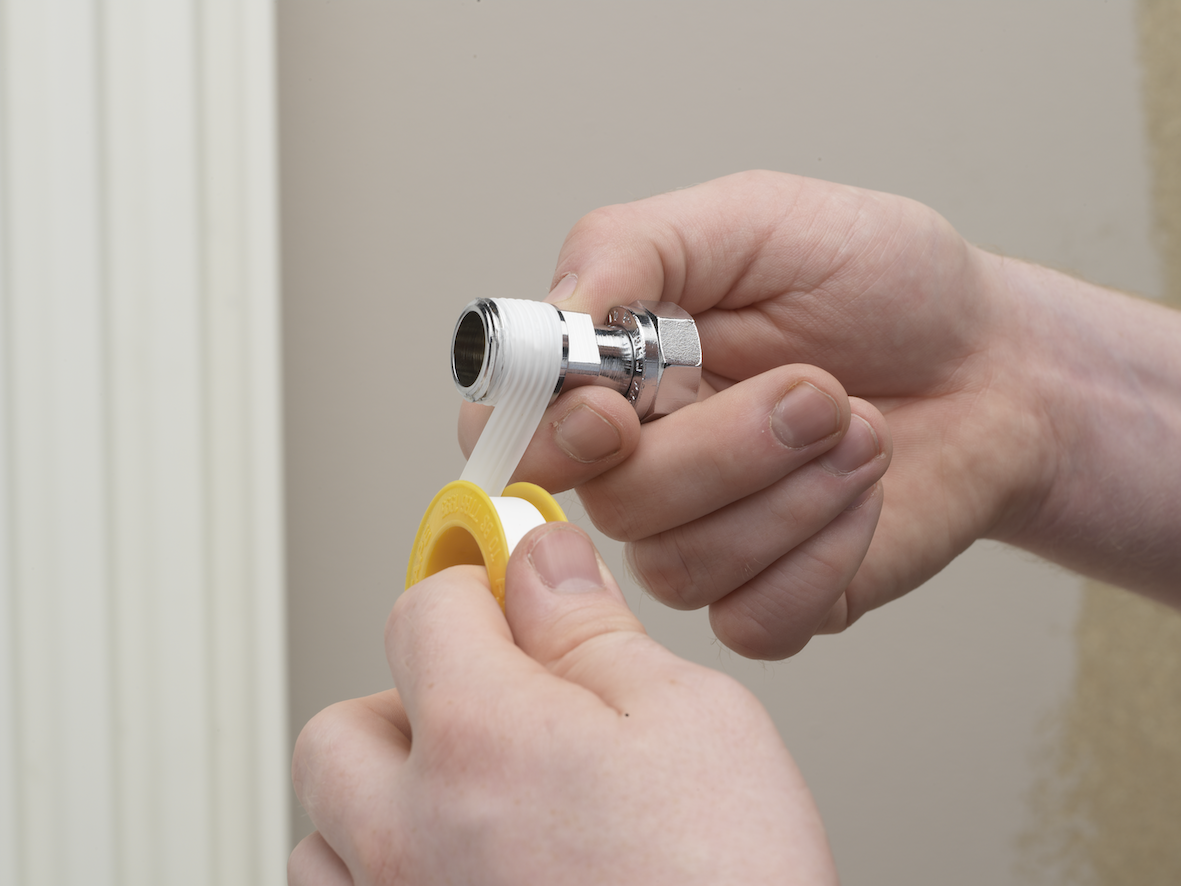
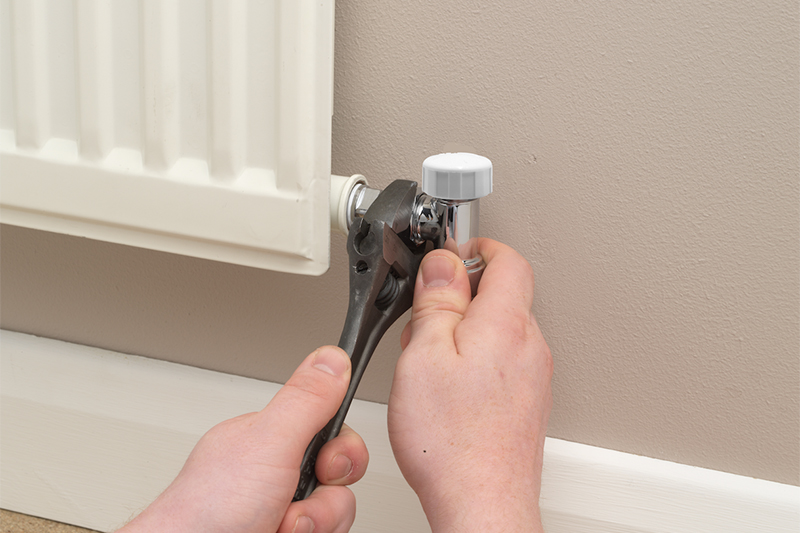
2 Apply a suitable PTFE based compound or PTFE tape to the threaded end of the tail. Screw ½” BSP tail into radiator and tighten using a high quality open ended or adjustable spanner.
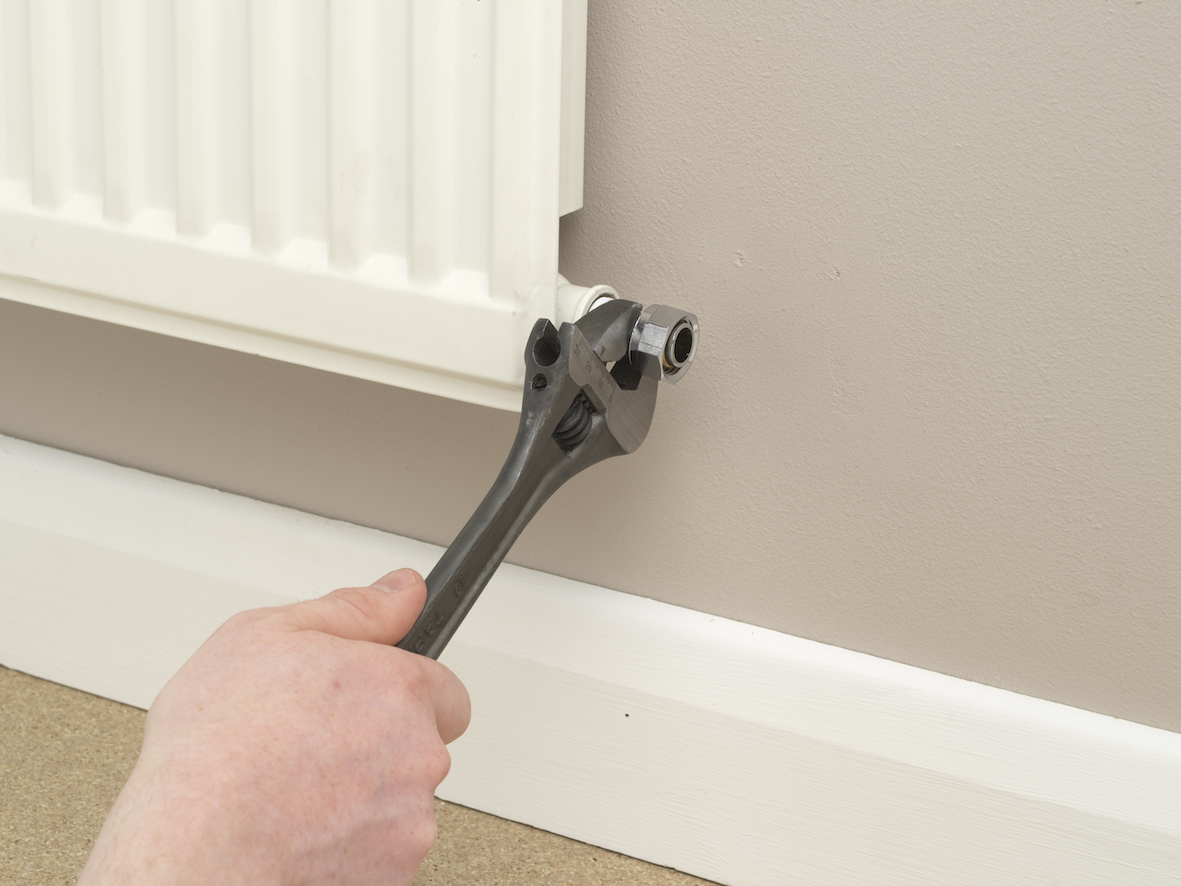
3 Connect the valve body to the tail, ensuring that the compression ring is seated centrally and that the tube makes firm contact with the tube stop in the valve body. Tighten nut, first using your fingers and then finish it by giving it a ¾ to 1 turn with a high quality open ended or adjustable spanner.
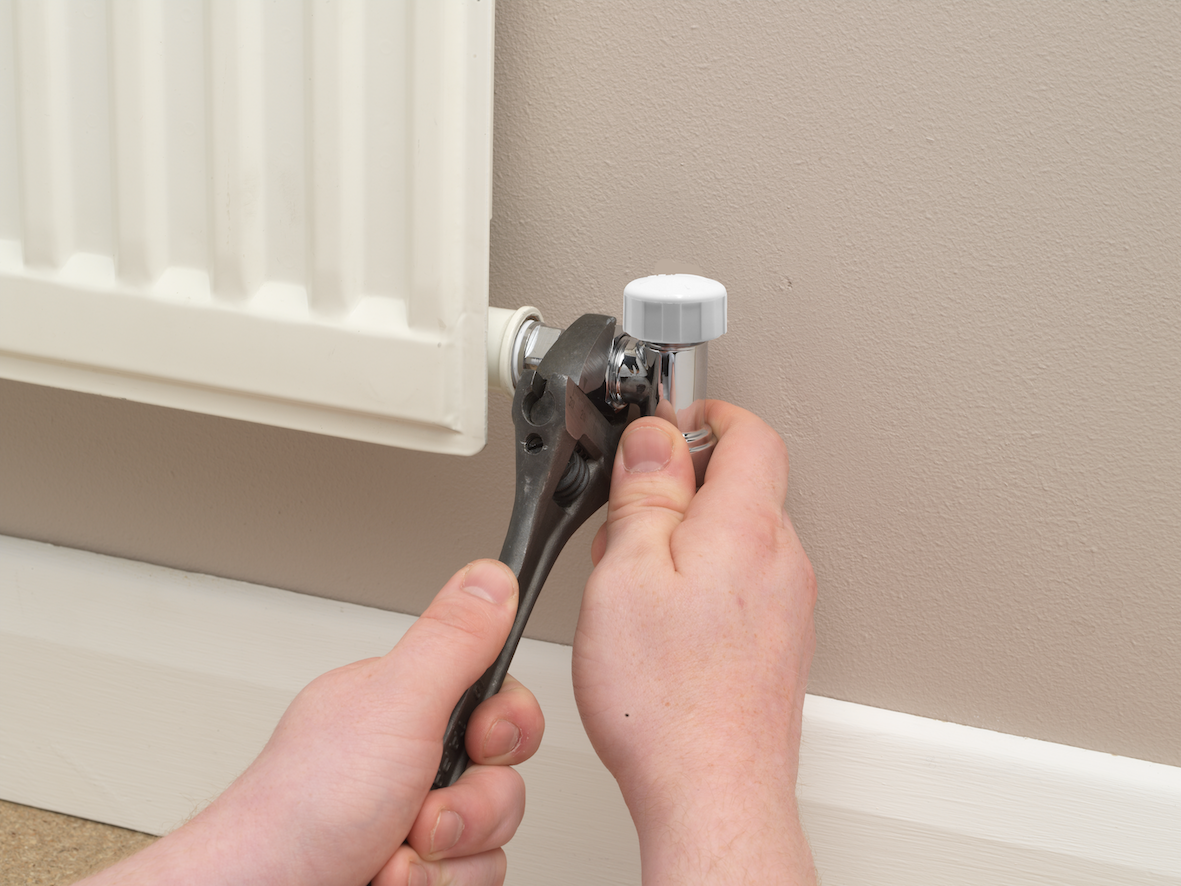
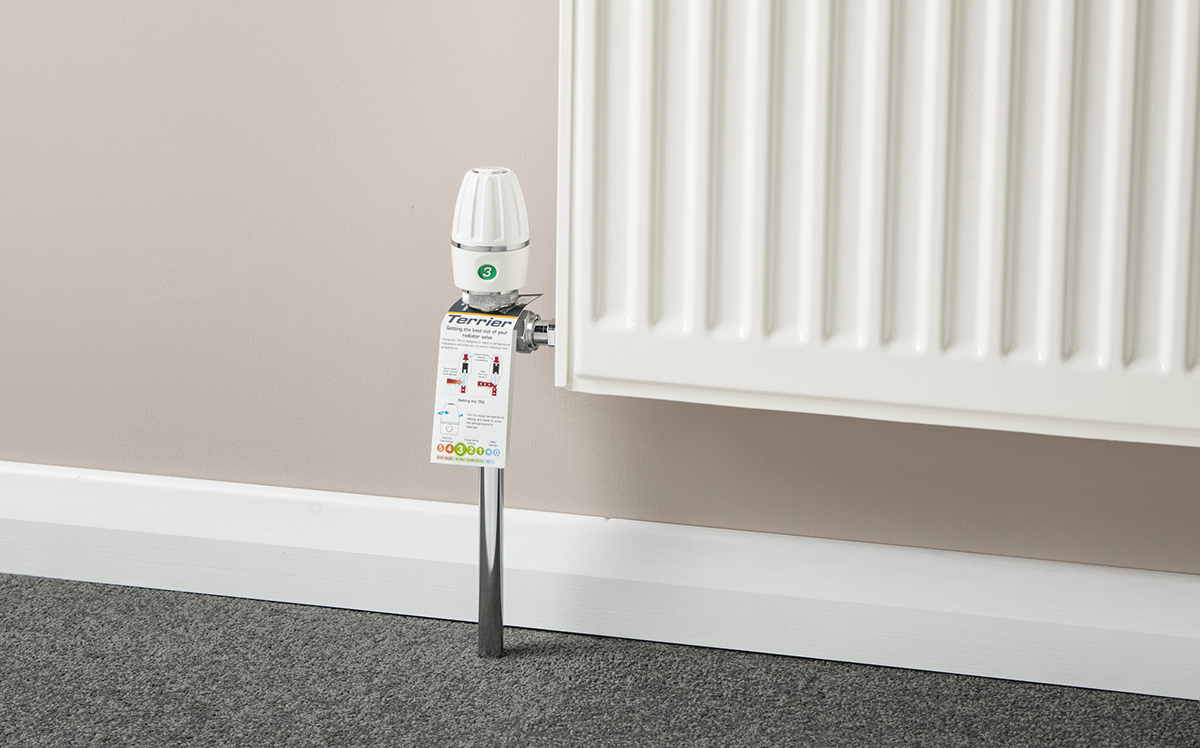
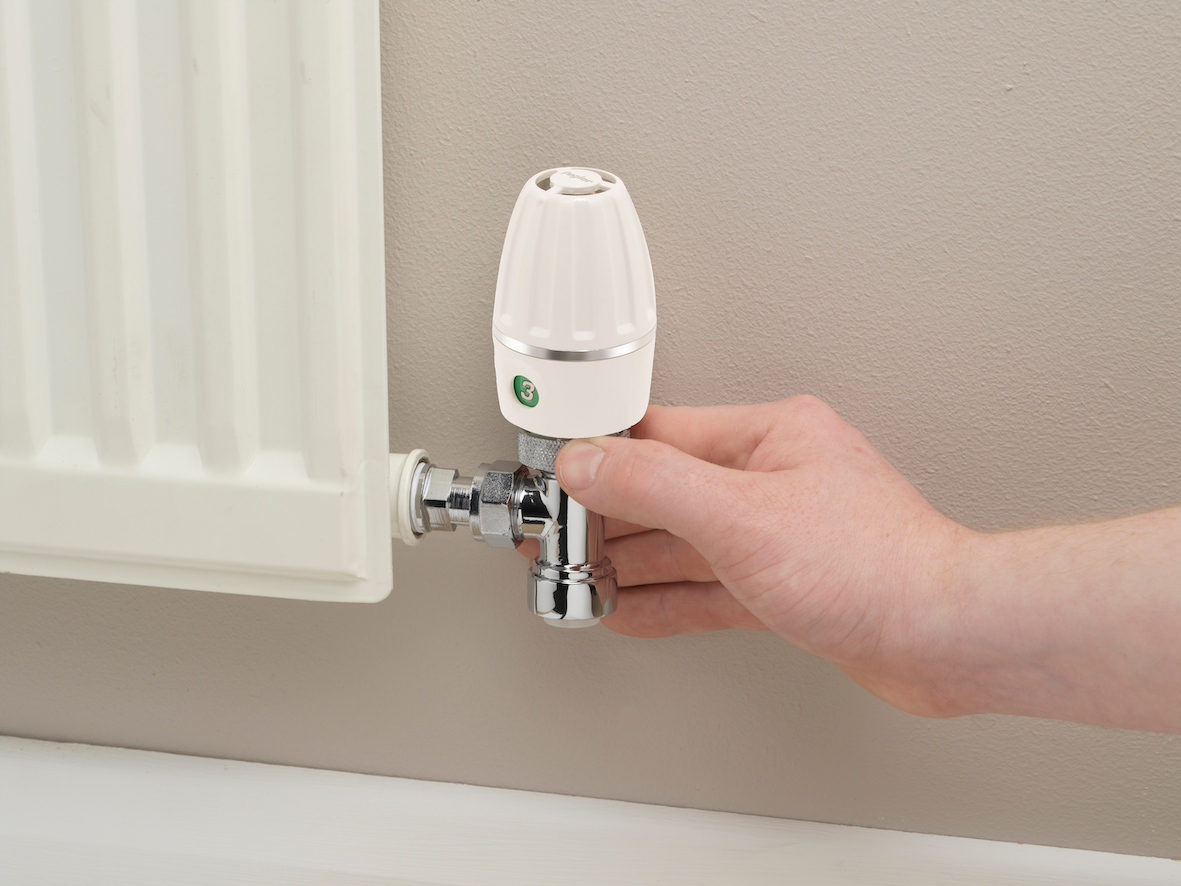
4 Remove manual shut off cap and store safely. With the sensor head set to the maximum setting (number 5) position the head so that the setting window can be viewed. Hand tighten the securing ring to fix the head in position.
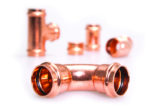
Compression
5 Insert the pipe into the fitting without removing the cap nut and cone, ensuring that the cone is in the correct position and that the pipe makes firm contact with the stop in the body of the fitting. In both cases, tighten the cap nut onto the fitting until the pipe cannot be rotated by hand. A drop of light machine oil on the threads will facilitate (particularly on larger sizes). Tighten the cap nut with a good, well-fitting spanner.
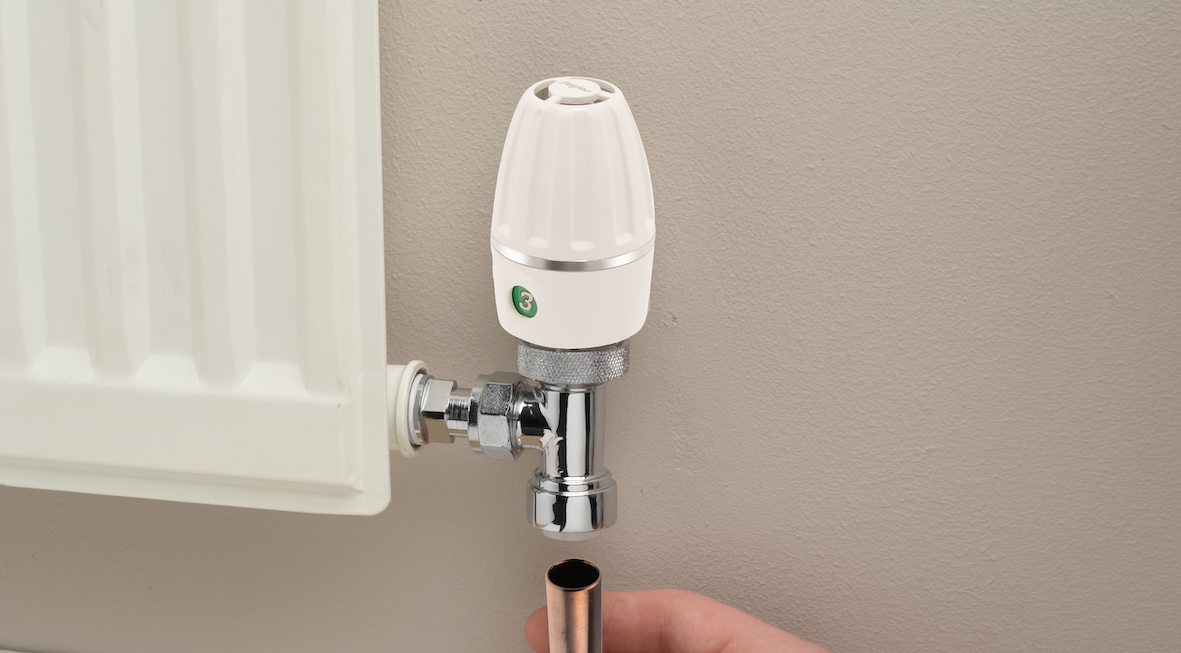
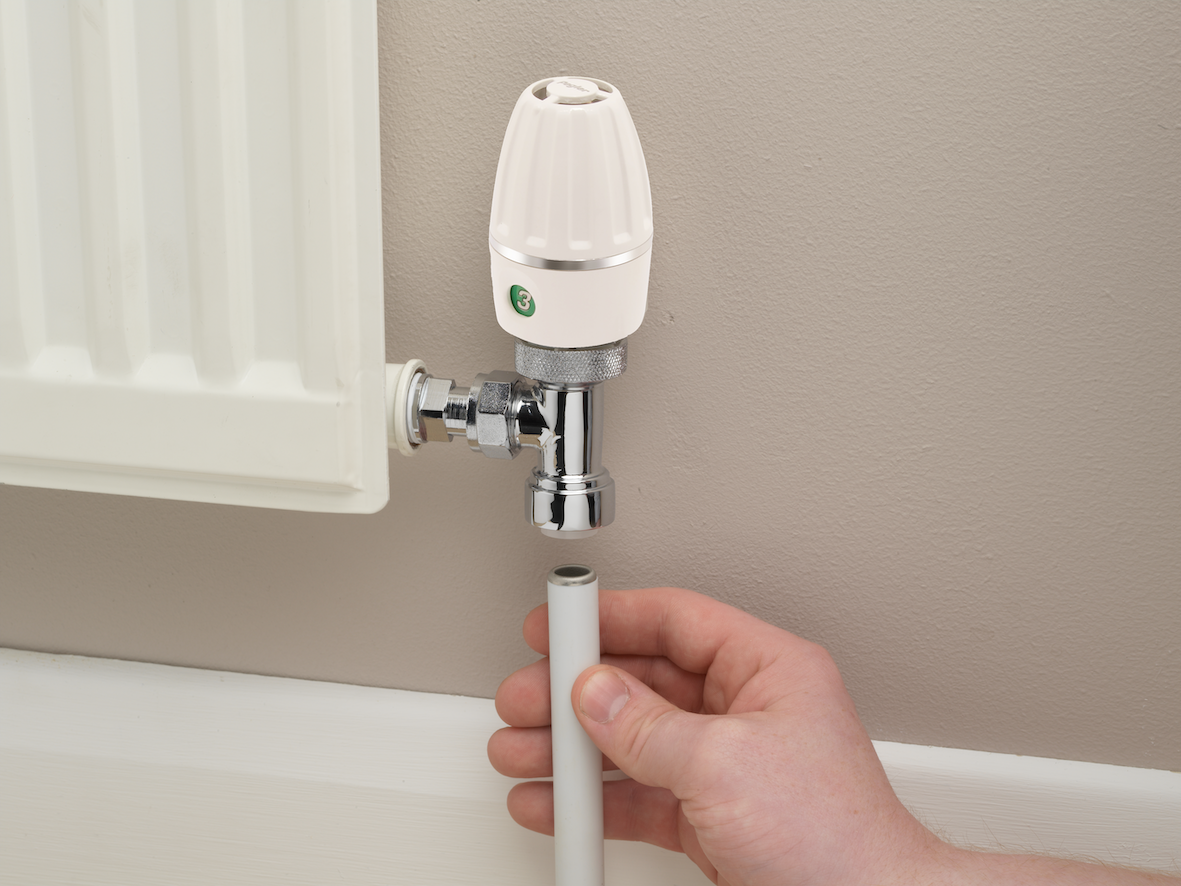
Push-fit
6. Push the tube/pipe firmly with a slight twisting action until it reaches the tube stop with a positive “click”. Ensure the depth insertion mark corresponds with the mouth of the inlet, then pull firmly on the tube/pipe to ensure the valve is secure.
7 Once the system has been re-commissioned make the homeowner aware of the user guide that is attached to the neck of each valve (this can easily be removed once read). This has been designed to encourage homeowners to understand the working of a TRV and how it can be used to increase energy efficiency and decrease costs.