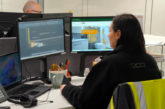
PHPI tracks the installation of a Sanifos 500 from Saniflo.
The renovation of an old French mill house from the 1930s required an extensive overhaul of the drainage to the property to ensure compliance with local building regulations. To keep excavation work to a minimum, the contractor, SBTP of Val-de-Marne, installed a Sanifos 500 underground lifting station in the basement for the discharge of black water waste from the whole property.
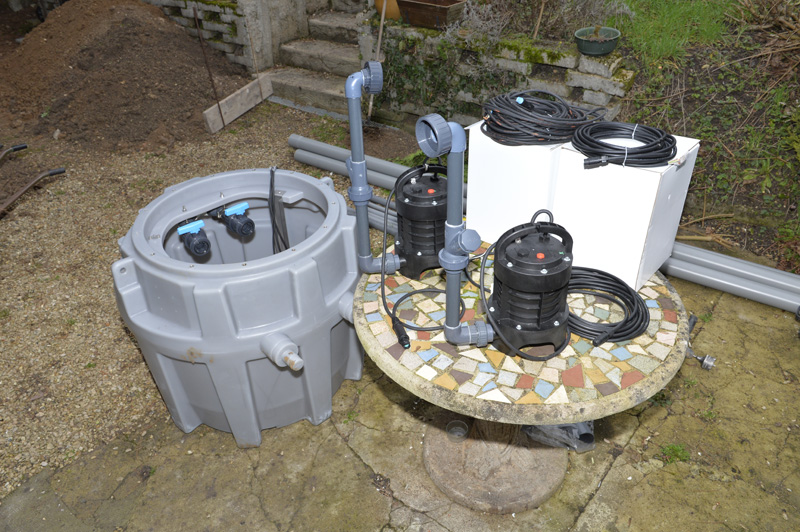
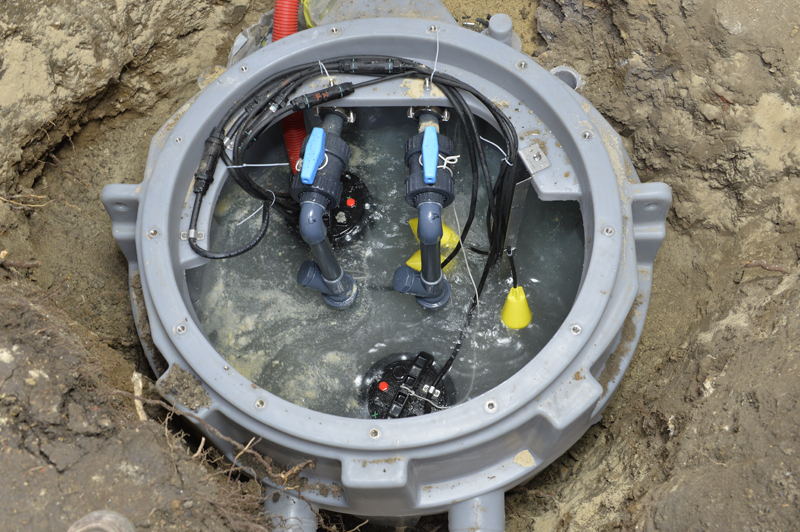
The unit is equipped with dual motors and has two separate load balanced pumps with high performance macerating systems that operate alternately for even wear and provide fail-safe running. It also has a remote control and an alarm box for ease of operation and monitoring.
Step 1
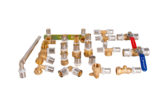
The unit is delivered to site with all the elements required for connection to the drainage pipes.
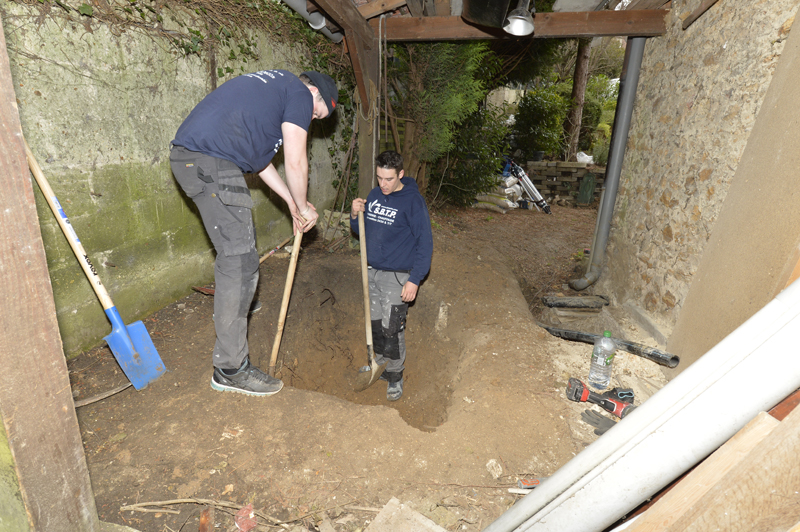
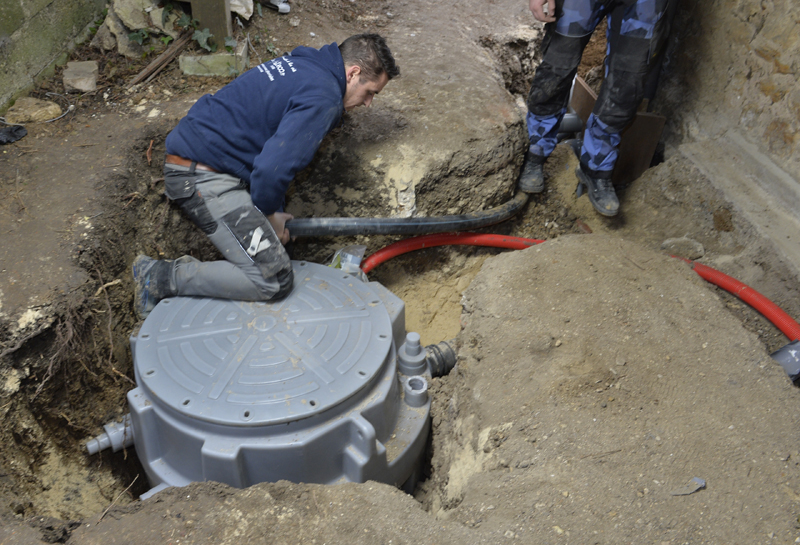
Step 2
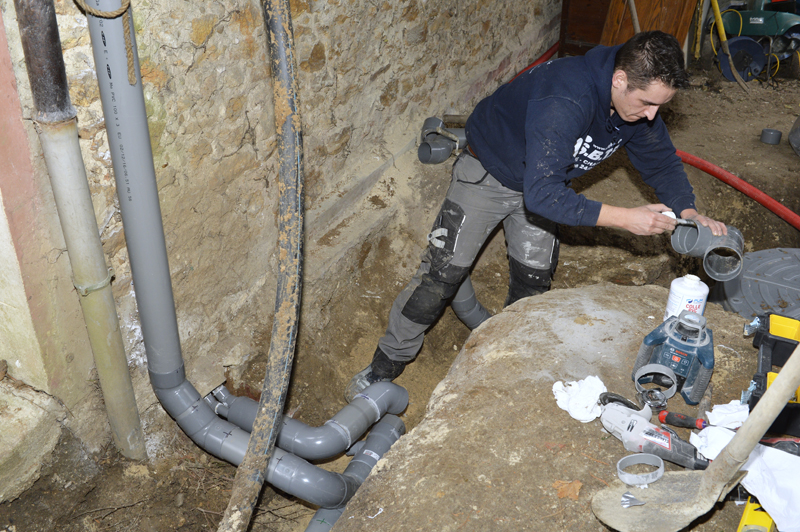
The installers dig a hole ready to locate the lifting station. This is near to the black and grey drainage pipes and the rainwater collection point.
Step 3
A good layer of levelled sand ensures a flush installation of the lifting station and prevents any effluent from stagnating at the bottom.

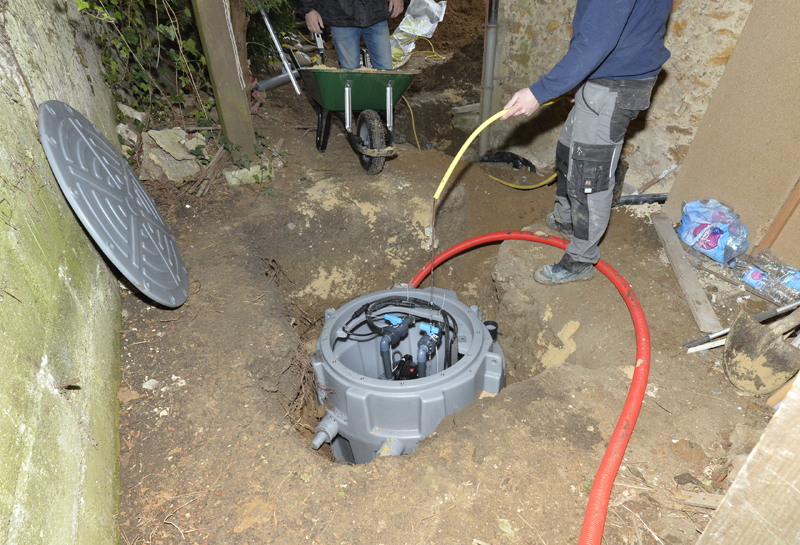
Step 4
At this stage in the installation, the pit remains open with three yellow trigger floats for the alarm and the pumps.

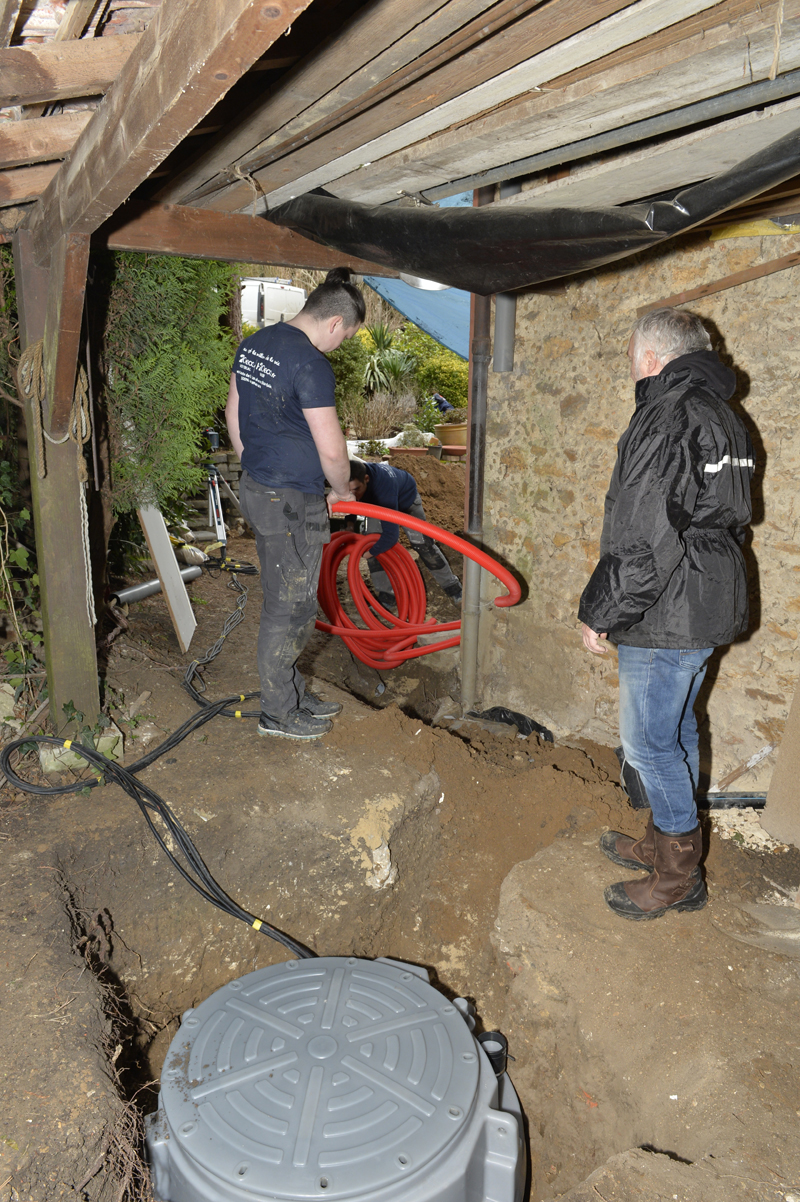
Step 5
The red cable that protects the power supply is unwound and the electric wires are inserted inside the Sanifos.
Step 6
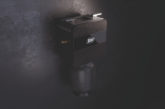
With a Smart interactive control box located near the Sanifos 500, the lifting station can be fully controlled at all times with a stop button and safety switch.

Step 7
More sand and pea shingle mixture is used to fill the space around the pipework.
Step 8
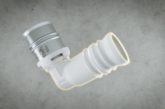
Water pipes are connected at a 45 degree angle. The black pipe with the blue line connects to the sewer.
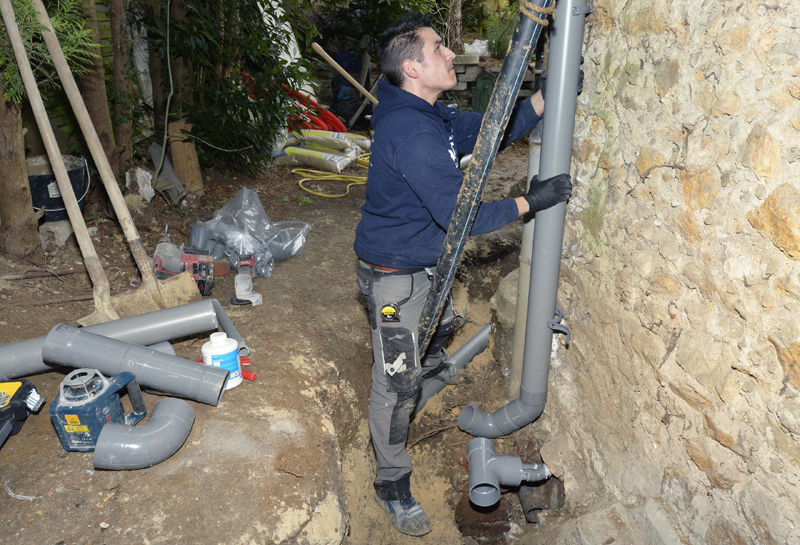
Step 9
The Sanifos 500 is connected to the electrical network and is filled with water to check that the pumps work properly.
Step 10
The 50mm external diameter discharge pipe that connects to the sewer is attached to the Sanifos 500.
Step 11
In front of the house, the rainwater is collected and brought to the level of the lifting station. The communal pipe network was not affected.

Step 12
A final check to ensure all equipment is encased correctly within the unit is made.
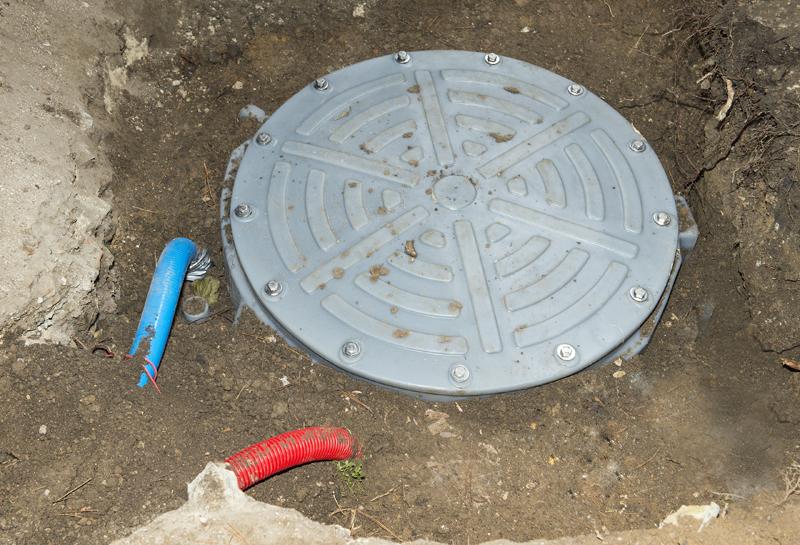
Step 13
The station is closed. The blue casing facilitates ventilation to avoid incorrect operation of the pump.
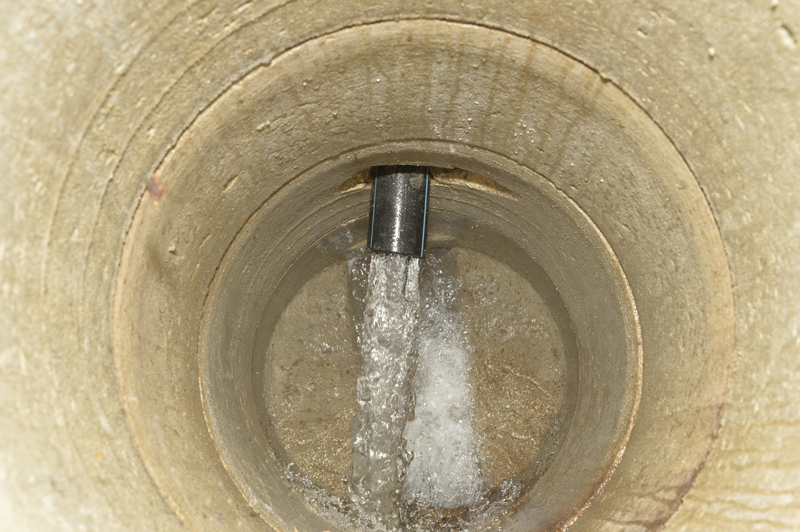
Step 14
The station is switched on and the water is successfully pumped into the main sewer which is located outside the property.
The whole installation process took less than two days and the plumbers were able to move on to renovating the bathrooms which will discharge into the Sanifos 500 and pump out to the main sewer.