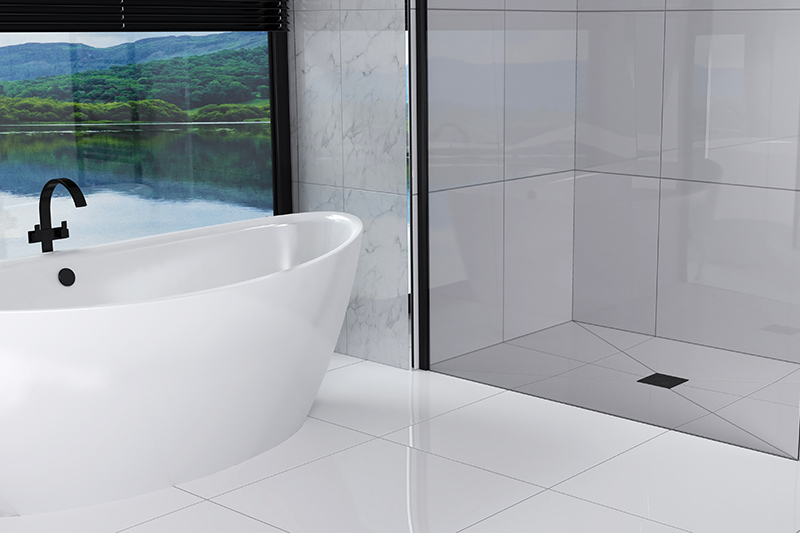
Kudos Showers explains how its Aqua4Ma wet room system can help to speed-up installation while providing a waterproof solution.
Whether you are creating a full wet room, or a wet showering area, they offer the illusion of more space, in the room. And as the majority of British bathrooms tend to be small in size, wet rooms are a great solution.
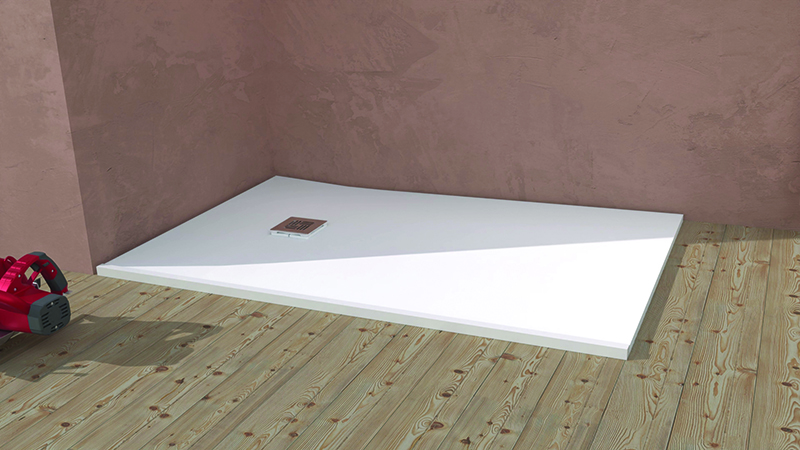
In Aqua4Ma from Kudos the system doesn’t require tanking prior to installation, the old-style membranes have been replaced with CNC machined panels of extruded PVC, a material that is waterproof and quick to install. The panels come in different sizes and thicknesses (to help structural features like seating and shelving to be created) and with shower decks offering centre or end waste options. They can be cut to size and be fitted directly to wooden or solid floors or to a raised plinth as required.
With Aqua4Ma Evolution the joints are solvent welded together with a solvent paste to provide a one-piece permanent waterproof barrier that’s guaranteed for life. And the decks can be used on their own within a showering area, or they can be coupled with floor, skirting and wall panels to provide totally watertight room protection. They are also suitable to be used with underfloor heating.
One of the key new features of the Aqua4Ma Evolution wet-room system is that it is suitable for immediate finishing with tiles, vinyl or micro-cement. The closed cell extruded PVC panels with solvent welding joints allow fitting and tiling within the day. The robust panels also allow tiles to be removed and replaced without compromising the water proof integrity of the system. It negates the need for a membrane which really speeds up the installation process.
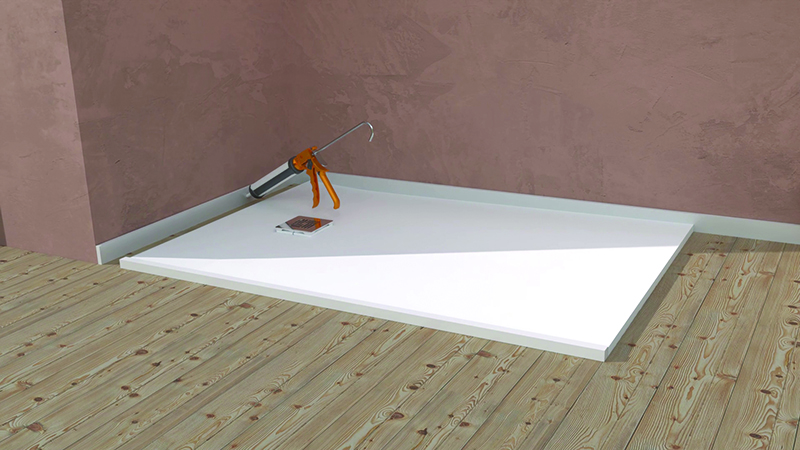
Kudos runs through a step-by-step installation for its Evolution featuring a centre waste onto floorboards
First, make sure you have the correct tools. To complete an Evolution installation you will need:
- Solvent weld
- Spirit level
- Circular saw
- Hand saw
- Drill with screw bit
- Stanley knife
- 152OD hole cutter
- Tape measure, pencil
- Drill bit
- Notched trowel
Important things to check before getting started:
– Check the existing floor needs to be level, however, a tolerance of 5mm per meter is acceptable and tiles need to be bedded-up to compensate for this.
– Allowance must be made by the installer when tiling to compensate for any difference in levels created by the trimming of the shower base.
– Recommended dry wall screws only (diameter 3.8/4.2mm thread) are used to fix the base and panels to the floor and walls. Screw lengths will be dependent upon the panel/floorboard thicknesses used.
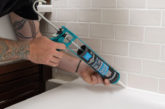
1. Fit the skirting to the stud wall using standard dry wall screws. It is the same process should you wish to fit Aqua4Ma 15mm tongue and grooved panels to extend the shower area further. Ensure that you apply a bead of solvent weld to every join within the skirting or wall panels
2. Dry fit the deck. This process is the same for both aqua4ma linear and evolution decks
a. Place the deck in the desired position
b. Mark the position of the waste hole
c. Trim the tray (if required and ensure that you only trim sides that meet the wall)
d. Check the waste positioning in relation to the joists/ pipework
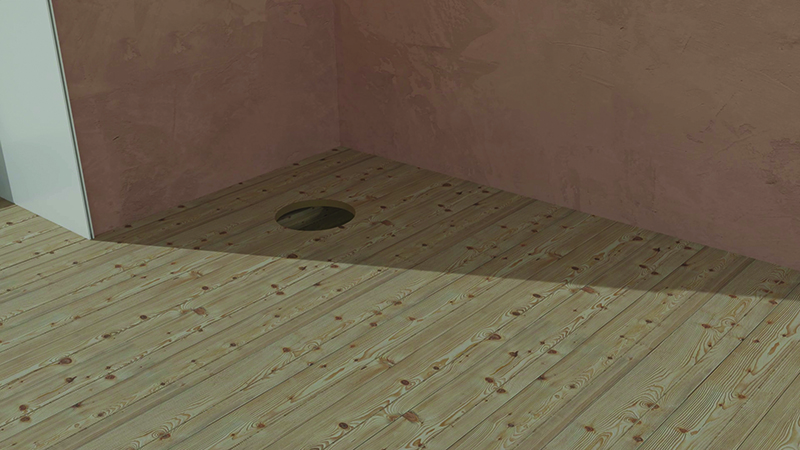
3. Cutting the hole for the waste** Remove the tray, and (in the centre of the marked position) drill a hole with a 152mmOD hole saw; to install the tray on to a solid floor you will need to remove the section of concrete/ screed for the waste body and waste pipe.
**When installing a linear deck, rather than cutting a circular hole you will need to cut out a rectangular hole to fit the plate.
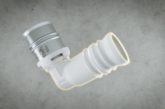
4. Connect the waste body using 1.5”/ 40mm UK compression waste pipe (not supplied), ensuring that the waste body is positioned to the centre of the cut-out.
We recommend that the shower waste is connected to its own dedicated pipework and should not be shared with other waste pipes.
5. Place the tray into position and then fit the threaded connector, wedge seal, grill retainer and height spacers (as required). Twist the threaded connector into the waste using the tool provided.

6. Next, secure the tray using drywall screws around the outside of the square groove so that you miss the square steel support plate (when installing onto a solid floor please apply flexible tile adhesive to the underside of the tray)

Mark out 150mm squares on to the tray to help with the even placement of screws.

For ease, we have used a pre-cut piece of Aqua4ma (wood or similar would also work) that is 150mm wide and measures roughly the same length as the deck that we are installing.
The pre-marked border on the deck gives you a clear starting point which is 20mm in from the edge of the deck and flooring. Using the pre-cut material, we then mark out our squares.
Once all screws have been fitted, go over all joint and skirting lines with remaining solvent weld.
7. Should you wish to extend the wetroom flooring beyond the tray/ deck you will need to ensure that the flooring is installed to the same height as the deck. To do this you can use either 18mm ply plus 7mm Aqua4ma floor panels or the 25mm Aqua4ma floor panels.

Start by laying down the 18mm ply-boards and then secure them in place using dry-wall screws at 150mm centres.
Using Kudos solvent weld, apply a continuous bead to the edge of the shower base.
Then apply a cement based flexible tile adhesive (not ready mixed) to the 7mm aqua4ma panels ensuring that you keep the adhesive approximately 50mm away from the edges.
Lay the 7mm panels up to the edge of the base applying pressure to ensure that the panels are fitted firmly against the base edge, then secure the panels in place using dry wall screws at 150mm centres and wipe away any surplus solvent weld.
Continue to fit panels to adjoining panels, using solvent weld on joints and screws to fix them to the floor (at 150mm centres as previously) until you have covered the desired area.
All panels can be trimmed to size using either a handsaw, circular or jigsaw.