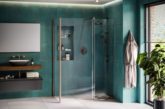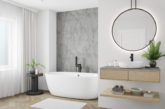
Designed to be quick to install and easy to maintain, products such as Mermaid shower panels have emerged as a bathroom tile alternative. Here, Mermaid provides its guide to fitting bathroom wall panels based on its Mermaid Elite range.
Plan your installation
It may sound obvious, but before starting any work, plan your installation. Will your panels need postformed or tongue and groove edges, for example?
Your toolkit
While no specialist tools are needed to cut and fit bathroom wall panels, the following tools will aid your installation:
– Circular saw – to size panels
– Jigsaw – to scribe panels around shaped areas
– 2 x suction lifters to handle panels
– Electric hand drill and saw – to cut holes
– Sealant gun – to apply adhesive/sealant
– Sealant smoother and removal tool
– Screwdriver, measuring tape and pencil
– 2mm and 5mm wedges
– 3m straight edge
– Plumb line or spirit level
This is a brief guide on installing bathroom wall panels for full installation details please visit the Mermaid Panels website
1 Plan your design Before starting any installation we recommend you plan out your design. Thanks to our tongue and groove system it may be possible to use offcuts in other locations of your design. Ensure you’ve picked the right panels for your job – postformed panel with a tongue or tongue and groove panels either side.
2 Measuring Measure and mark the height of the space where the first panel will be fitted, subtract 2mm for the joint between the panel and the ceiling, subtract 5mm for the joint between the panel and tray. Then measure and mark the width, subtracting 2mm for the corner of the wall. Ensure the position of plumbing cut-outs are also marked and measured. 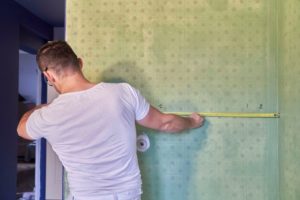
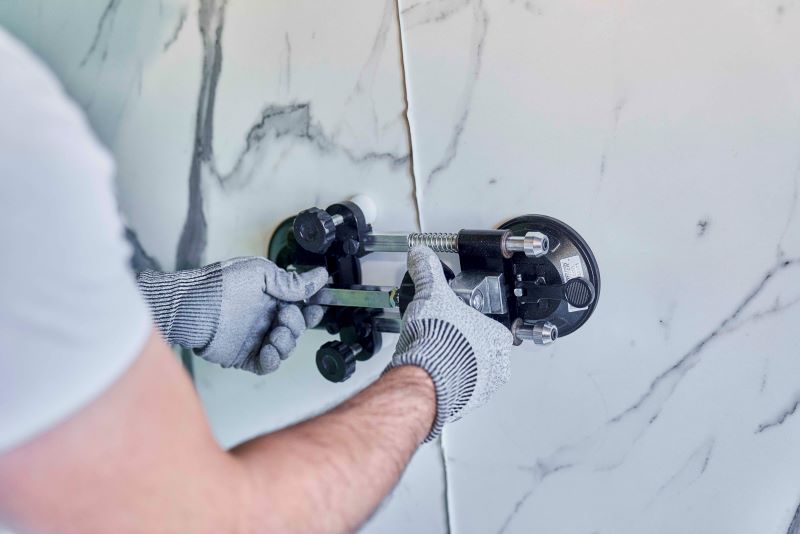
3 Cut and drill Transfer these measurements to the panel and mark the cut lines, before cutting the panel using your circular saw. PPE is necessary when cutting the panel, so please ensure this is accounted for. If using offcuts as part of the design, ensure these are kept. Mark the positions of the plumbing cut-outs on the panel, and using your hole saw, drill the holes. 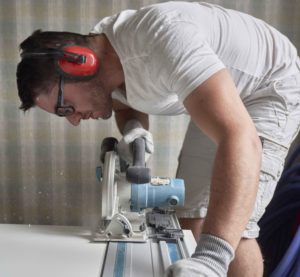
4 Dry-fitting Before applying adhesive, test fit the panel by placing it in on the wall to ensure it fits the space as intended. Use your suction lifters to position the panel. Check that the panel is flat and at the right dimensions, making adjustments if necessary. When dry fitting the panel, ensure you place the spacers in as required, along horizontal and vertical joins. 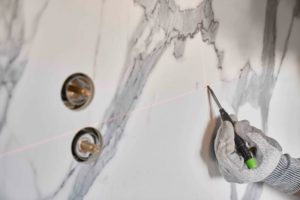
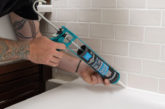
5 Adhesive and sealant application Apply 1 to 2mm of Complete coloured sealant to the flat edge of the groove and to the tongue on the panel just positioned. Apply a 4-5mm bead of adhesive, inset 40mm around the perimeter of the back of the panel. Then apply equally spaced vertical strips of adhesive using the entire tube on the panel. You should get approximately five vertical strips on a 1200mm panel. For smaller panels, or panels cut down, apply proportionate amounts of adhesive. 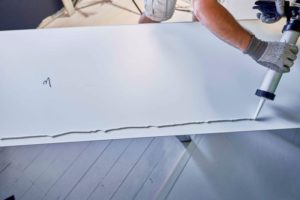
6 Fitting Once adhesive and sealant is applied, use your seaming tool to press the panels together until the sealant bulges, remove this excess sealant. To ensure even panel bonding, brace firmly against the panel with the straight edge. Adjustments can be made up to 15 mins after bonding to the panel in place. 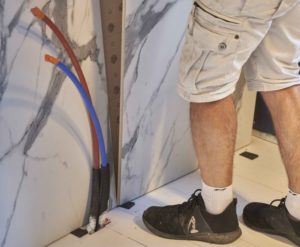
7 Repeat as necessary For remaining panels, repeat the measure, cut, dry fit, and then apply sealant and adhesive before fitting into position. 
8 Seal the joints Using Complete coloured sealant, seal around the plumbing cut outs, the corner joints, along the postformed edge and where the panels meet the floor and tray. Ensure excess sealant is removed as each joint is sealed. Allow 12 hours at room temperature for panels to dry before installing fittings. 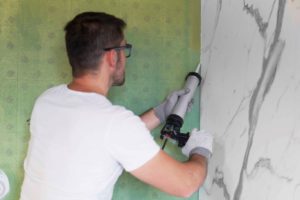
9 Stand back and admire Your panelling project is now complete, so sit back and admire the finished product before handing over to your customer. 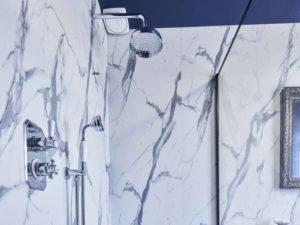
For help on your next bathroom wall panels installation project, please access the company’s range of installation instructions guides along with helpful videos.