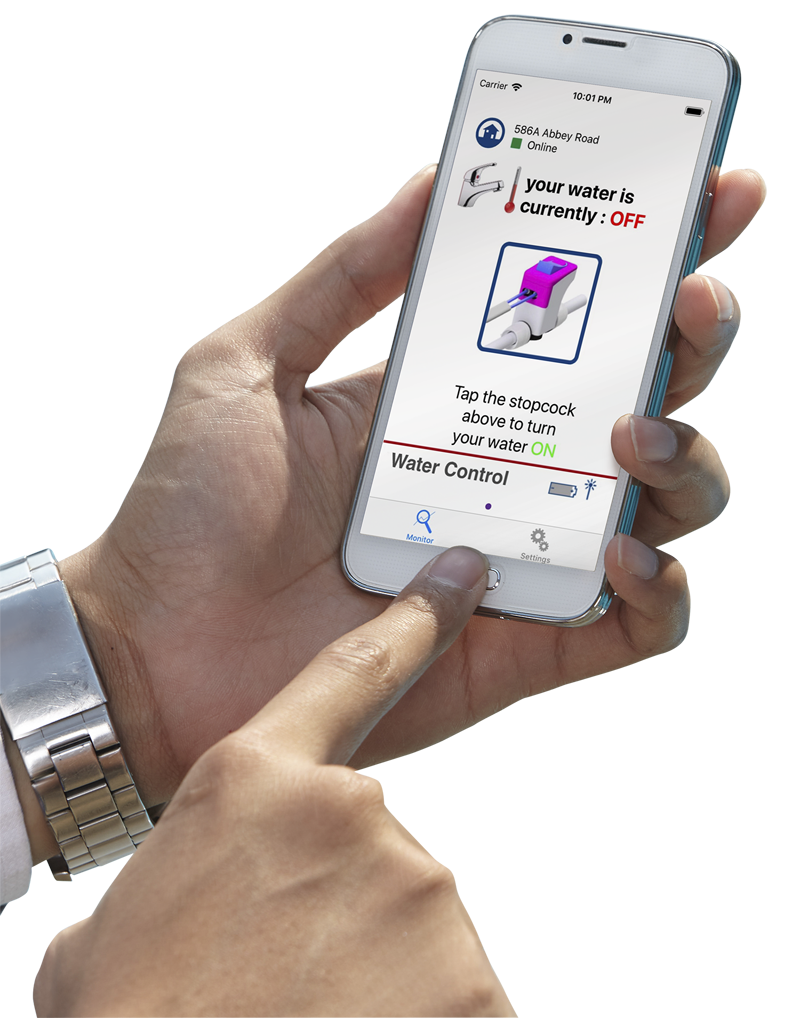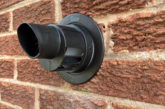
The Surestop i-water control enables homeowners to control their water when away from the home – helping prevent possible water damage. PHPI invited the company to demonstrate the installation process.
The humble stopcock underwent a revolution a few years ago when Surestop was launched. Now, the launch of Surestop i-water control promises further benefits for installers and homeowners as it provides the ability to control water away from the property.
The Surestop i-water control water valve and remote unit is battery operated and has been designed to easily integrate into domestic plumbing systems. Utilising smart technology via the Surestop app on a phone or tablet, mains water can be turned off by swiping right anytime, from anyplace and anywhere.
Installed in as little as 30 minutes and WRAS approved, the i-water control can help in the reduction of water wastage, is unaffected by limescale and is supported by the Honeywell Home leak detector and sensing cord.
The step-by-step below provides an overview of the installation process, which Surestop believes is a simple install that could save thousands of pounds on water damage repairs.
Step-by-step guide
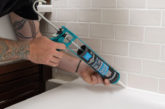
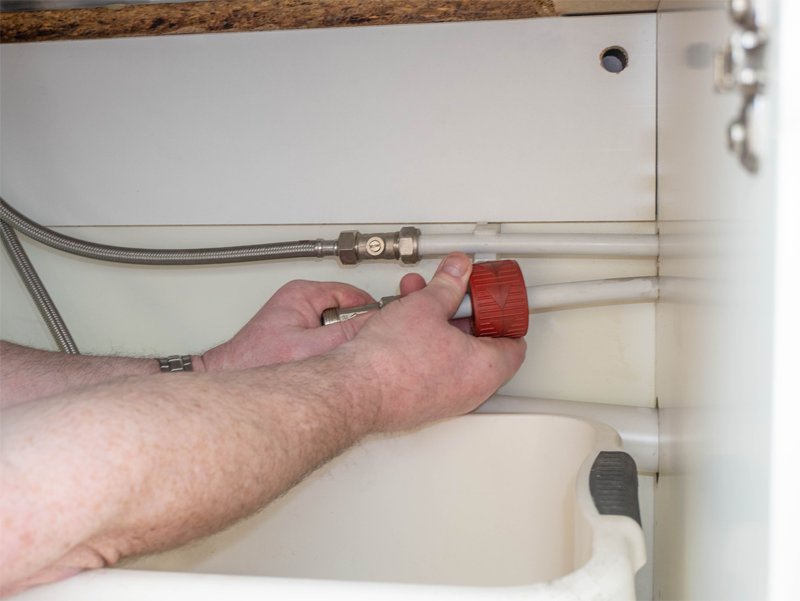
1 As is standard, ensure you have a good clear work area. Locate and identify the main stop cock. Once the stop cock is located, isolate the water supply and drain, ensuring no water is left.

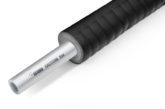
2 Select location for Surestop valve, this is ideally suited to be as close as possible to the switch however, the product does come with pipe of up to 2 metres to give some flexibility. However, it is important to ensure there are no other cold draw offs between the stopcock and the Surestop valve.
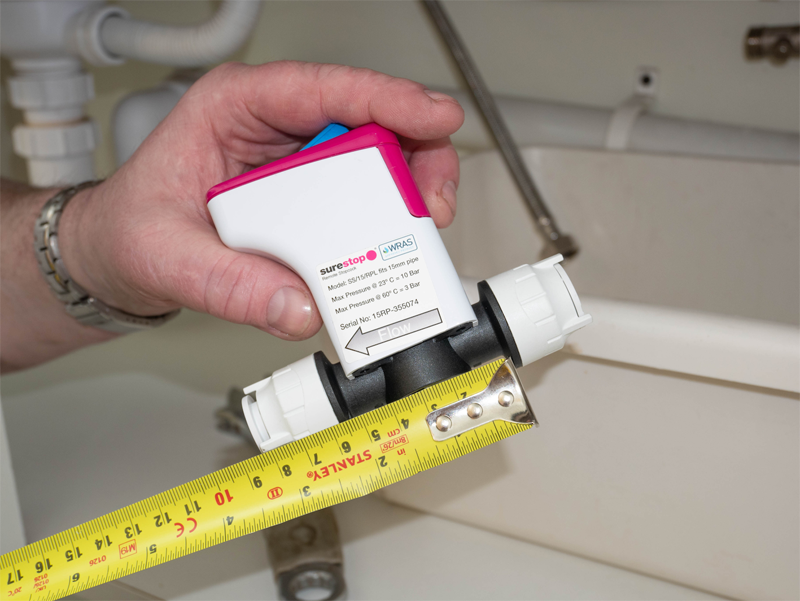
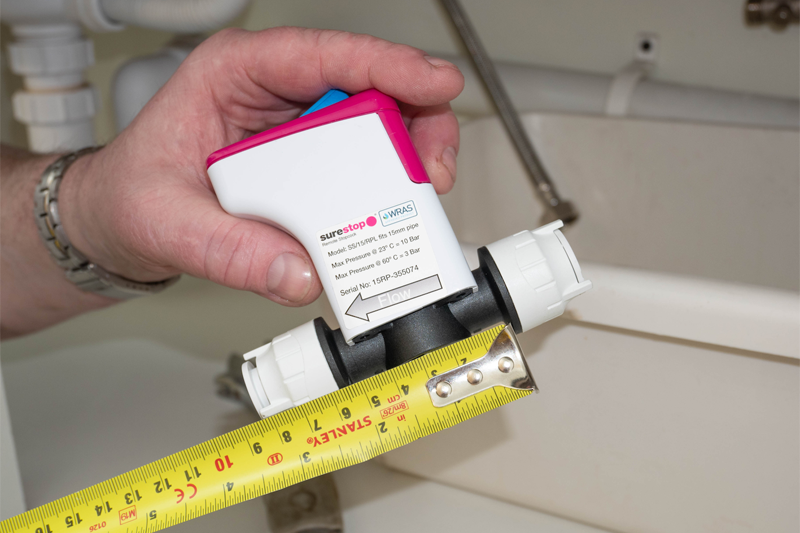
3 Once the ideal location is selected, measure 55mm of plastic pipe and remove the section, to accept the Surestop valve. With plastic pipe, inserts must be used. Mark the pipes with a K mark at 25mm from each end to indicate complete insertion. Insert both pipe ends into the Surestop valve up to the K marks ensuring both are fully inserted [tip: Silicon lubrication maybe used to aid pipe insertion]
4 Select the location for i-water control switch unit, ideally this is suited to being situated in a cupboard or under the sink, (it can actually be situated up to six metres from the valve). Due to this unit being controlled via an app, and therefore does not require unobstructed access at all times, there is no great necessity to have this being positioned in an exposed place. Insert AAA batteries as provided in the pack before fitting the unit in desired location.
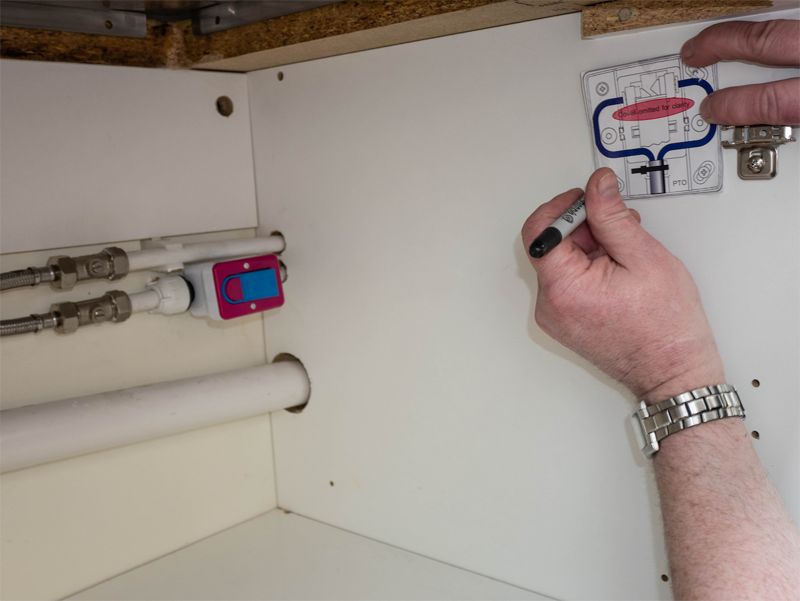
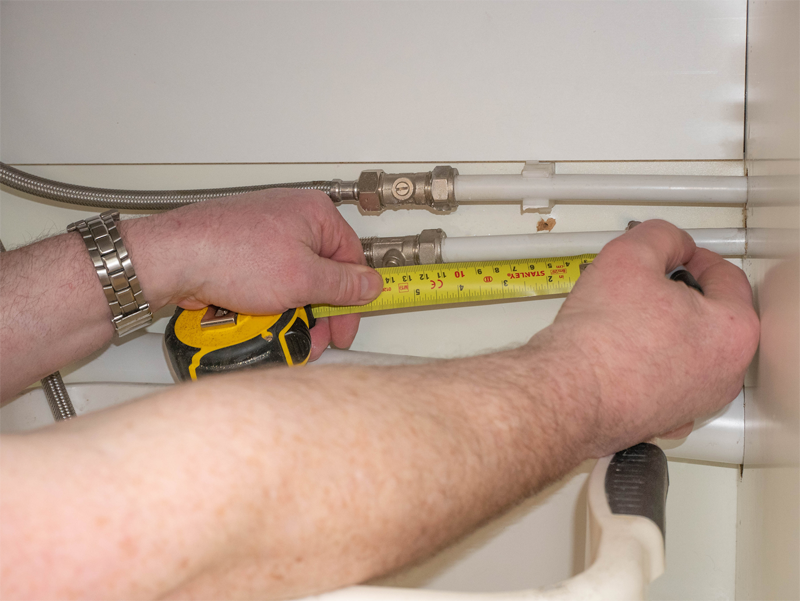
5 Measure the distance between the Surestop valve and i-water control unit then cut the provided pipe to size [tip: Use blue cutting guide provided to ensure a square cut giving a more precise fit]
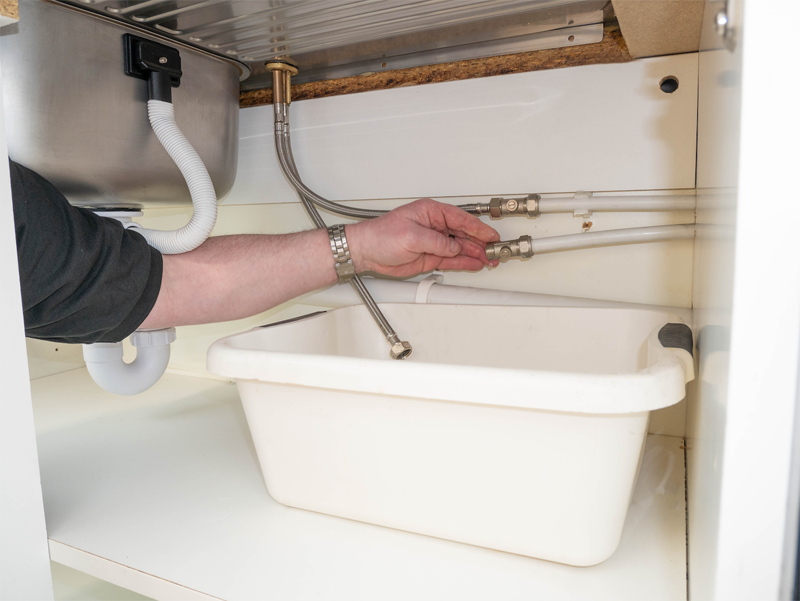
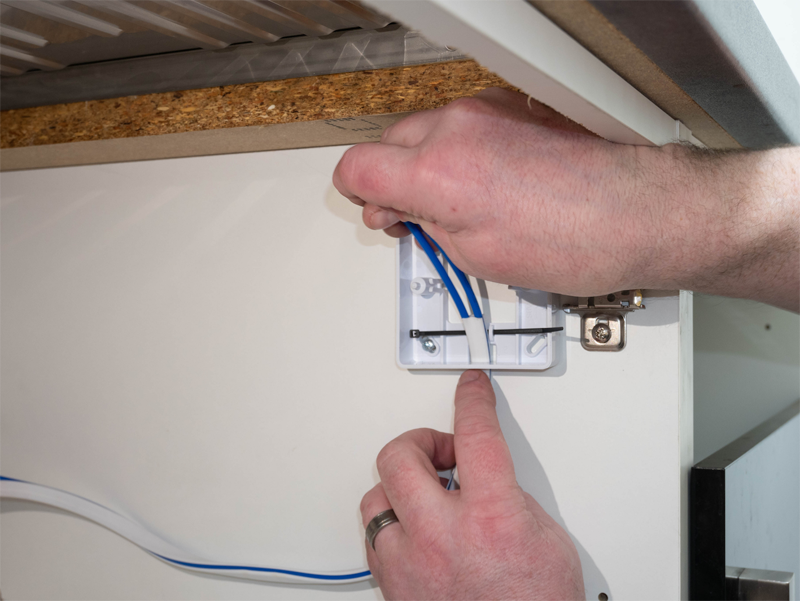
Connect pipe into both Surestop valve and i-water control unit. Isolate valve and unit, reinstate mains water supply being mindful of pipes being inserted correctly avoiding any leaks. Use the provided clips for a neat finish.
Take out hub from pack and connect to WIFI router via ethernet cable provided. Download the Surestop app from App Store or Play Store onto customer’s phone/tablet. Follow set up instructions on app to connect valve.
Turn on original stopcock and ensure Surestop valve is open, making sure the nearest tap outlet is turned on, press Surestop i-water control unit to ‘off’ ensuring waterflow ceases.
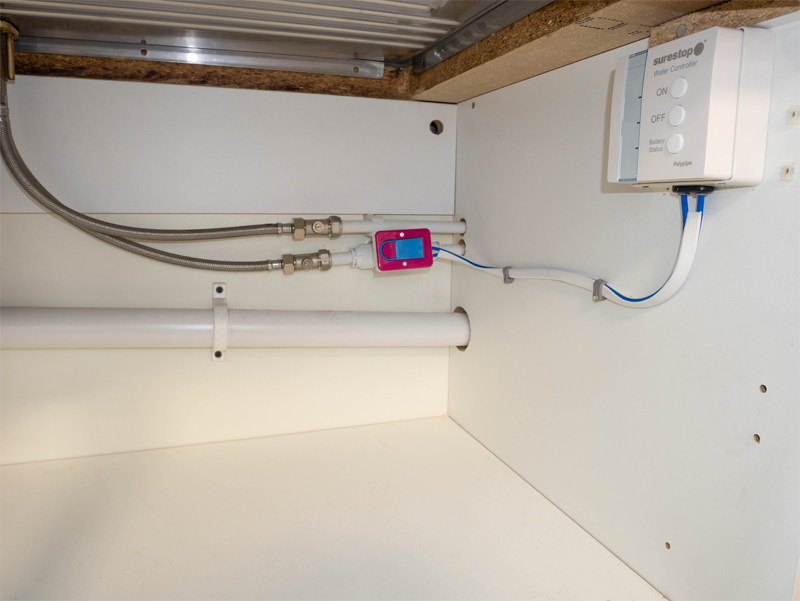
6 Test app control by swiping to the ‘on’ position ensuring water flows from the tap immediately. This will then reassure that the Surestop valve, hub and i-water control unit are fitted correctly and all is working. Finally, turn off the tap and the Surestop i-water control is ready for use.