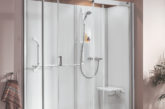
PHPI tracks the installation of a Mira Vie.
This step-by-step guide is intended to be used with the manufacturer’s installation guide, which contains further information not covered here. This further assists a competent installer with some important steps and tips. This covers the mains water fed Mira Vie unit.
This shower must be provided with means for local disconnection that is incorporated into the fixed wiring in accordance with the relevant local wiring regulations. This must be a double pole switch, which has at least 3mm contact separation in each pole. The switch can be a ceiling mounted pull-cord type within the shower room or a wall mounted switch fitted in the applicable zone area.
For new installations, a 30mA Residual Current Device (RCD) must be incorporated into the electrical supply to this shower in accordance with current wiring regulations. When replacing an existing electric shower, we recommend that a 30mA RCD be incorporated in accordance with current wiring regulations if not already provided.
1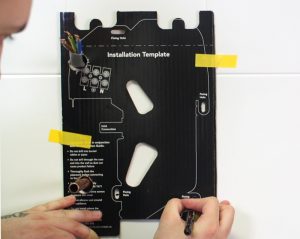
Use the product template to mark the fixing holes, and supplies. Avoid drilling into buried services using a stud detector. Drill fixing holes and use the wall plugs and screws provided to secure the shower to the wall.
2
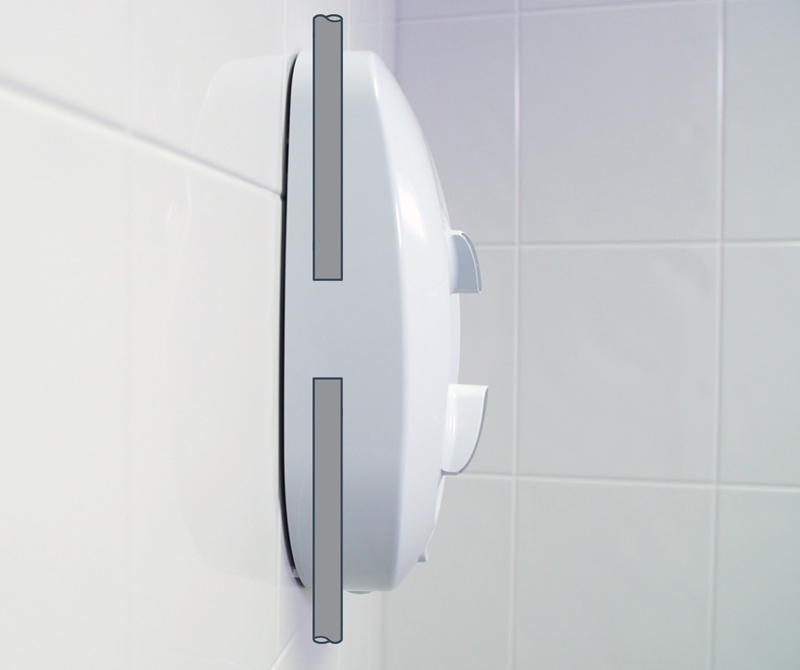
Remove the cover (a minimum of 200mm is needed above the unit to remove the cover when installed). Determine the direction and root of the incoming water supply, noting that this shower is not designed to be plumbed directly from the rear. The cover has thinned sections on the top and bottom that can be removed to allow entry of the falling or rising supply pipe and electrical cables.
3
 The local water servicing valve should be full bore to reduce system pressure losses. Flush the pipework until a clean and clear supply is presented before connecting the product. Fit the Mira Vie to the wall. Connect the inlet water supply and turn on the water supply – check for leaks.
4
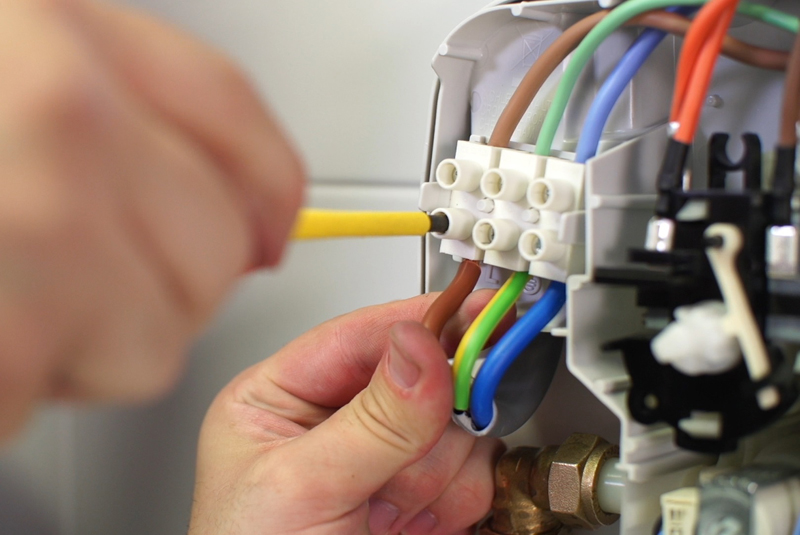
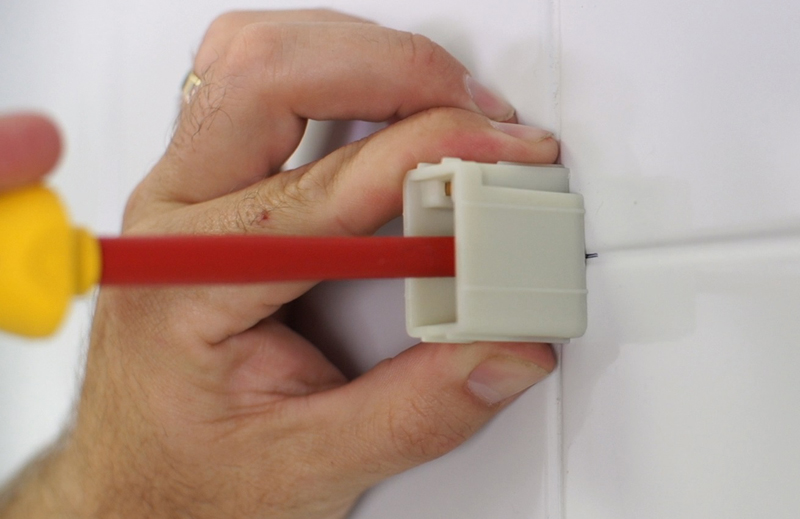
Isolate the electrical power to the shower and wire the electrical supply to the terminal block. Check electrical connections for tightness. Ensure the shower is bonded by performing an earth fault loop impedance test, to check for the correct earth resistance values. Obviously, the installation should conform to the wiring regulations.
5
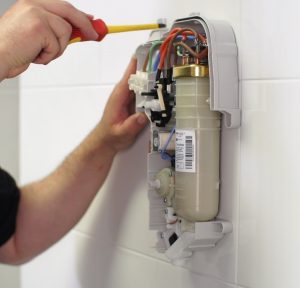
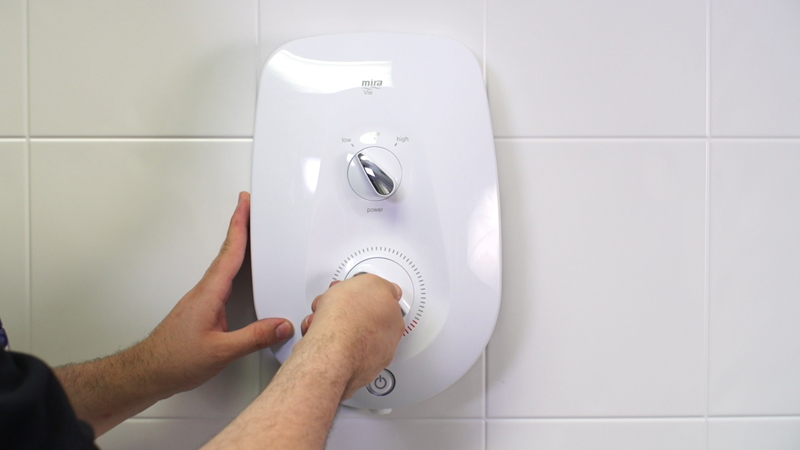
Make sure the control dials are aligned with the spindles and replace the cover.
6
Mark the fixing holes for the shower fittings at 630mm, and drill the fixing holes. Using the wall plugs and screws provided, screw the mounting bracket into the wall. Assemble the fittings and slot them into the mounting brackets. Fix the sidebar at both ends with the hex screws supplied. Attach the hose making sure that the rubber washers are in place at both ends.
7
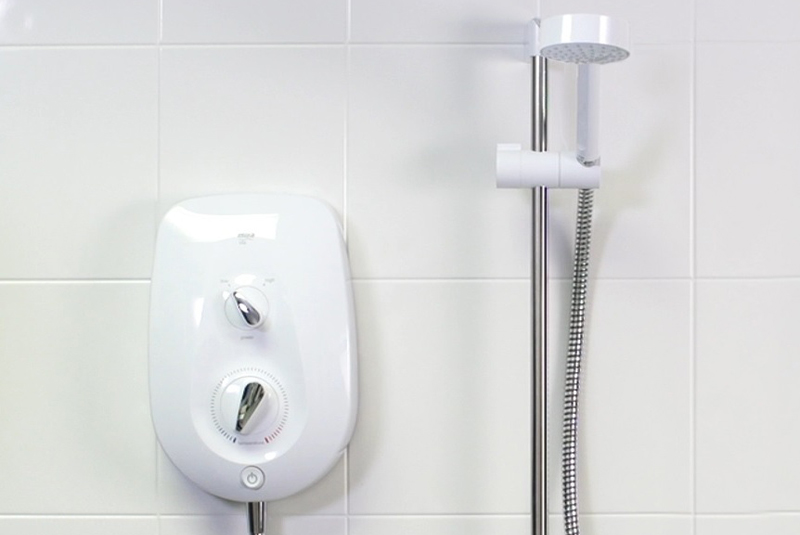
Ensure that water supply and electrical supplies are turned on. Turn the power on at the double pole isolator. With the power dial set to low, turn the unit on at the start/stop button – water should now begin to flow. Turn the temperature dial from fully cold to fully hot (there should be a noticeable 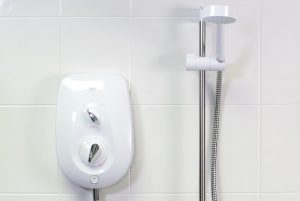 decrease in flow rate). Return the temperature dial to 12 o’clock and then turn the power dial from low to eco/medium (there should be a noticeable increase in temperature). Leaving the temperature dial at 12 o’clock turn the power dial from eco/medium up to high (the temperature should then increase further). Then using the temperature dial increase/decrease the dial to find a comfortable showering temperature.
For more information, visit: www.mirashowers.co.uk