PHPI checks out the process of sealing a flue with the FlueSnug pipe collar.
PipeSnug is a familiar name to PHPI and we have followed the company’s story from its launch by Directors Chris Burdett and Alex Lever. Three years later, the popularity of the range continues to grow – so much so that last year the team launched FlueSnug, designed to fit all 100mm boiler flues.
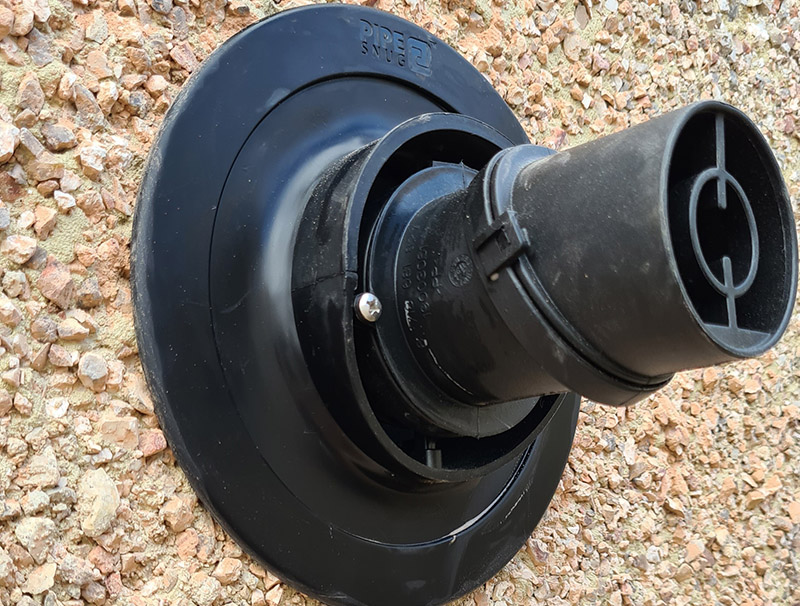
Removing any need for pointing, FlueSnug can be installed in less than five seconds and snuggly fits the 152mm core-drilled hole in the wall through which the boiler pipe and flue exits. The product can be used both inside and outside the property for the best finish, prevents heat escaping and acts as a barrier to drafts, damp, insects and pests.
FlueSnug is designed primarily to help ensure properties meet air tightness requirements, simplify the installation of flues in older properties and when fitted, eliminates the need for any further pointing with mortar or sealing around the flue to the building fabric.
FlueSnug also allows installers to quickly access the pipe and flue for any service or maintenance requirements, without the need to remove existing brickwork, mortar or sealant, saving even more time and cost for installers and their customers. You can then refit the existing FlueSnug – you don’t have to buy another one. Approved by major boiler manufacturers, FlueSnug is designed to be the quickest and most cost effective way to comply with forthcoming changes to Part L of the Building Regulations and to help maintain the energy efficiency of the building – a consultation affecting Part L set out the UK Government’s plans for the Future Homes Standard, including proposed options to increase the energy efficiency requirements for new homes in 2020.
It will require new build homes to be future-proofed with low carbon heating and high levels of energy efficiency by 2025. One of the proposed changes would require the fitting of a grommet or collar onto a pipe where it enters or exits a home, helping to maintain the energy efficiency of the building. This will help to ensure that new homes are the most energy efficient they can be, even if the fabric of the building, including floors or walls, has been penetrated by pipework.
Fitting a pipe collar or grommet, such as PipeSnug and FlueSnug, solves these problems – it saves time, reduces mess, and is easy to fit.
Step-by-step guide: Sealing around pipes with FlueSnug
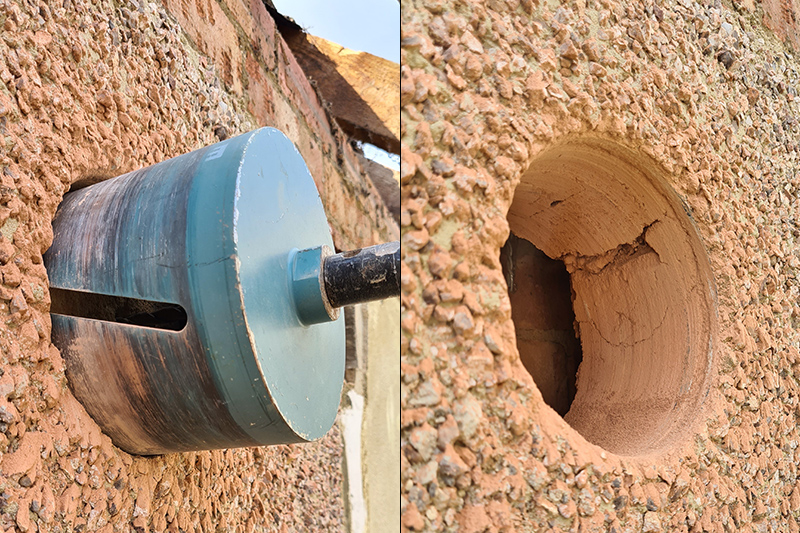
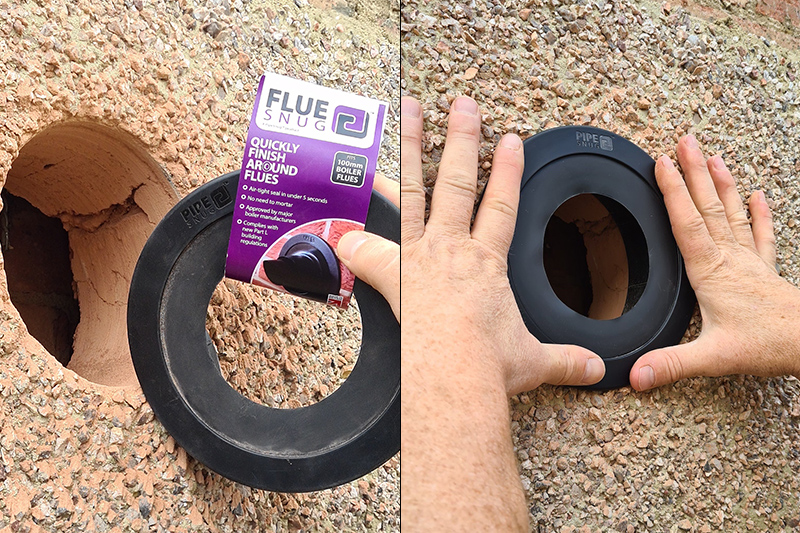
Step 1
Drill a 152mm hole ready to receive the FlueSnug and flue.
Step 2
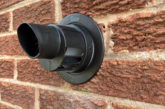
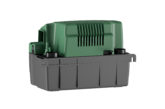
FlueSnug is supplied either in black or white and can be used on inner or outer wall faces. Just push it in. It takes seconds and once it is in you are ready to pull the flue through.
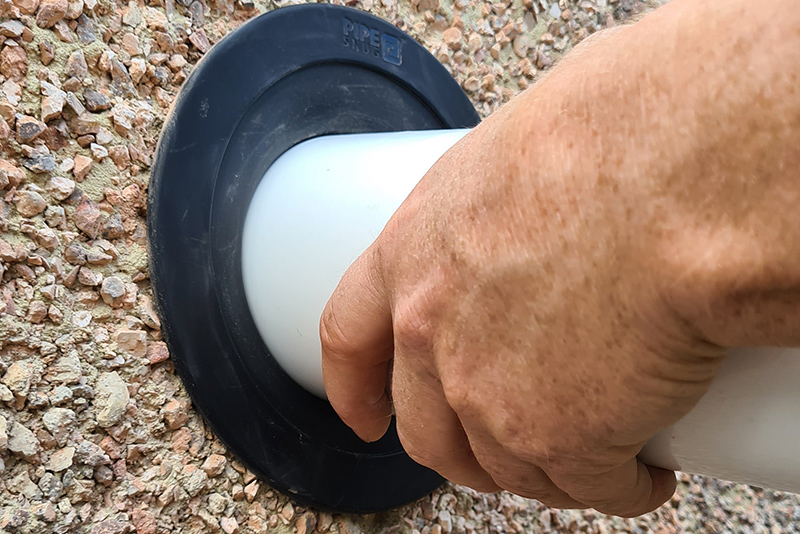
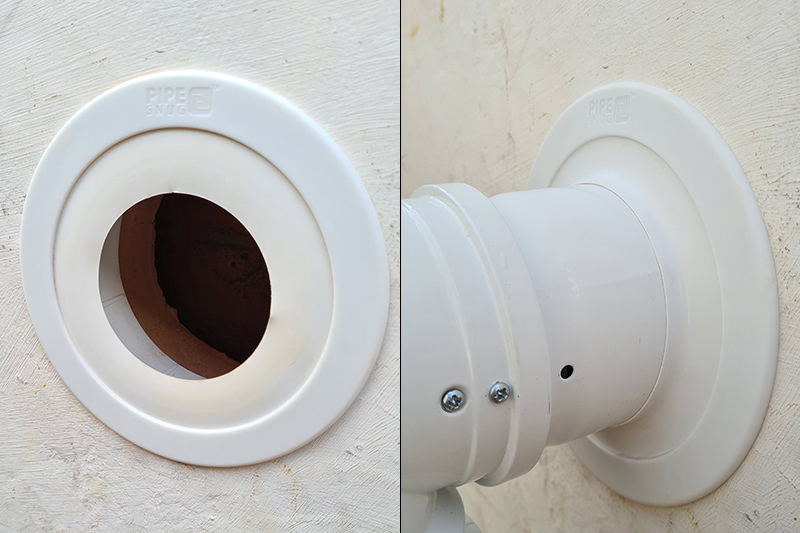
Step 3
Fit the horizontal flue. No making good or pointing is required. Remember, you can also access or replace the flue pipe for future servicing more easily by using FlueSnug.
Step 4
FlueSnug is ideal to finish the job on the inner wall too. Here the white version gives a neat finish and efficiently seals the hole in the wall. PipeSnug recommends that where a flue is not mechanically fixed to the boiler, then you only use one FlueSnug (either on the inside or the outside) and then seal it as you would normally on the other side. Where the flue is mechanically fixed (e.g. with screws) then it’s fine to use a FlueSnug on both sides.
Step 5
Job done!