Fibo UK Managing Director, Scott Beattie, provides a useful step-by-step guide to demonstrate how installers should be fitting the company’s wall panels.
With five ranges in a choice of colours and designs, Fibo’s wall panels are the smart way to transform kitchens and bathrooms. The panels are up to five times quicker to install than tiles, and can be fitted to walls, studs or even existing tiles.
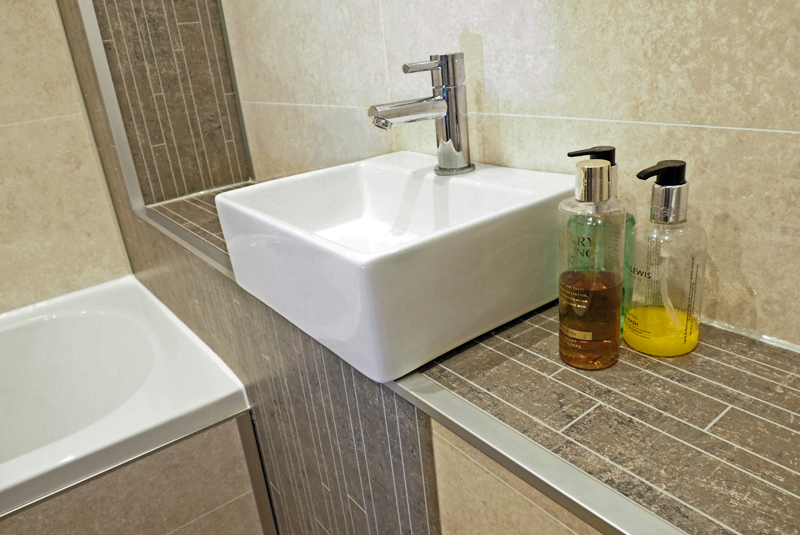
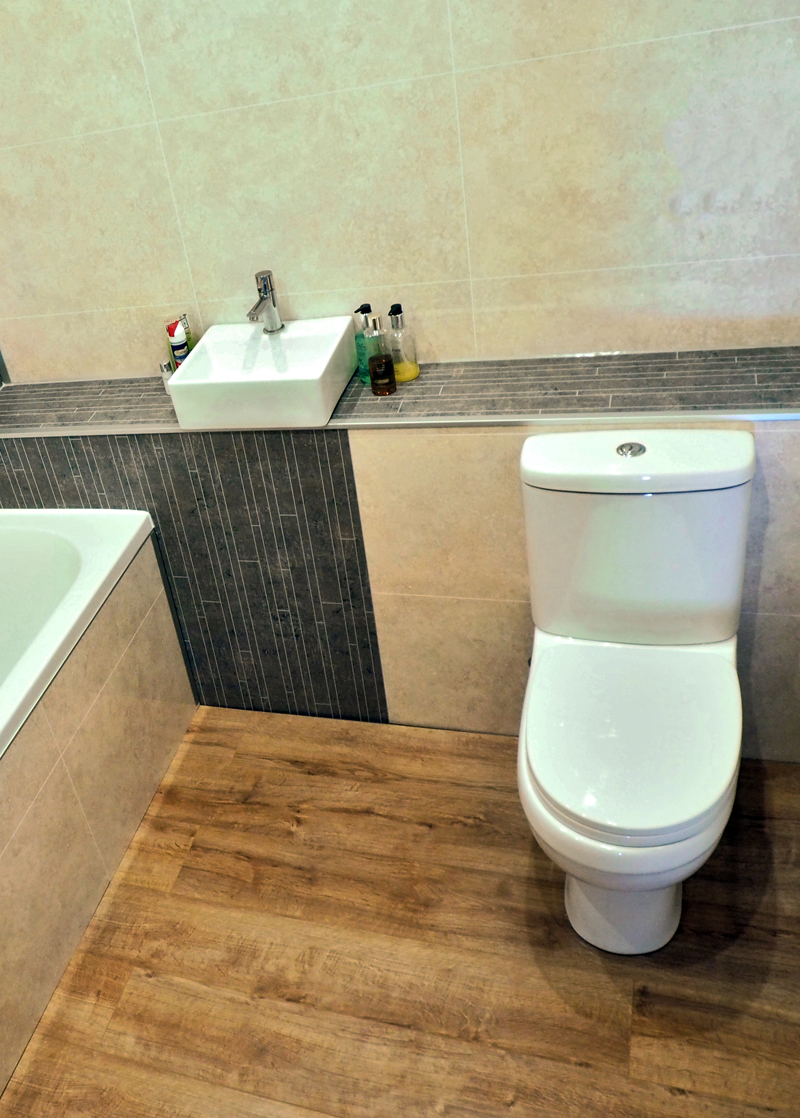
The panels are 2.4m high and available in 600, 900 and 1200mm widths, with profile edges in white PVC or aluminium. Fibo’s Kalahari high gloss panels and Zink silk accent panels (both from the Marcato range) were used to refurbish the bathroom pictured.
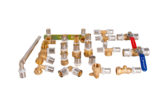
Step 1: Check your kit and the walls
Ensure you have a high-quality polymer waterproof sealant (such as Fibo Seal) to apply to every join and to all exposed edges, for a totally waterproof finish – do not use silicone sealant.
Check the walls are completely dry and that tiles are degreased if panels are being applied on top. For uneven walls, use battens – but check first that the wall can support a firm screw hold. Ensure a vertical batten is under every panel join.
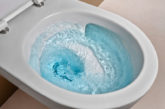
If heavy items – a hung basin or toilet, for instance – need to be attached, use extra battens behind the panels at 600 or 900mm vertically and 800mm horizontally.
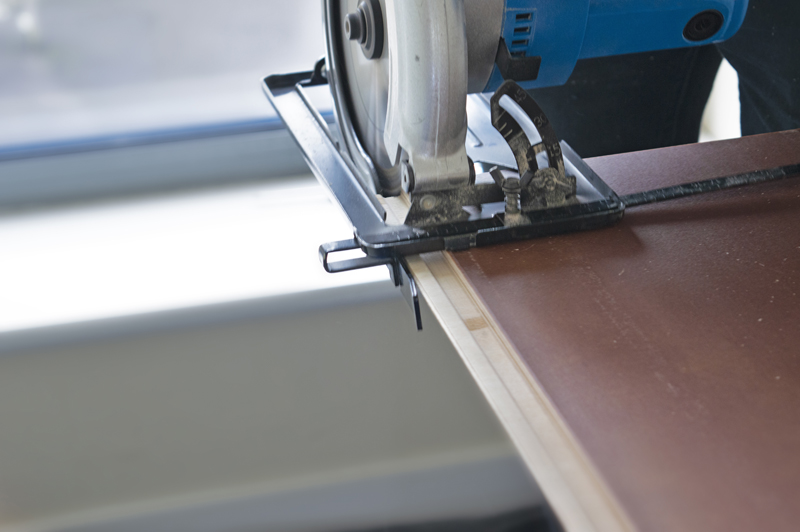
Step 2: Measure up and cut the panels
Choose your cutting method:
Power saw: The decorative side should be face down.
Handsaw: Use a fine-toothed saw.
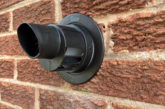
Holesaw (for pipes etc.): The hole should have minimum 5mm clearance. Seal around cut area.
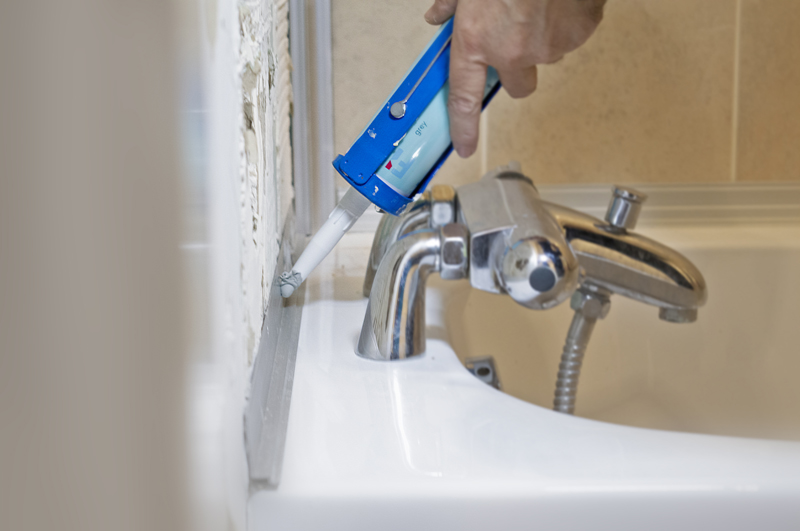
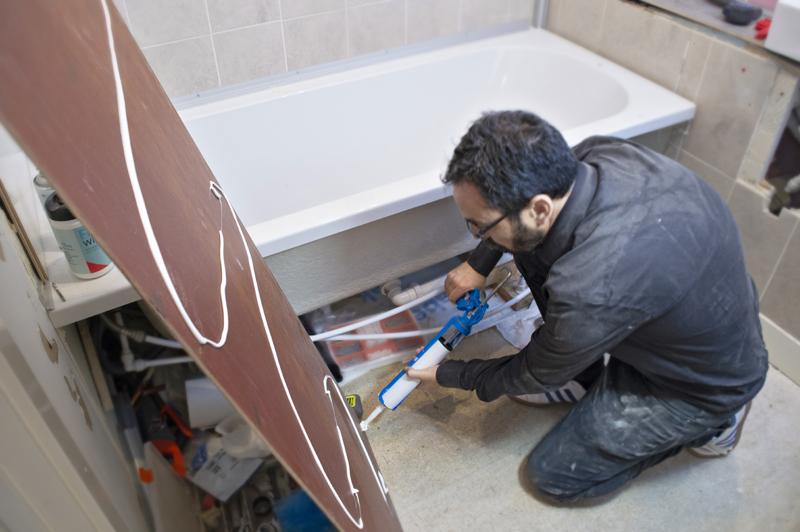
Step 3: Fit a base profile in wet areas
Above a bath/shower tray or upstand: Apply sealant between the base profile and panel, as well as between the bottom of the profile and the top of the bath, shower tray or upstand. Allow a minimum 2mm gap under the base profile, for sealant expansion.
Behind a bath or shower tray: Fit a base profile 2mm above the floor. Seal between the underside of the profile and floor. Also seal where the bath or shower tray meets the panel.
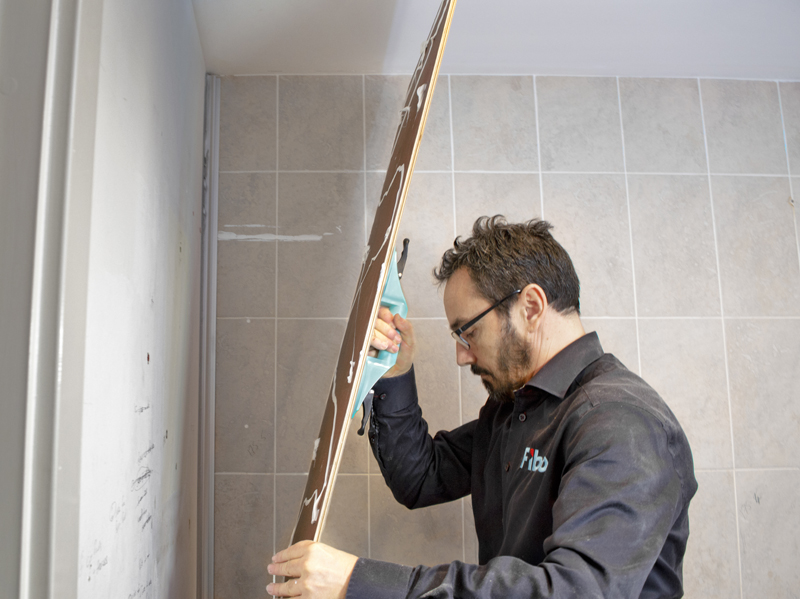
Step 4: Fit the first panel
For a whole room installation, start in the corner furthest away from the door. Panel in both directions, working towards the door.
Fix an internal corner profile to the wall and apply sealant into both channels. Cut the tongue/groove off the edge being inserted into the profile, then cut to size from the top. If you’re gluing directly to walls, apply a high-quality adhesive to the back of the panel in a zig-zag.
Push the cut panel firmly into the profile.
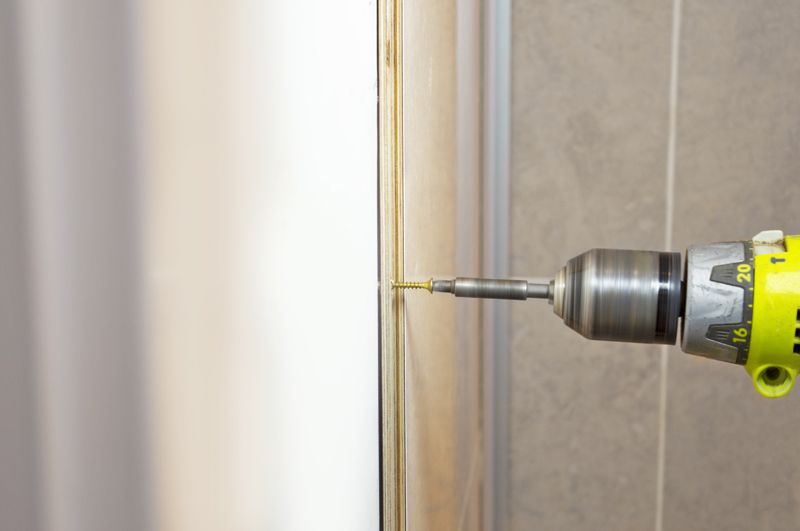
Step 5: Secure the panel
Ensure the panel is correctly aligned and secured to the wall with adhesive, or 1½ no.6 screws/gypsum-board nails (on the panel groove), with 200mm space in-between. Mechanically fixing is usually recommended.
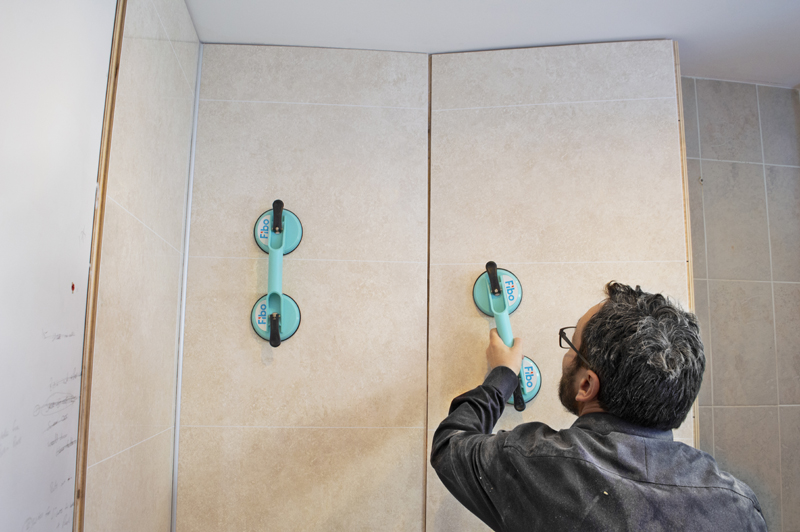
Step 6: Fit the next panel
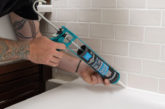
Run a bead of sealant along the length of the panel groove when the panel is upright against the wall. Lock the two panels together into position.
Wipe off excess sealant immediately, spray with Fibo Clean or methylated spirit and wipe with Fibo Wipes. Continue along the wall and apply sealant into each join before clicking panels into place with Fibo’s Aqualock tongue-and-groove system.
To complete the wall, swing the final panel into position with the relevant profile already attached and glue or fasten with nails/screws.
To finish off
Accessories can be easily fitted to Fibo panels. Unlike tiles, there’s no risk of cracking or shattering when using a drill. The panels come with a 15-year guarantee, and an occasional wipe down is all that’s required for maintenance.