Ryan Blake from Dualflo runs through the installation of the company’s domestic water softener.
Installing domestic water softeners is a good way to make plumbing jobs more profitable without compromising on quality. An additional source of revenue for you, they can also extend the life of your customers’ kitchen and bathroom appliances in hard water areas by preventing the build-up of limescale around the home.
INSTALLATION GUIDE
Typical installation time is three to four hours.
Step 1
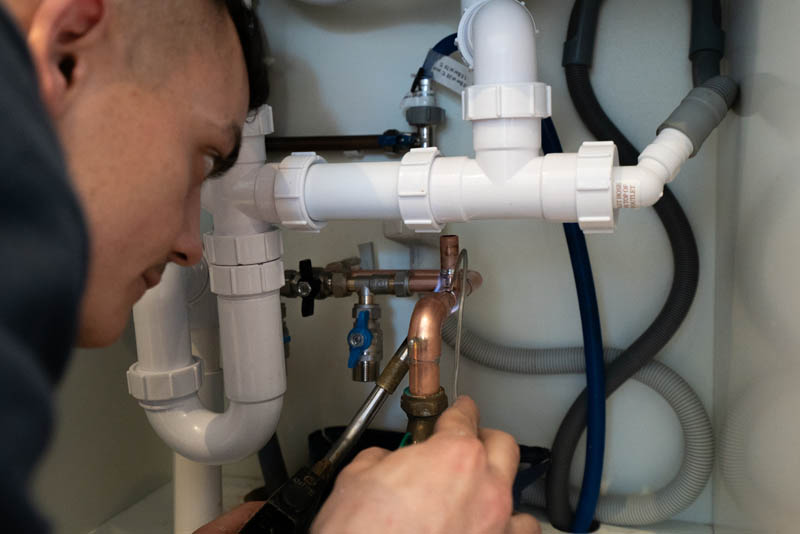
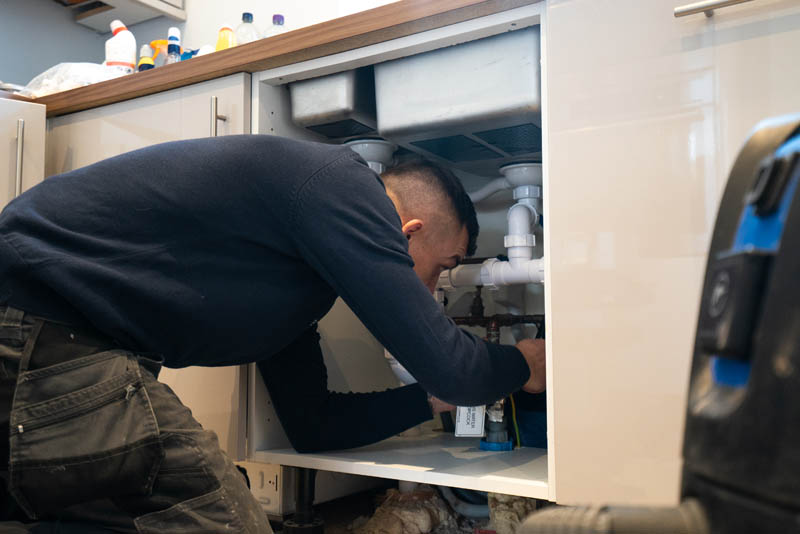
Water softeners can be fitted in various places around the home. This will often be determined by the location of the incoming mains water stopcock . Existing cupboard space can affect the decision. In this case the best choice is the corner cupboard rather than beneath the sink itself.
Start first by turning the mains water off and draining down the mains. While the main water supply is off, complete all necessary pipework. This will ensure the water can be turned back on as quickly as possible and will keep inconvenience to a minimum.
Step 2
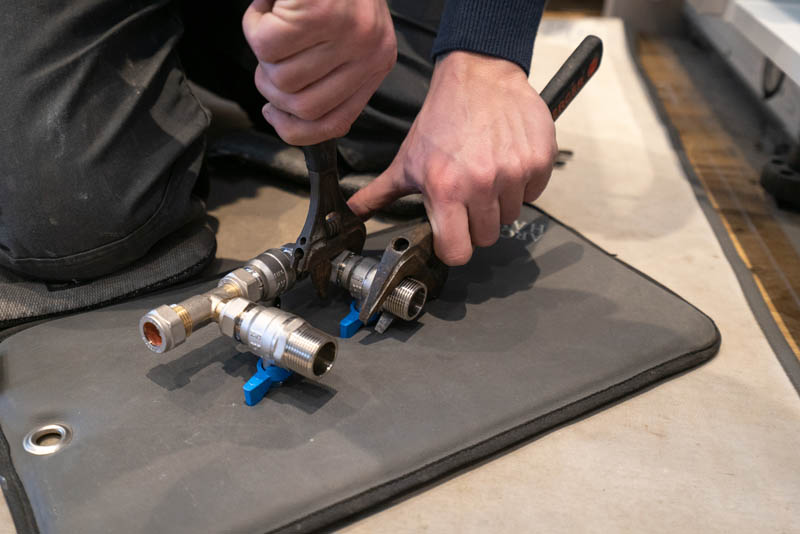
Next, assemble the bypass set – following the instructions provided. Tighten up the finished bypass set before putting it into position.
Step 3
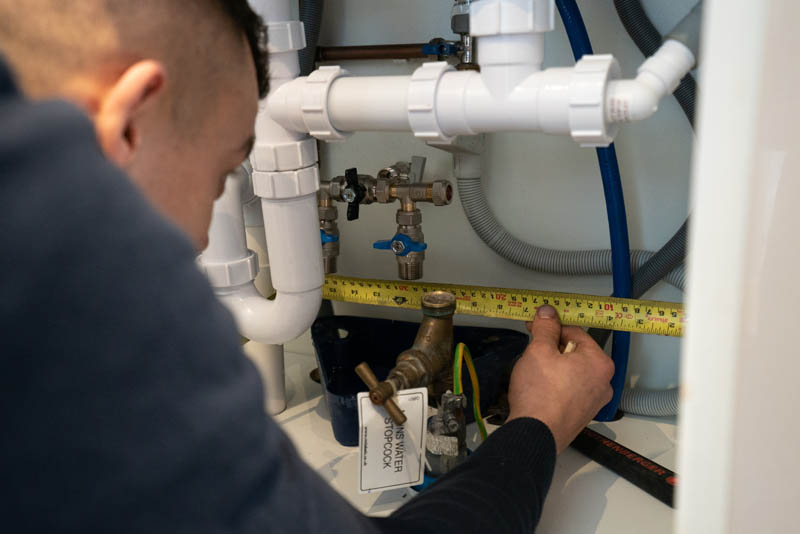
Place the bypass set into position. Then measure and carry out alterations to the existing pipework to accommodate the bypass set.
Step 4
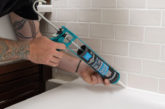
Prepare the pipework!

Step 5
Fit the altered pipework into place. In this case, a hard water feed has been incorporated alongside the bypass set for a drinking water supply, which some customers choose to have alongside a water softener. Now turn the mains back on.
Step 6
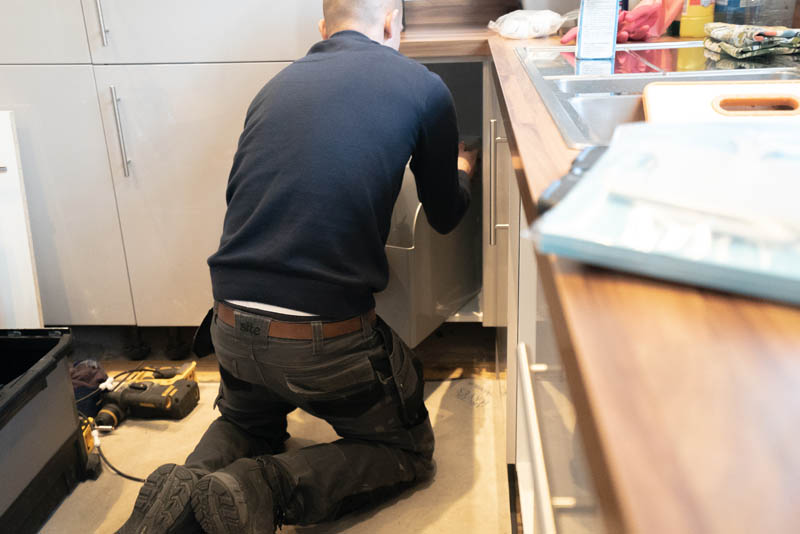
Next job is to fit the water softener unit. In this case, the corner cupboard is the best spot.
Step 7
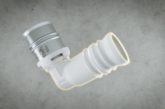
If, as in this case, the softener will be fitted in a different place to the mains, you’ll need to feed the hoses beneath the kitchen units to come up into the cupboard housing the valves (making the necessary holes as required). Then fit the drain connection for the softener with the required air gap.

Step 8
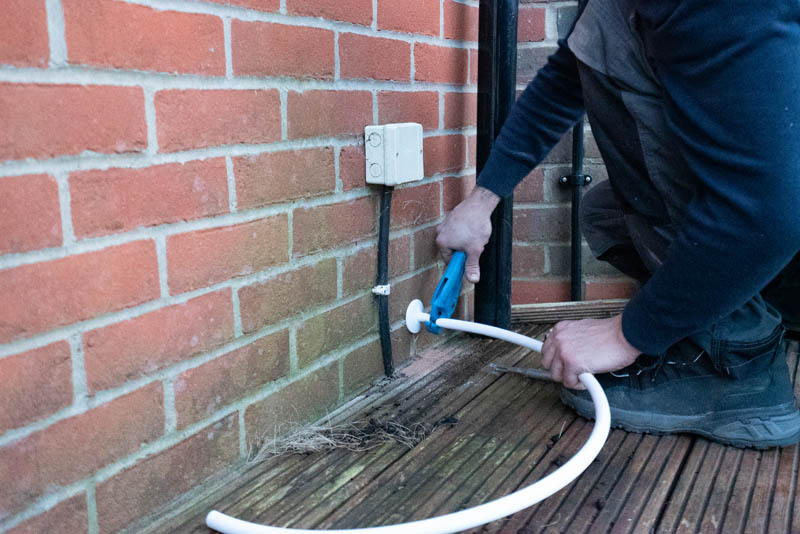
After this, head outside to make the hole for the overflow. Drill the hole from outside to in to avoid damaging the brick, and then fit the hose, cutting to desired length.
Step 9
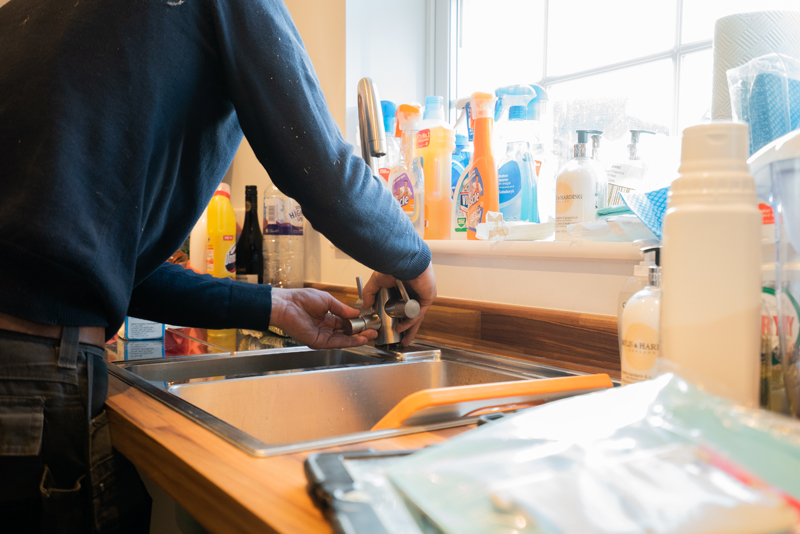
Fit the three-way tap. In this case, a standard tap was replaced with a three-way tap to allow for hard filtered drinking water. Taps can either come with or without a filter.
Step 10
You may have to alter the shelf to accommodate the unit.

Step 11
Lastly, follow the simple commissioning steps in the installation instructions, then hand over to the customer, and explain all the benefits they’ll get from their new water softener (including the reduction in the use of household products). If you’re fitting a non-electric water softener, there will be no need for additional maintenance once it’s installed. As for salt usage, the customer should plan for one salt block per householder each month.