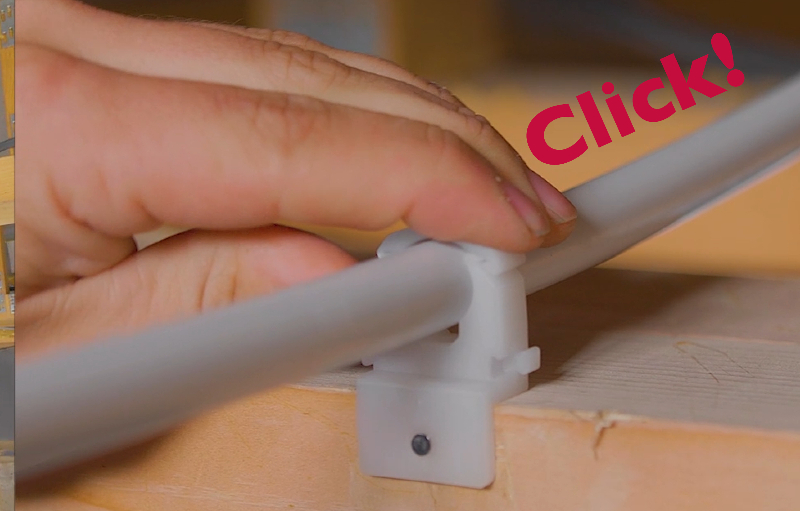
Designed to help installers rapidly secure pipes during construction, Talon’s EZ Joist Clips can help streamline the process of securing pipes to joists, eliminating some of the challenges that can be faced during installation and reducing the risk of errors.
Available in 15mm and 22mm sizes and coloured clear and black, the EZ Joist Clips have been designed to be a fast, simple and reliable solution. They can be used sideways on and upside down, offering further installation options.
Talon’s guide to installing EZ Joist Clips
Step One: Preparing the area. Before using the EZ Joist Clip, the area must be clear of any debris, ensuring that the pipe installation will be smooth. The clip is designed to work with standard joists and is compatible with a wide range of pipe sizes.
Step Two: Positioning the pipe. Place the pipe where it is needed, ensuring that it runs along the correct path. The EZ Joist Clip can be used to hold pipes at any required angle, offering flexibility in terms of positioning.
Step Three: Attaching the clip. Place the EZ Joist Clip around the pipe and secure it to the joist with a firm push. The design of the clip ensures that it will fit snugly around the pipe, keeping it in place without the need for additional tools or fasteners.
Step Four: Adjusting and securing. Once the clip is in place, installers can quickly adjust the positioning of the pipe to ensure it is aligned perfectly.
Step Five: Final check. After the installation is complete, simply perform a final check to ensure the pipe is secure and properly positioned.
Watch a video of an installation here.


