Following the launch of the updated Quartz digital shower range, Aqualisa provides a handy guide to installing the unit… and is giving you the chance to win one!
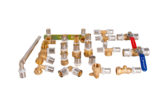
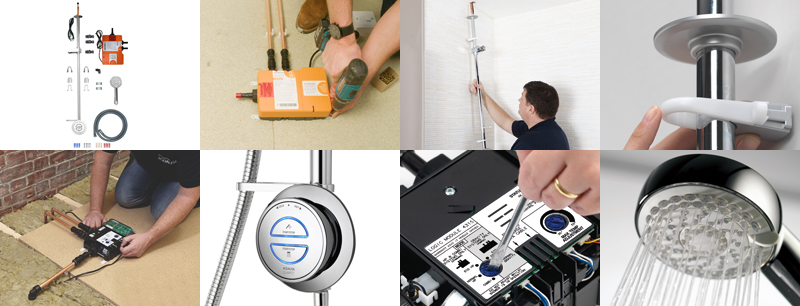
Step 1: Check the contents of your smart shower pack
You should have everything you need for easy planning and assembly, as listed below:
Quartz smart valve
Shower head
Riser rail with attached Quartz smart controller
Fixing brackets and rail end covers with spacers
Shower hose
Push fit isolation valve pipe connections
Data cable (already fitted in rail)
Screw selection
Ceiling cover plate (already fitted to rail)
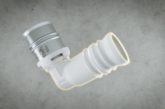
Push fit 90° elbow connection
Installation Guide
Guarantee Card
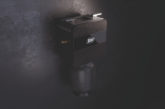
Step 2: Position the Quartz smart valve
The Quartz smart valve can be sited up to 10m from the Quartz control, in locations such as the loft, under the bath or in an airing cupboard, making installation much easier. When looking to position the Quartz smart valve, make sure to choose a location which is easily accessible for future servicing. Secure the smart valve on a solid mounting surface, using the fixing feet and screws provided, and then connect the hot and cold supply pipes to the corresponding marked inlets.
Step 3: Positioning the rail
Locate a suitable entry point into the ceiling for the riser rail, avoiding joists and services. The riser rail sits 45mm from the wall; however, the spacers provided with the fixing brackets will increase the depth to 70mm from the wall if necessary. Mark and drill a hole in the ceiling 30 to 40mm in diameter. Feed the riser rail assembly, which economically contains both the supply pipe and the data cable, through the hole, ensuring the controller is at the desired height and that the rail is straight.
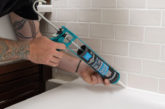
Step 4: Securing the brackets
Slide the hose restraint up the rail so that it is above the lower fixing bracket. Place the lower bracket support pillar into position behind the rail and then slide the fixing bracket over the rail and onto the support pillar. When you are happy that the rail is at the desired height, mark the screw holes and then secure the fixing bracket easily to the tile surface with the screws provided.
Repeat these steps to secure the upper rail bracket, ensuring the hose restraint and Aqualisa Pinch Grip holder are below the bracket. Finally, slide the rail end covers over the brackets and click firmly into position, then slide the ceiling plate up to the ceiling to cover the entry hole. To optimise space, corner fixing brackets are also available (sold separately).
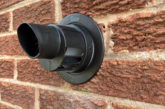
Step 5: Connecting the outlets, power and data cable
Use the provided black push fit elbow to easily connect the Quartz smart valve outlet pipe to the top of the rail supply pipe – apply pipe clips to secure it where appropriate. Ensure the electricity is turned off at the mains switch and then connect the Quartz smart valve power lead to a double pole three amp fused spur switch, located outside of the bathroom in an accessible, dry location. All cables should be in conduit to allow for easy access and protection.
Loosen the single fixing screw on the top of the Quartz smart valve and remove the lid, connecting the data cable to the socket indicated by the label.
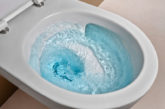
Step 6: Connecting the hose and handset
Attach the shower hose to the male thread on the base of the shower controller. Turn on the power to the Quartz smart valve and press the ‘Start/Stop’ button on the controller to turn the shower on. Run the shower for 15 seconds to flush the system through, then turn the shower off and disconnect from the power supply.
Thread the shower hose through the hose restraint and connect to the shower handset by depressing the anti-swivel locking button on the handset. To complete the setup, place the handset into the Aqualisa Pinch Grip holder.
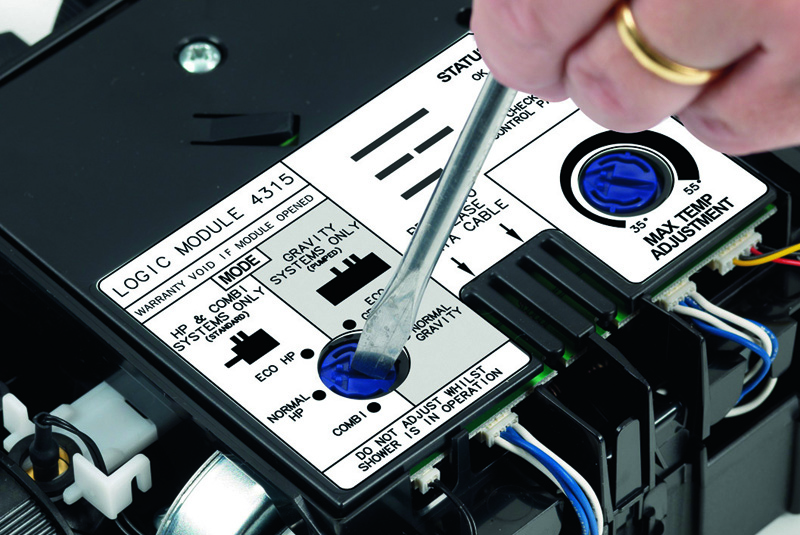
Step 7: Setting up the Quartz smart valve
Two Quartz smart valve variants are available; a pumped version, designed for use with low pressure gravity fed water systems, and an unpumped version, designed for use with high pressure mains or combi water systems. All Quartz smart valves are factory set to a particular mode dependant on model; however, both factory set modes can be adjusted to suit the preferences of the user and the water system.
For high pressure systems, the Quartz valve needs to be set to NORMAL HP or ECO HP, dependant on the user’s water use preferences. For combination boiler systems, COMBI mode should be selected. Alternatively, for gravity pumped systems, the smart valve should be set to the NORMAL GRAVITY or ECO GRAVITY setting.
Step 8: Test the shower and adjust settings
Reinstate the electrical supply to the Quartz smart valve and press the ‘Start/Stop’ button again to turn the shower on. Run the shower at maximum temperature on the controller to make sure it is set to a safe and comfortable level. Should you wish to adjust it, you can do so easily using a flat bladed screwdriver to turn the maximum temperature control on the Quartz smart valve. After all these steps have been completed, you may re-secure the lid of the Quartz smart valve and secure the fixing screw.
WIN A QUARTZ SHOWER
To celebrate the launch of its newly updated Quartz smart digital shower, Aqualisa is giving away a free unit to one lucky winner. The new range brings the Quartz to the forefront of design – featuring a flush, finely contoured control, durable laser etched icons and improved engineering for ease of operation. The Quartz range can be paired with a single or dual outlet and features Aqualisa’s thermostatic Quartz smart valve.
For the chance to win, all you have to do is enter your details below before April 30th 2019: