Lee Halstead, Technical Sales Engineer at RWC, explains how to install underfloor heating with ceramic tiled flooring, and ensure a perfect floor finish.
In the next few years, underfloor heating is likely to become the heating method of choice, due to rising energy costs, incoming regulations from government on heating alternatives compatible with renewable energy sources, and overall changes in consumer and interior design trends.
This means the UFH market will boom, and installers will benefit from being well versed in fitting various UFH types to suit different customer needs.
Underfloor heating can be used with a variety of different floor finishes, with the most ideal finish being ceramic tiles, as their low tog value – typically 0.1 – allows for a more efficient heat transfer.
However, ceramic tiles can be prone to cracking if the installation is incorrect. The following steps should be taken to ensure that the UFH pipework is laid correctly.
Step 1 – Planning your project and understanding the floor construction
It is crucial to plan the project, understand the floor construction, and importantly, the space that you are working with. Typically, new build homes will have a solid concrete floor construction, followed by insulation, which the underfloor heating pipework will be fixed on top of, before being screeded over. The floor finish goes on top of the screed.
There are several things to consider, but crucially at this stage, installers must remember that the insulation depth should be as required by design or building regulations. This is to ensure that any downward heat loss does not exceed 10 watts per m2 in accordance with BS EN 1264.
Step 2 – Planning your pipework
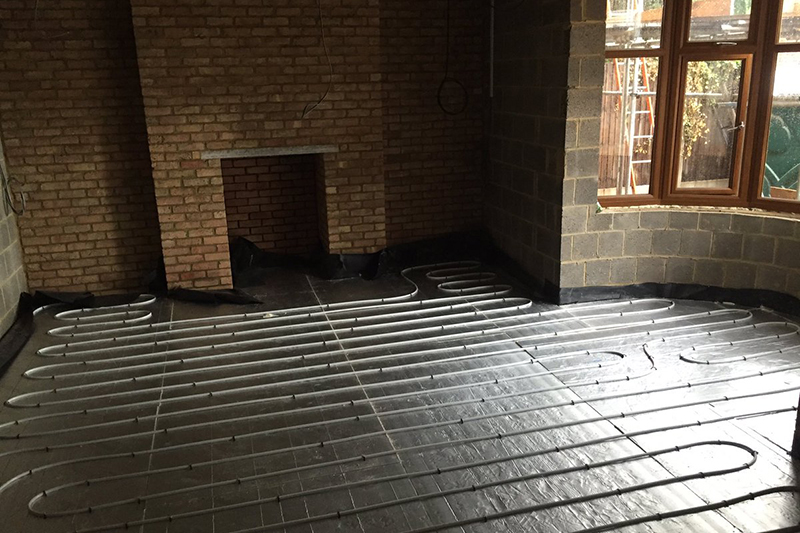
After understanding the floor construction, you’ll need to look at the space you are working with. This will determine the pattern in which you lay the UFH pipework – whether it’s serpentine or counterflow.
Serpentine is a simple up and down circuit pattern that is especially good for irregular shaped rooms, such as kitchens with an island or rooms with a bay window. Counterflow installation works well with square rooms. You can combine the pipe layouts if required.
Planning how the pipework is laid out should be done during the design stage. As part of RWC’s JG Underfloor service, CAD drawings can be made available if the necessary level of detail per floor layout is provided, which will help with installation.
Regardless of which pattern you choose, always remember to plan your route to and from the manifold and out of the room to avoid pipe layout mishaps.
Step 3 – Choosing your UFH fixing system
Before moving onto installation and laying the pipework, the insulation must be flat, and edge insulation should be installed around the room and the perimeter to account for the expansion of the screed in the next stage as it cures, and to prevent the screed from cracking when it pushes against the edge.
When choosing the system to fix the pipework there are three main systems to choose from for concrete floors.
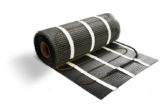
With the UFH staple system, the pipe is stapled down to the insulation through a staple gun. This system is the most cost-effective, but the pipework needs to be marked and spaced out according to where the circuits are – typically 200mm should be left between each circuit – which can be time consuming.
With the mounting rail system, the mounting rail is taped to the insulation or fixed down with supplied pins, before the pipework is slotted into nodules of the rails. The key benefit is that installers can count out between each nodule on the mounting rail to easily space out the pipe circuits.
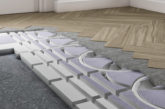
The floor panel system, the fastest of the three, creates a simple grid to ensure quick and easy laying, providing a precise guide for the pipe. As each ‘egg box’ gap – where the pipe sits in the floor panel – is 50mm, this makes pipe laying quick and simple to clip in.
Step 4 – Pressure testing, screeding, and tiling the ceramic tiles
After pipework installation, there should always be a pressure test undertaken using water. A common misconception is that testing with air is enough. However, doing so will not allow the pipes to expand fully, because air can be compressed, while water can’t. It is important to make sure there aren’t any traces of air in the system, which can have a detrimental effect on how the system runs.
Best practice is to perform the following pressure test before any flooring or screed is laid:
- Raise the pressure to 2 bar for 10 minutes.
- After 10 minutes, increase the pressure to 10 bar for a further ten minutes.
- Reduce the pressure back to 6 bar and leave it pressurised.
- This will allow for any leaks to be detected and ensure the pipes reach maximum expansion. Specifically with screed, maintaining the pressure until it has been fully laid and cured will also prevent it from cracking later.
Step 5 – Slowly heat up after flooring installation
Once the screed has cured and the ceramic tiles have been laid, installers should slowly build the temperature up in the pipework. The screed and tiling adhesive can weaken if the heat builds up too fast after initial installation, which can lead to cracking of the adhesive and tile movement.
On screeded floors the initial water flow temperature should be maintained at 25ºC for three days. On day four, the temperature can be increased gradually in increments of 5ºC/day until the maximum design temperature is reached and must be maintained for a further four days at maximum design flow temperature.
After the heating system has been running for the recommended time at the minimum setting, i.e., three days for solid concrete floors, gradually raise the water temperature to the design temperature.
Right first time
While UFH installation might sound daunting, RWC is here to help. From our UFH pipe fixing systems through to our easy to work with pipe – JG Layflat – plus push-fit manifolds and smart heating technology, installers can get all the products they need from one source.
With one of the largest technical teams in the UK, we are on hand to help at every turn. From complimentary CAD design and flow, temperature and zoning advice, through to site visits, we will help ensure installers get it right first time.
www.johnguest.com/speedfit/underfloor-heating
Case studies
To see how the company’s solutions have been used, a number of case studies are available on RWC’s website covering both domestic and commercial applications: www.rwc.co.uk/resources-general/case-studies