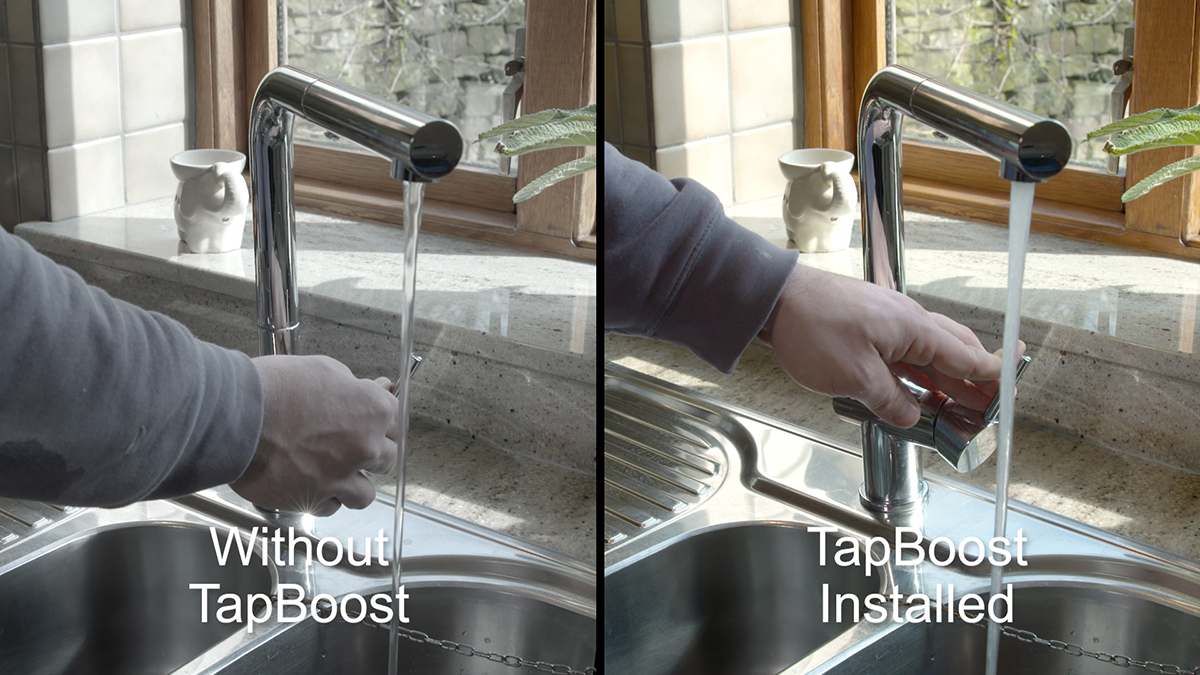
PHPI finds out how plumbers can help to give water pressure a boost and tackle the problem of trickling taps.
Trickling taps can be a nuisance for homeowners. However, Salamander Pumps, a leading manufacturer of water boosting solutions, has recently announced the launch of a new TapBoost pump – designed to offer a cost-effective solution to improve the performance of a single outlet. Mike Oxley, Technical Training Manager at Salamander Pumps, explains how to install a TapBoost pump.
Pre-installation checks
Before installation, there are a few checks you’ll need to conduct to ensure that TapBoost is the most suitable pump for the job in hand. There are three questions you need to ask.
1 How many outlets do you want to boost?
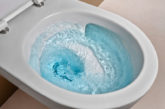
TapBoost is designed to improve the water flow to a single outlet suffering with poor water flow – such as a tap, toilet cistern or washing machine. If more than one outlet requires boosting, a different solution such as a shower pump, whole house pump or accumulator tank may be more suitable.
2 What flow rate exists at the outlet?
TapBoost requires a minimum flow rate of 1.2 litres per minute to activate. If you’re not sure whether the existing flow rate is sufficient to activate TapBoost, you can measure it by following these steps:
- Hold a measuring jug under the outlet which will be boosted.
- Turn on the outlet to fully hot or cold, depending on which is to be boosted.
- Measure the water gathered in 10 seconds, in millilitres. If you have gathered at least 200ml in 10 seconds, then TapBoost will be suitable.
3 What will TapBoost deliver?
TapBoost runs at a constant speed, meaning that the boosted flow is dependent on the incoming natural flow. For example, when the incoming natural flow is 1.2 L/min TapBoost will boost the flow to up to 7 L/min. Alternatively, when the incoming natural flow is 4 L/min, TapBoost will boost the flow to 8 L/min.
TapBoost will boost the flow rate up to a maximum of 11 L/min. If the natural flow goes above 11L/min will enter idle mode. TapBoost cannot overcome restrictions in the pipework or outlet.
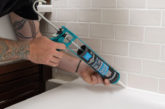
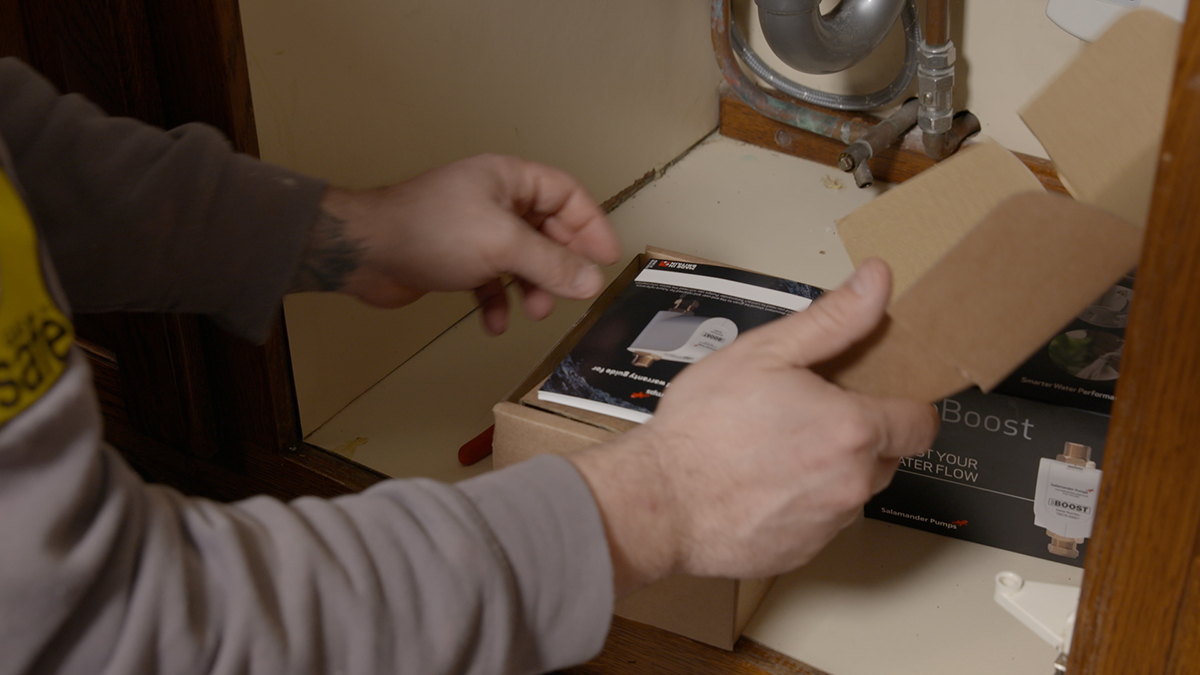
Step 1: unbox the pump
Begin by unboxing the pump and reading the enclosed literature. Although it may seem obvious, the installation guide should always be your first port of call – even for experienced plumbers.
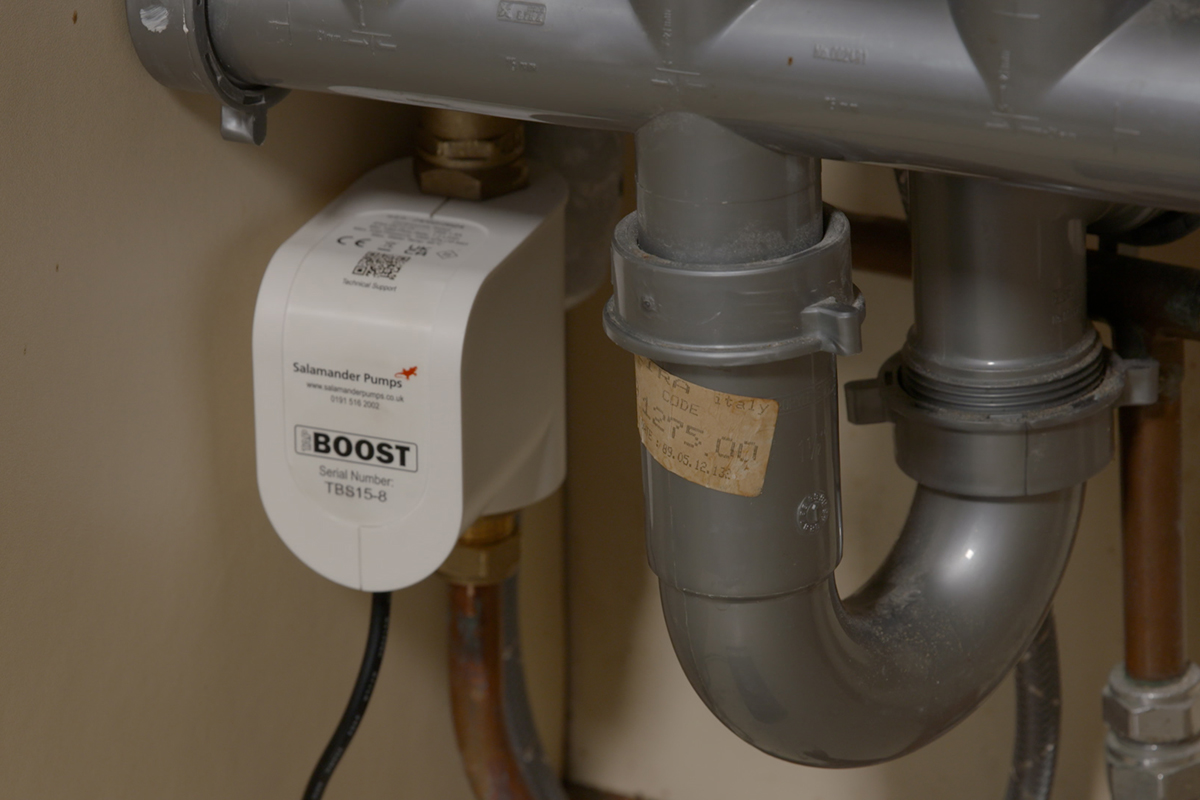
Step 2: determine the installation location
TapBoost should ideally be installed directly before the outlet to be boosted. The pump should be protected from frost, and both the pump and the power supply should be installed indoors.
If fitting in a bathroom the TapBoost pump can be installed in Zone 2 (see diagram) or ideally outside of the bathroom. The electrical power supply unit and mains plug must be located outside of the bathroom and must be protected against moisture and water.
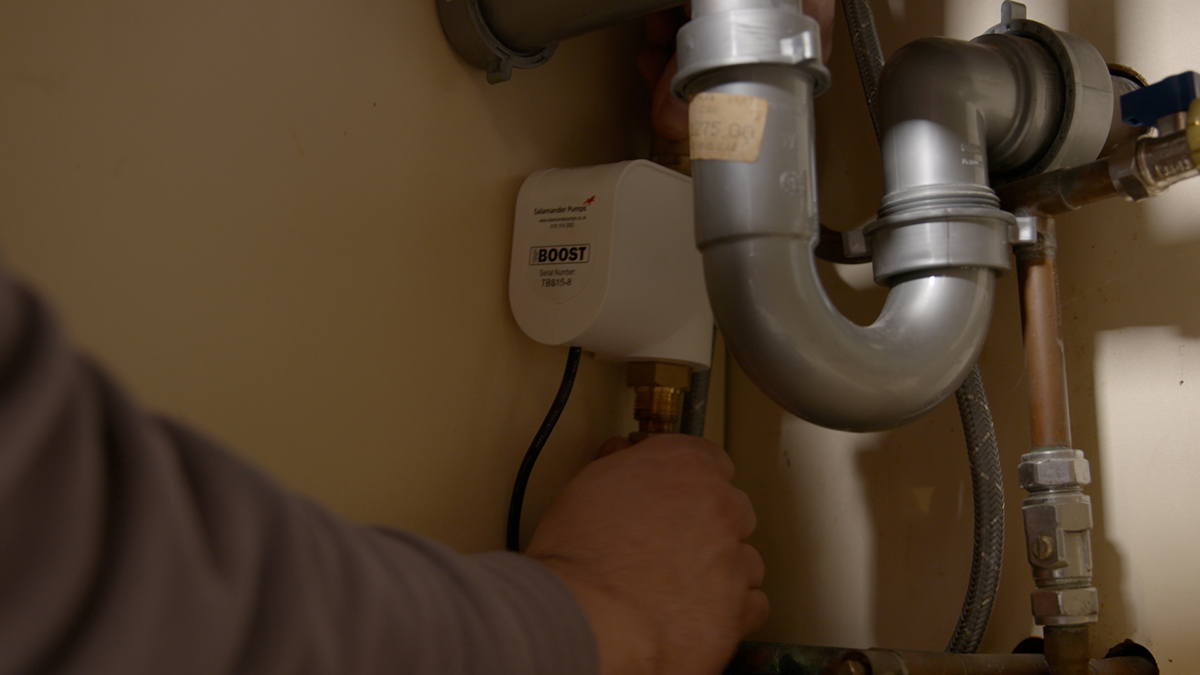
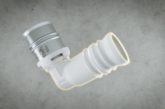
Step 3: Connect TapBoost
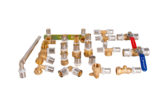
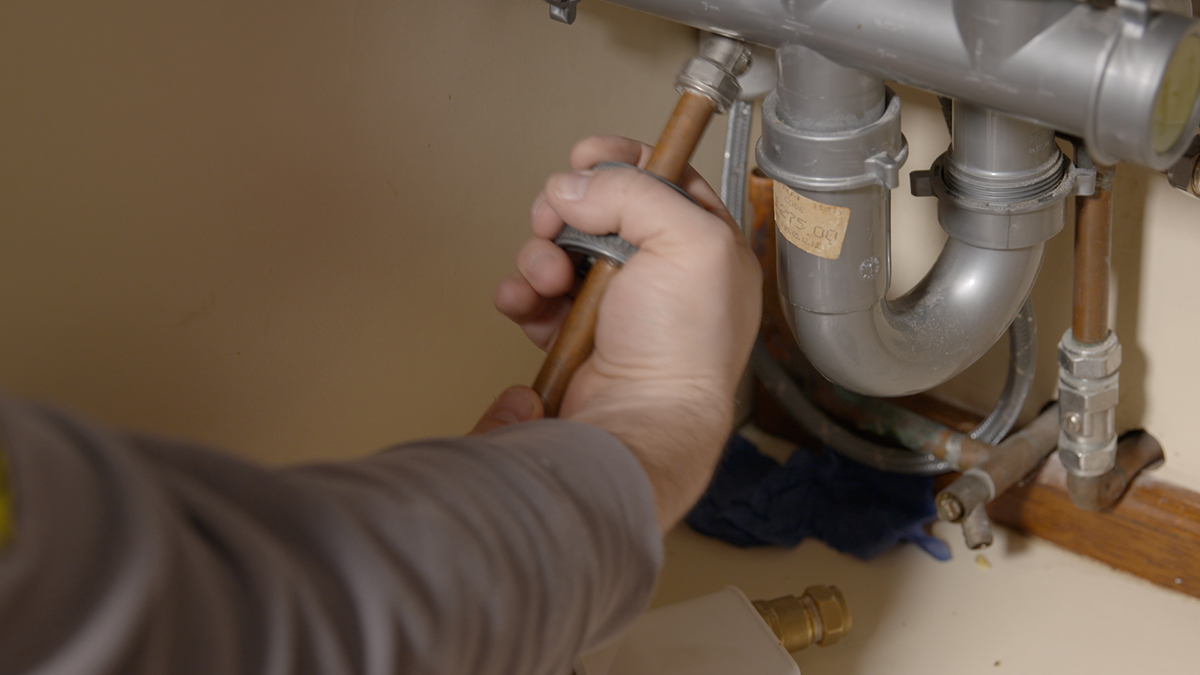
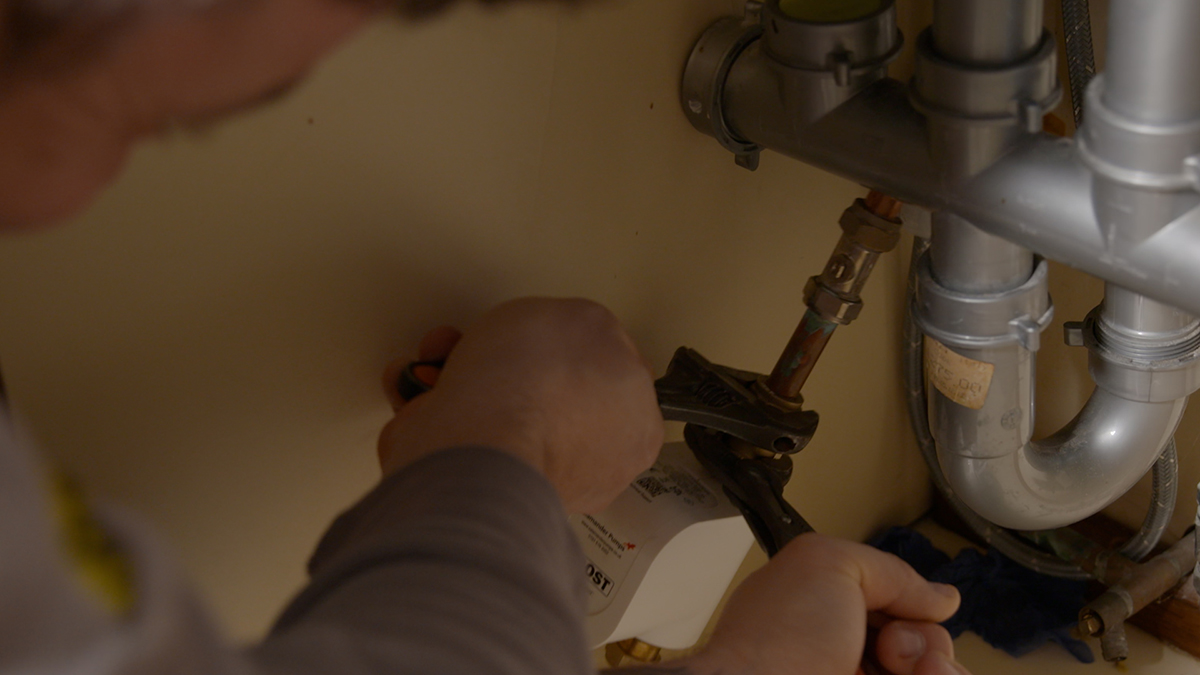
Turn off the incoming water supply and drain the system. Next, measure the section of pipe to be removed to allow for your method of connection. Then cut and remove the pipe.
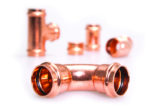
You can then create the connection between TapBoost and the inlet and outlet pipework. TapBoost has a 15mm compression fitting on the inlet, so the pump can be fitted directly to the pipework. The outlet has a ½” BSP male connection which allows TapBoost to be installed in a range of applications.
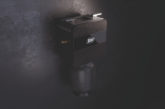
Step 4: Commission the pump
To successfully activate the pump on first operation, you must first turn on incoming water supply to the pump and refill the system. After this, open the outlet to be boosted and check for natural flow from the outlet, ensuring all air is purged from the system. You should also check the connections and pipework for leaks.
With the outlet open, plug in the electrical supply to TapBoost and turn on. TapBoost will then enter ‘Boosting Mode’ (indicated by a blue flashing light on the pump), and increase the water flow to the outlet. Close the outlet and the pump will stop. The blue light will stay on to indicate it has entered ‘Standby Mode’. The pump will remain in ‘Standby Mode’ until the outlet is opened, when it will again begin boosting the flow.
When the pump is in ‘Standby Mode’ for more than five minutes, the blue LED on the pump will turn off until the outlet is opened again and the pump enters ‘Boosting Mode’ again.
Final steps
Make sure to re-check the full installation for any possible leaks before tidying up. Keep relevant literature and register the warranty. You can do this here