We follow the installation of the FlueSnug on Ideal boilers across a housing development in Norfolk.
Based in Fakenham, Norfolk, the Daly Group is a successful electrical, plumbing and heating contractor and recently worked on Cringleford Heights, a development on the outskirts of Norwich. It is a five-year project to sustainably build over 600 three to four bedroom homes.
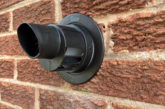
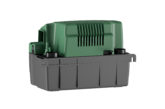
As part of its remit, the Daly Group installed Ideal Boilers into each home along with FlueSnug, designed to fit all 100mm boiler flues and can be used both externally and internally. Endorsed by leading boiler manufacturers, FlueSnug removes the need for the weather collar or any pointing, can be installed in seconds and snugly fits the 152mm core-drilled hole in the wall through which the boiler flue exits. It prevents heat escaping, acts as a barrier to drafts, damp, insects and pests and gives a neat finish as it can be used both inside and outside the property.
“I saw its potential straight away, in not only its time saving benefits, but also how it would help us to comply with changes to Part L of the Building Regulations – which mandates the need for pipe collars where pipes enter or exit a home, helping to maintain the energy efficiency of the building,” said Ian Hudson, Commercial Director.
“In these regulations, mortar and silicone are not considered to be an effective seal, and FlueSnug and PipeSnug create a professional finish and seal all-in-one, easily and simply meeting the regulations.”
You can also install FlueSnug without the need for scaffolding or a cherry picker so eliminating the hazards of working at height. This is because FlueSnug is flexible enough to be pushed through the brickwork from the inside, and rigid enough to pop back into place to provide an air and water tight seal.
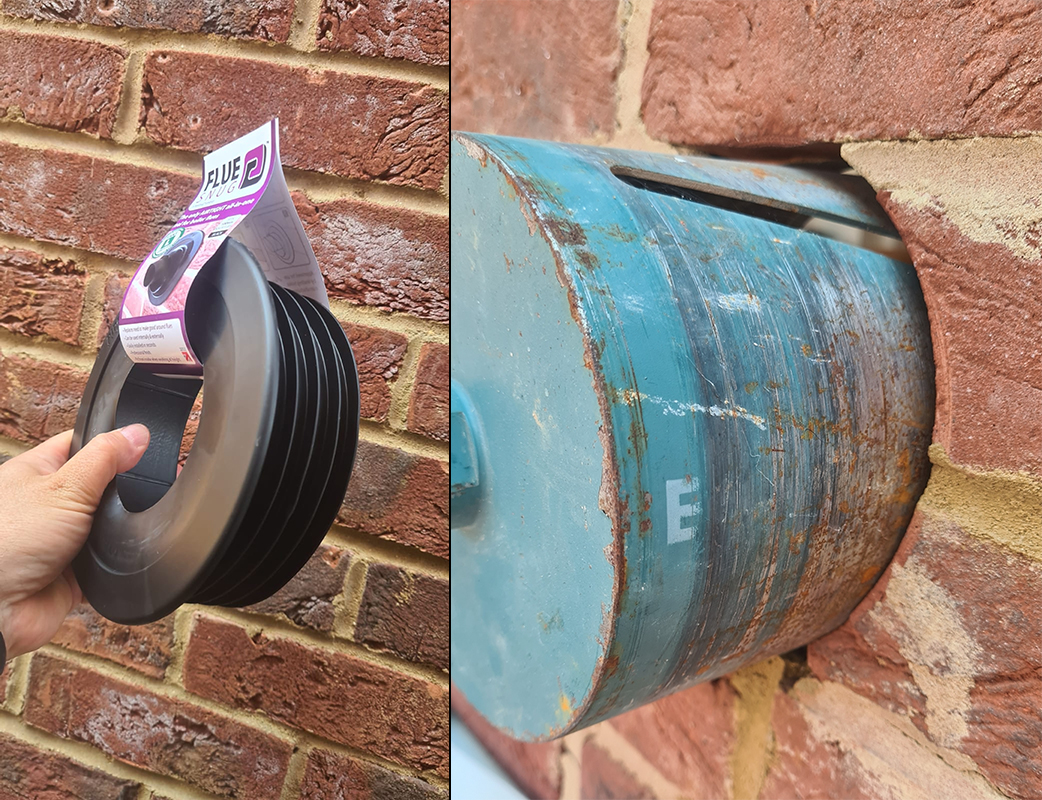
Step one
Drill the 152mm hole for the flue as normal. You can also core drill and fit FlueSnug from the inside out thanks to its flexibility. This eradicates any health and safety risk when working at height, for instance if a boiler is going into a loft space.
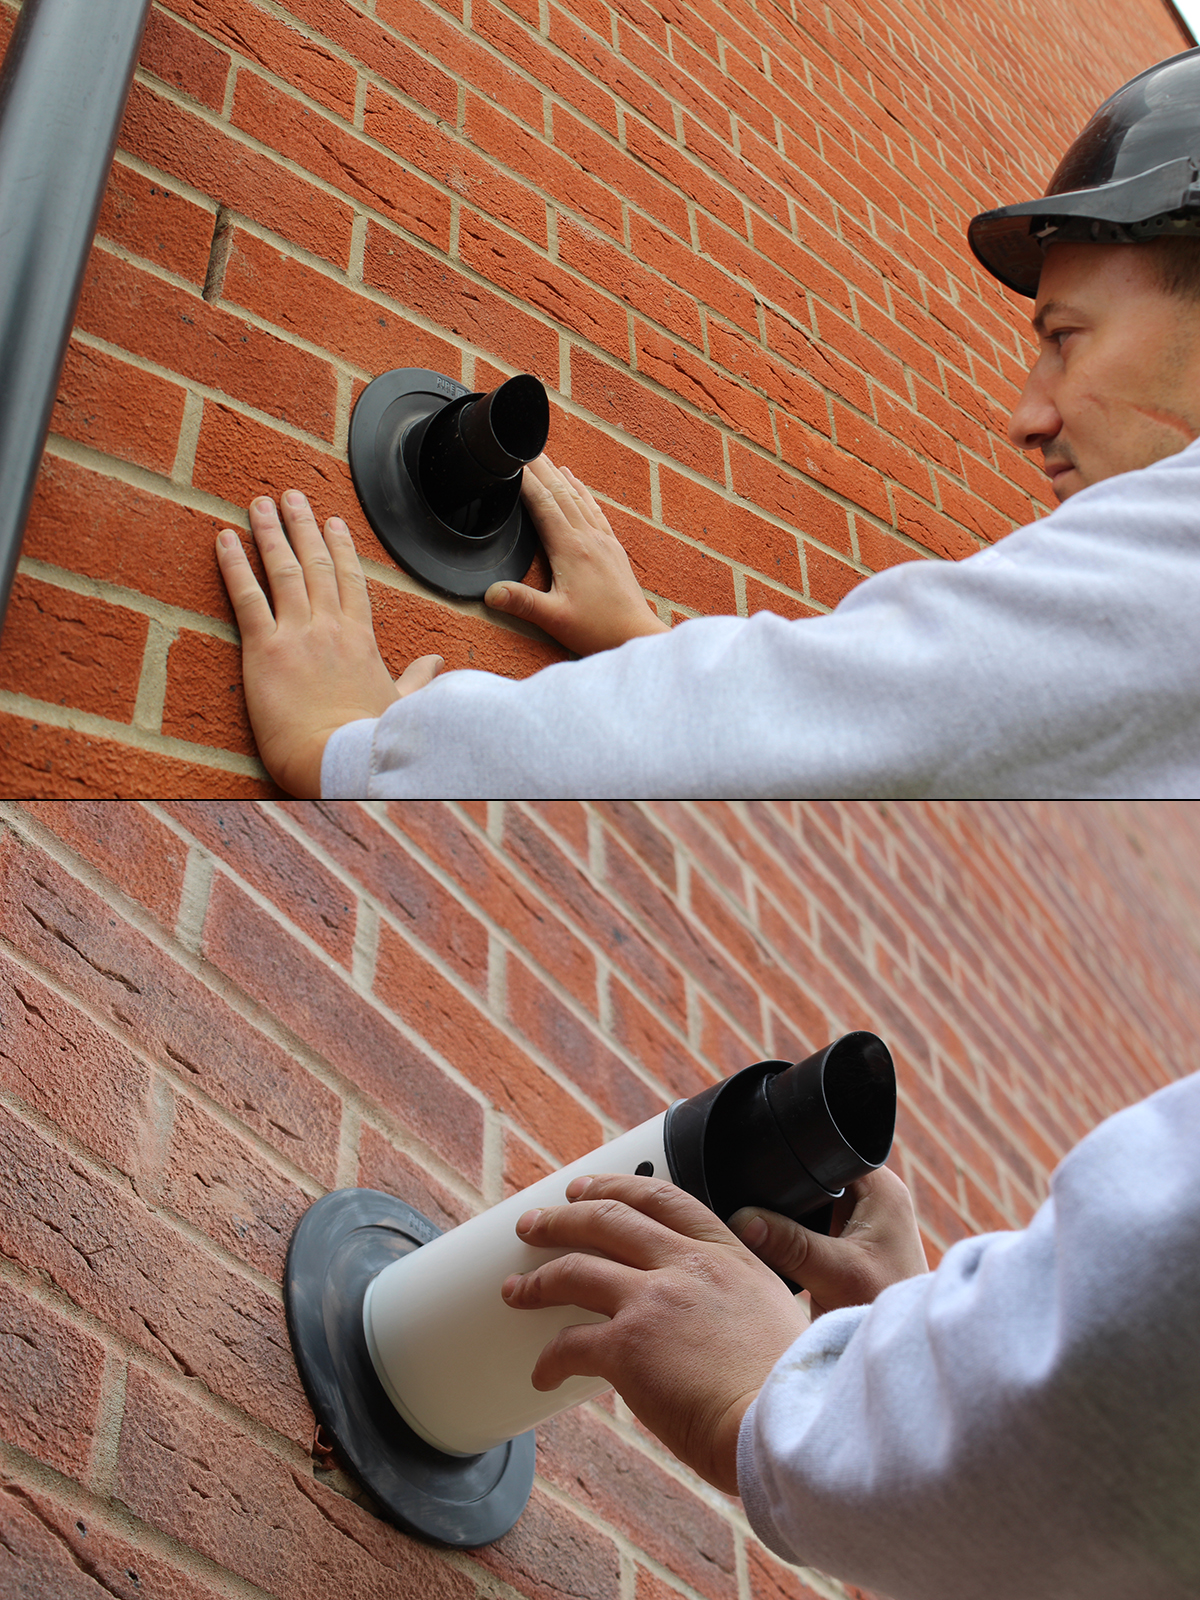
Step two
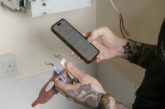
Push the FlueSnug into the hole and feed the flue through. You can push it through from the inside or the outside of the wall. Complying with Part L of the Building Regulations is quick and simple. Part L also requires photographic evidence that the regulations have been complied with. FlueSnug allows for this easily.
Step three
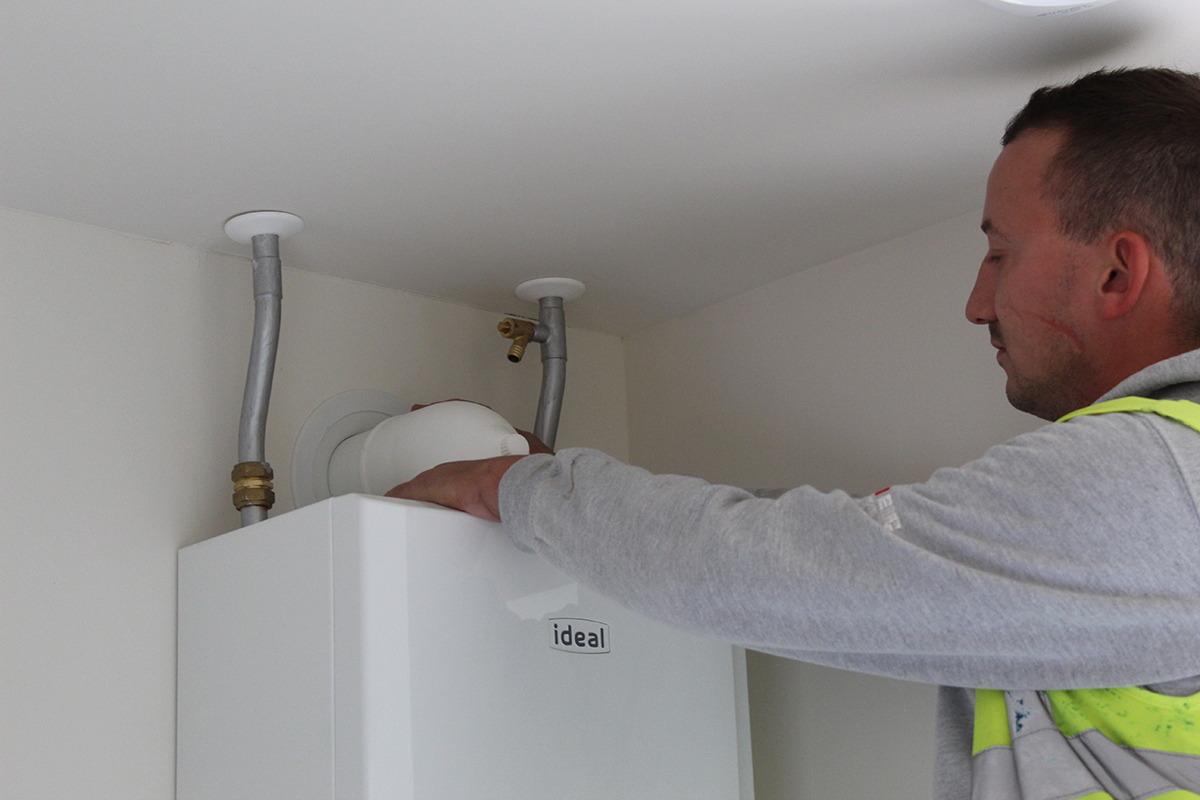
FlueSnug can be installed inside too, and adds a professional, energy efficient finish to an installation.
Access for inspection
FlueSnug replaces both the weather collar and the need to use mortar around the flue. It ensures a professional, airtight finish that seals against insects, moisture and draughts. If you need to inspect or access the flue then it can simply be removed and then replaced.