We look at the installation of the Mira Flight Low tray – now with an improved riser kit; and surface and waste finish.
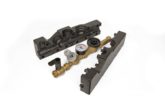
After unpacking the tray, check for damage and suitability. Check all parts are present and correct. It is also recommended to put down some additional protective coverings, such as a dust sheet, to protect the tray from damage from falling objects.
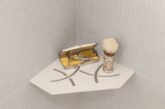
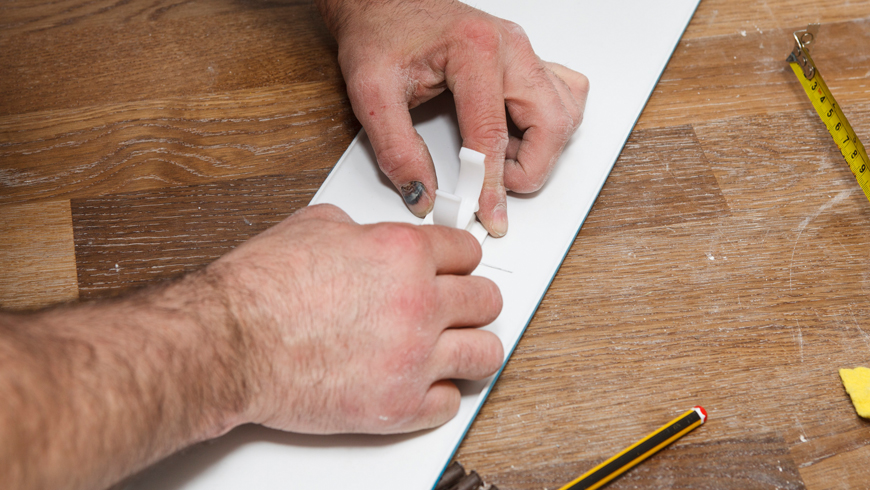
STEP 1
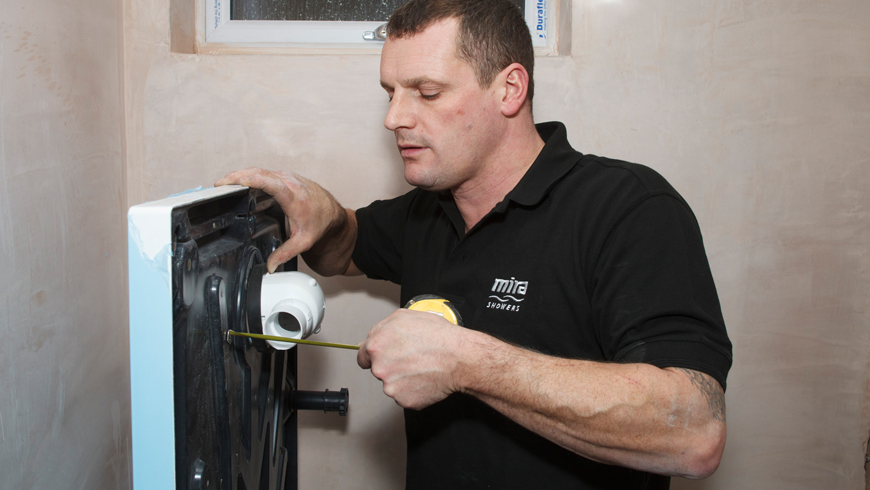
Temporarily fit the tray waste and measure the projection.
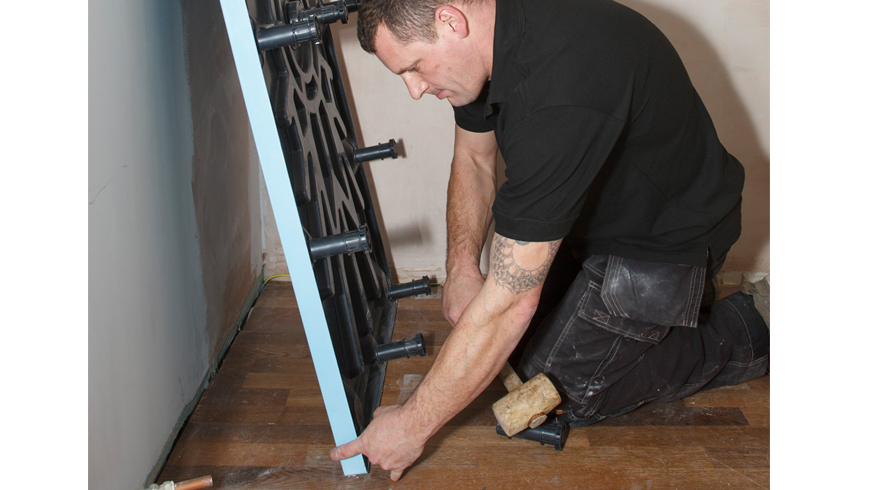
STEP 2
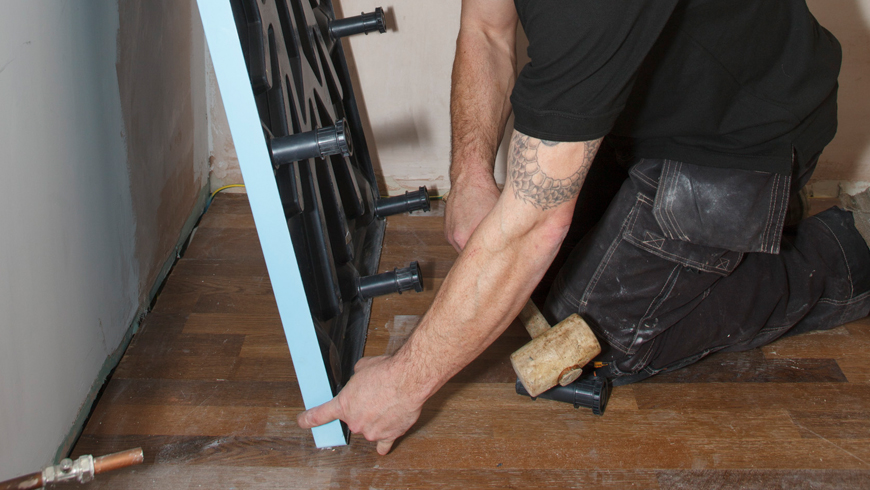
Fit the riser legs – a (rubber, ideally) mallet will assist the correct insertion.
STEP 3
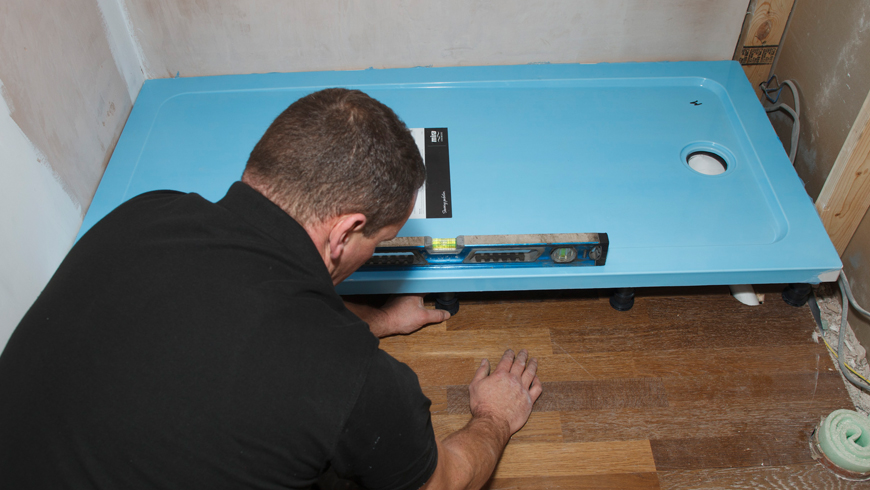
Ensure the riser legs are adjusted to allow an adequate fall for the waste to drain away, typically 50mm fall per metre length of pipework. Initially it may be easier to get the tray level by adjusting the key corner legs first.
STEP 4
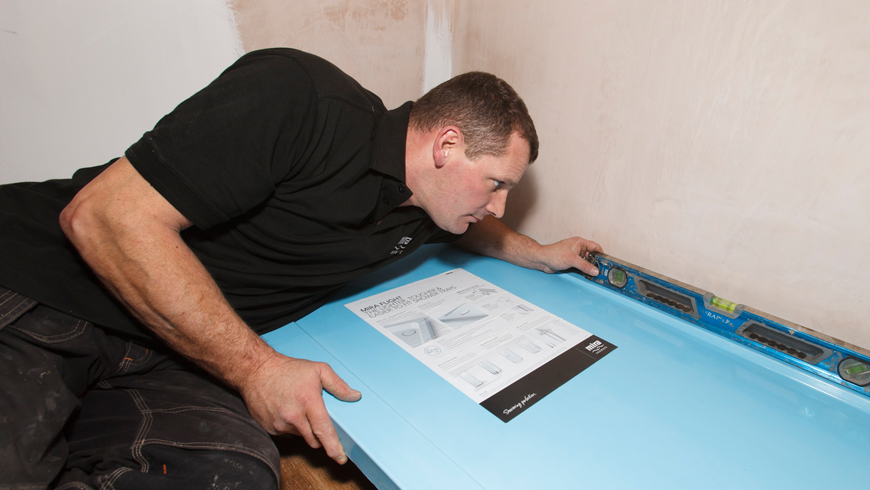
Place the tray, having pre-fitted the bottom part of the waste fitting to the pipework – the top part is fitted later. Levelling the tray to within 1mm will make the fitting and adjusting of the enclosure much simpler, and ensures that the water runs to waste.
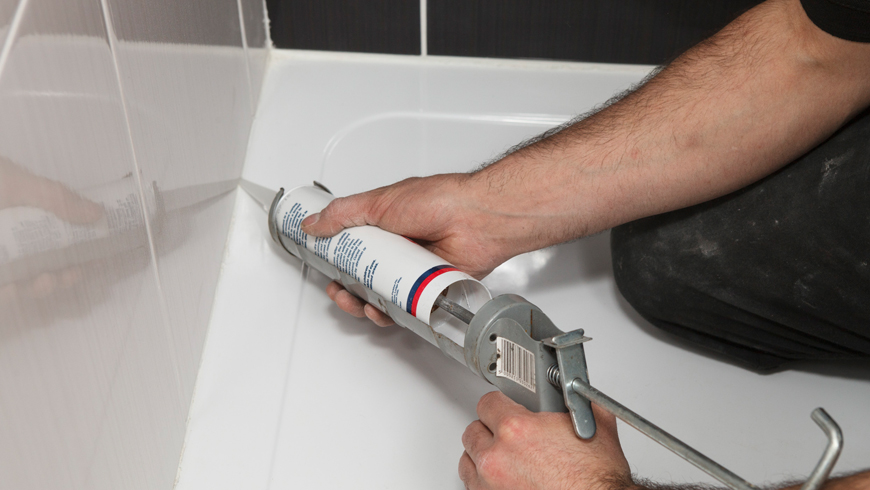
STEP 5
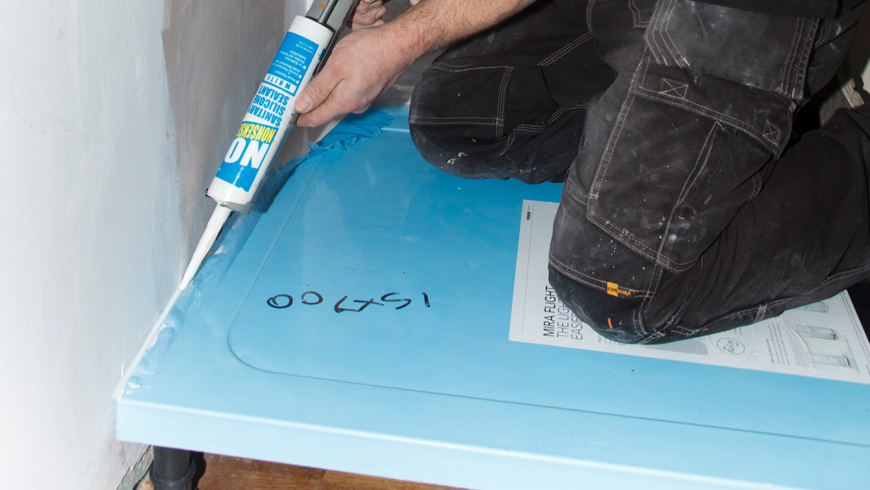
Run a bead of sealant first behind the tray between the wall and tray, to cushion the tray and as a primary seal against leaks. Apply a bead of sealant along the top edge and wall.
STEP 6
Cut the side panels to length. Fix the leg clamps in place on legs prior to offering up the panel. You may wish to fix battens on the floor to secure the panel.
STEP 7
Finish off any sealing. Leave all of the sealant to cure, typically 24 hours, before using water on the tray. When the cover is fitted to the waste, the tray can be cleaned. Leave your additional protective covering in place if fitting an enclosure. Note: this stage is not shown in the photography. Fit the tiles, leaving a gap between the tray and tiles. Run a bead of sealant between the bottom of the tile and tray ensuring it penetrates and fills the gap. This is a secondary seal. This secondary seal is most important and the bead should be of sufficient thickness to accommodate small shrinkage movements without tearing away creating a leak path.
STEP 8
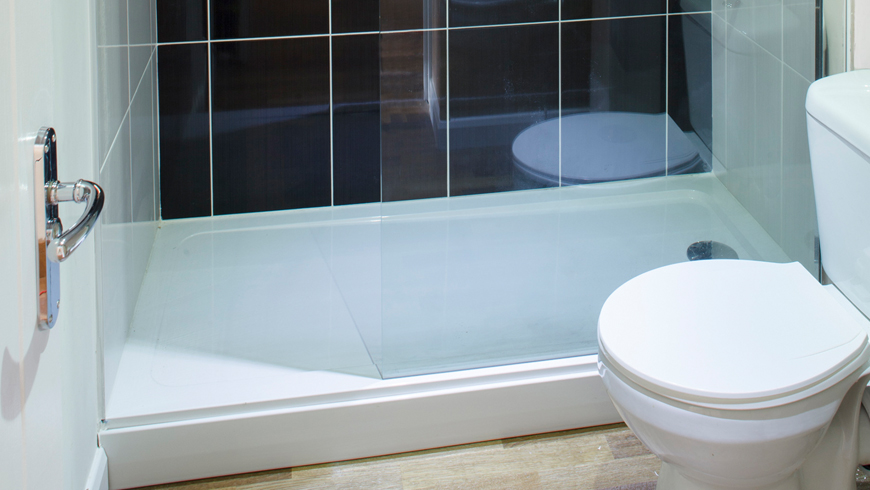
The finished job…