The Hep2O plumbing push-fit system offers installers a wide range of benefits; from its simple and secure installation to its 50-year guarantee. Hep2O is flexible and versatile and – thanks to its universal four-step jointing procedure for every fitting – also easy to use, writes Gareth Samuel, Product Manager, Hep2O at Wavin.
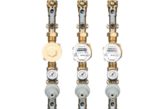
Hep2O has evolved over 30 years and features a number of unique features that are not available with any other comparable push-fit system. Connecting easily and quickly with both plastic and copper pipe, Hep2O is suitable for a range of hot and cold water and heating applications. As such, its uses are varied; from bathroom fittings and kitchen appliances to central to underfloor heating systems.
While its applications are numerous, there is just one simple jointing procedure, which should always be followed to ensure the system’s significant long-term performance benefits are fully realised.
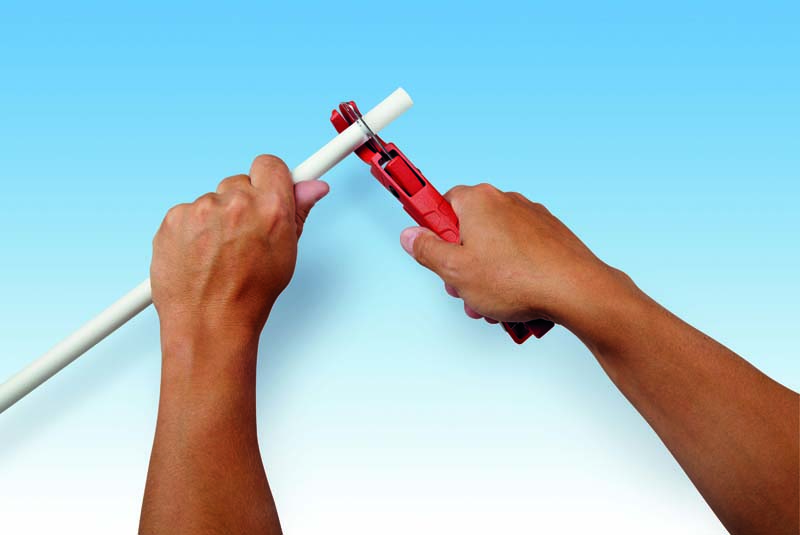
Step one – cutting
Cut the pipe squarely at one of the ‘∧’ marks printed onto the pipe using recommended pipe cutters and ensure the pipe end is free from burrs. Never use a hacksaw or equivalent to cut Hep2O pipe.
Step two – support
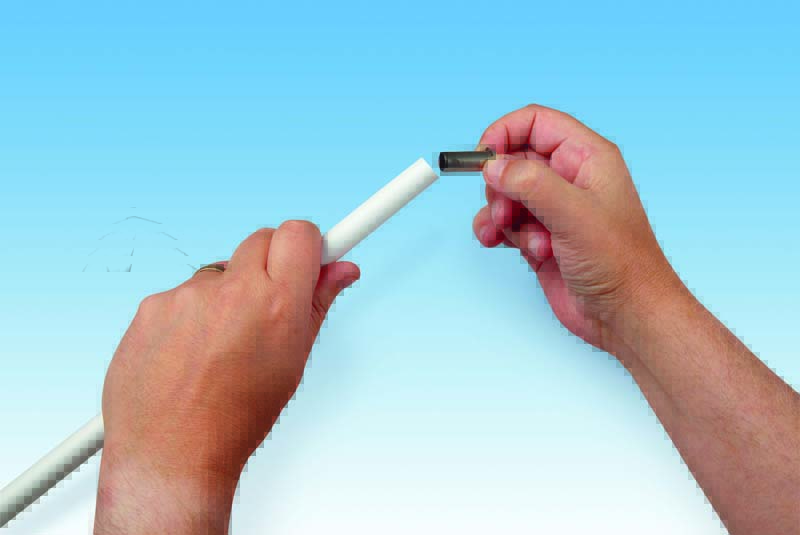
Insert a Hep2O SmartSleeve pipe support sleeve into the pipe end.
Step three – connect
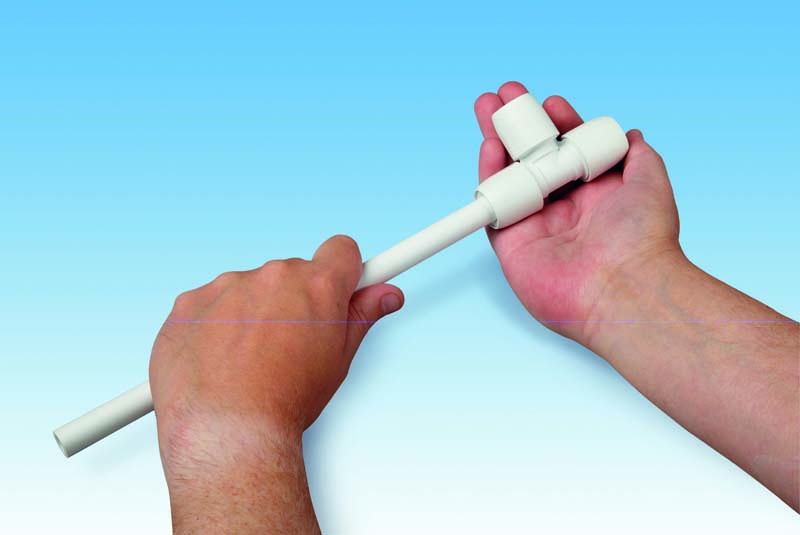
Push the pipe firmly into the fitting, then use Hep2O’s unique In4SureTM joint recognition technology to ‘feel’ if the pipe is fully inserted. While still pushing, rotate the pipe using a screwing action. Once the pipe is fully inserted you will feel a ‘rumble’ sensation as the SmartSleeve passes over the raised seat inside the fitting.
Step four – check
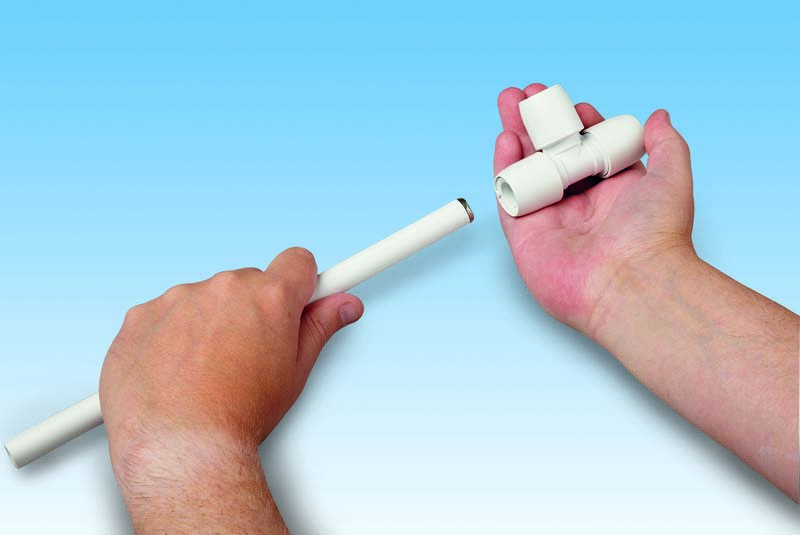
Tug back on the pipe to ensure the grab-ring engages correctly and prevents the pipe from withdrawing. The joint is now secure. However, it can be removed if necessary by using one of three Hep2O demounting tools available.