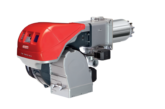
Despite the growth in homeowners investing in renewable technologies, gas-fired boilers will continue to provide one of the main sources of income for installers this winter. Martyn Bridges director of marketing and technical support at Worcester, Bosch Group runs through the installation of a Greenstar CDi Compact.
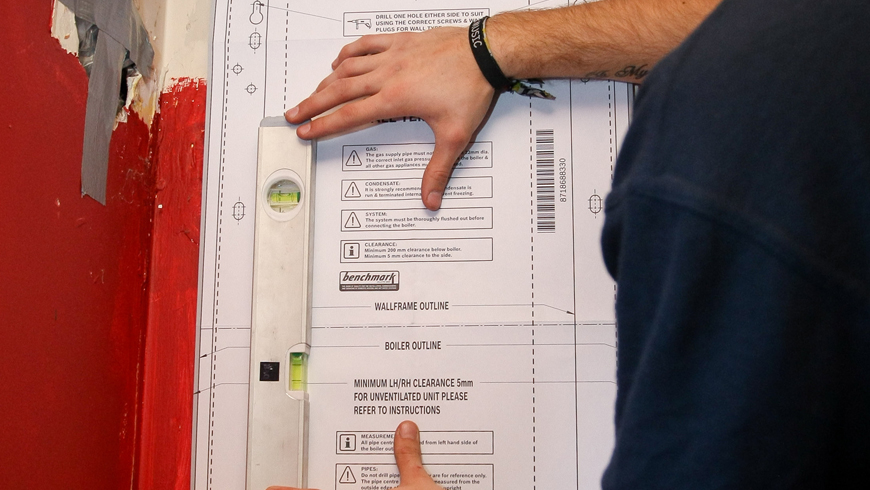
STEP 1

Before installation, one of the first considerations is finding a suitable location for the boiler to be situated. Once a suitable location has been identified, the wall mounting frame backplate should be used to mark the drill holes on which to fix the frame to the wall and then hang the boiler onto the affixed frame. In the case of the Greenstar CDi Compact, the packaging enables the jig to be removed from the carton leaving the boiler safely packaged.
STEP 2
The wall mounting frame is designed to allow the pipework for the system to be fully plumbed in, even allowing the pipework to be passed up the back of the boiler without the need for a wall spacing frame. All pipework can be passed behind the boiler and all still within a 280mm depth off the wall.
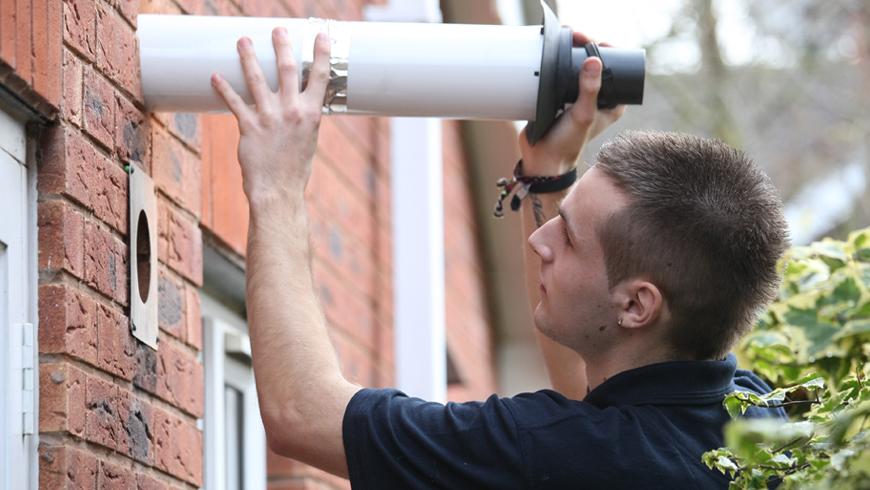
STEP 3
Now for the flue system, and one of the key things to bear in mind is that the flue will need to run at such an angle that the condensate can flow back into the boiler when it is in operation – generally three degrees incline away from the boiler towards the flue terminal for every one metre length of horizontal run. The flue can be run for up to 6m in length with optional 45 and 90 degree bends allowing changes of direction.
STEP 4
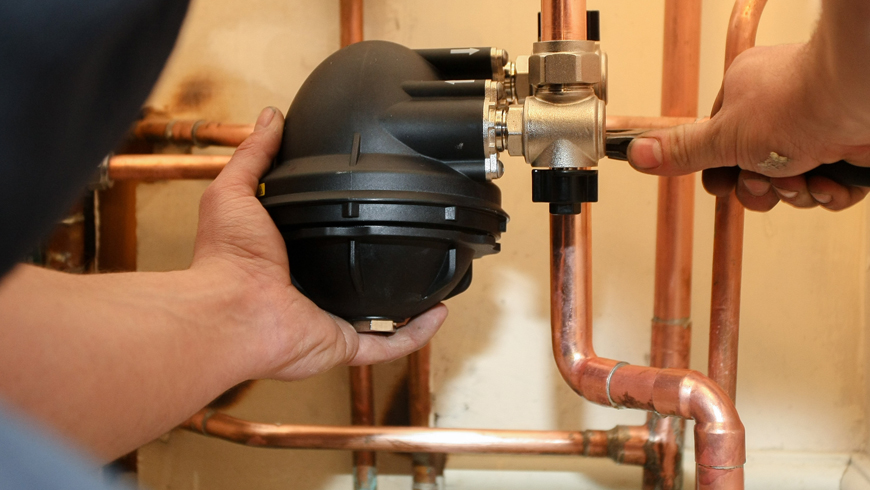
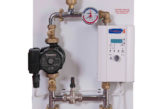
Next the new Greenstar system filter can be fitted for additional system protection. In order to maintain a peak efficiency level, it is advisable to fit a system filter from the outset, which will capture both magnetic and non-magnetic system water contaminants.
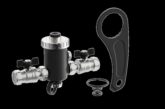
STEP 5
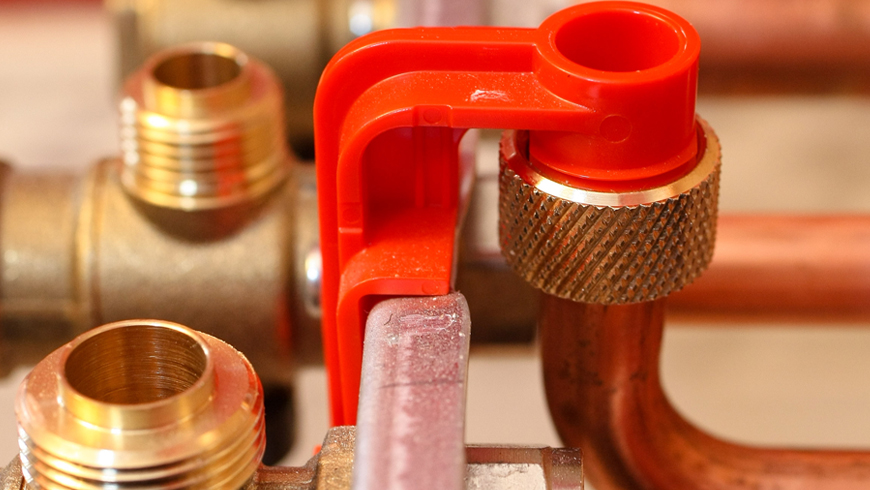
The pressure relief valve (PRV) pre-plumbing connector ensures the pipework is in exactly the right place but must be removed before fitting the boiler.
STEP 6

The new CondenseSure accessory can now be fitted to the condensate pipework before installation of the boiler to ensure trouble free operation during winter months. Like a system filter, the CondenseSure device should be considered a sensible consideration if the condensate pipe is being run externally so as to reduce the likelihood that the homeowner encounters difficulties as temperatures fall way below zero during the depths of winter.
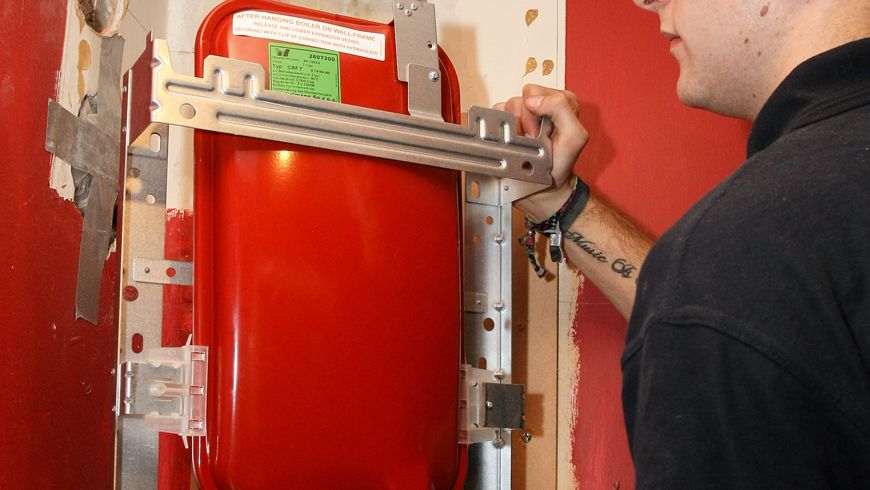
STEP 7
Next, lift the boiler onto the wall mounting jig. The Greenstar CDi Compact has been designed for a one man lift. That said, it’s always advisable to get a feel for this before the boiler is lifted. Once the connections are in place, the flue can be allied with the entry point which was drilled through at the point of installing the jig mounting. Using the flue provided with the boiler, adjustments can be made depending on the length of the outside wall. Any clearance required should be measured at this point to ensure the flue is a suitable depth however this can also be adjusted from the outside of the property once in place.
STEP 8
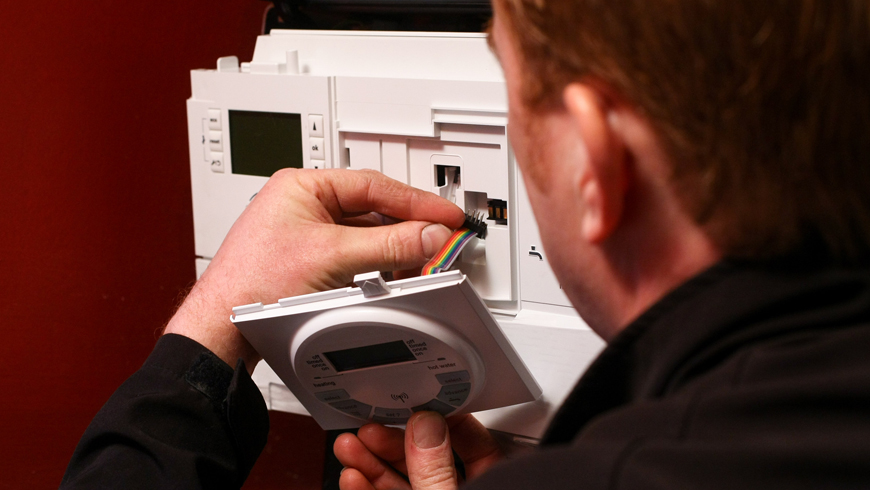
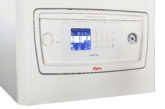
As an optional extra to the end user, controls such as a digital programmer can be added to the boiler to enable the homeowner to adjust their heating as easily as possible. All Worcester controls are compatible with the Greenstar CDi Compact
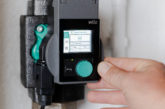
STEP 9
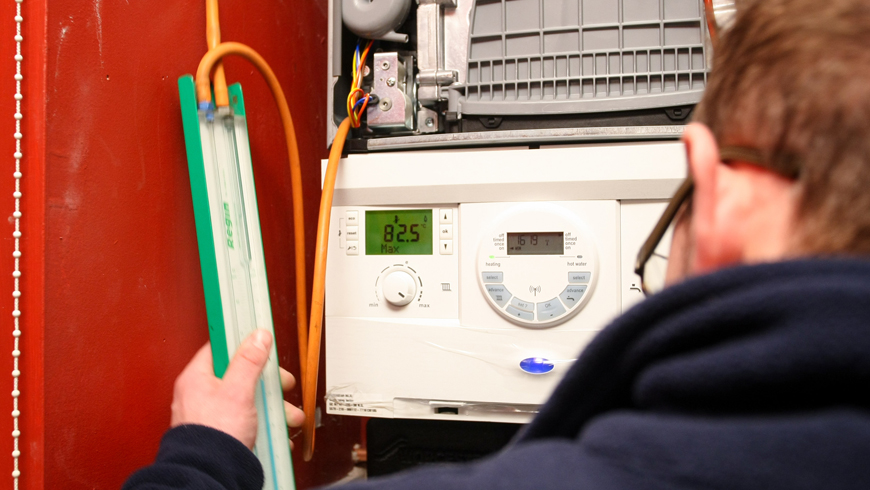
The user interface included as part of the Greenstar CDi Compact has been programmed to make the commissioning stage simple with a number of the Benchmark checklist requirements being obtained from the onboard display, i.e. Cold water inlet temperature, hot water outlet temperature, hot water flow rate, etc, etc.. Flushing and inhibiting of the system is recommended and can help the system perform at a more efficient level for a longer period of time, to help the customer save money on energy costs.
STEP 10
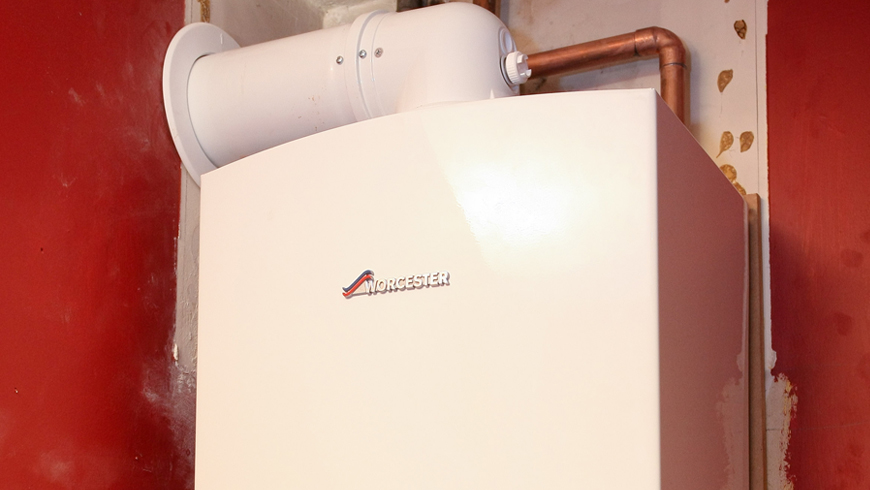
At this point the installation is complete and the end user can begin getting to know the system.
STEP 11

While at the property it’s worth giving the homeowner advice about how to get the best out of their new boiler. For example, just by turning down the thermostat by one degree can help save up to 10% off annual energy bills. By providing those extra little pieces of advice there’s every chance of bringing in repeat business year after year.